37
8
Turn on defect detection correction.
>DEFECT-CORRECTION 1
9
Save the settings.
To repeat defect detection without saving, repeat
steps 1 to 6.
>DEFECT-PATTERN-SAVE
Note
The upper limit of defect detection points is 2047 for
clear and opaque defect points combined. Correction
cannot be performed over the upper limit. The detected
defect points can be confirmed using DEFECT-
DETECTION-RESULT. If the upper limit is exceeded,
defect detection will fail or abnormal defect detection
will occur and RESULT will be -1.
Shading Correction
Depending on the characteristics of the lens, shadings
caused by a drop in the amount of light around the lens,
or light source variation, are corrected. The nine patterns
can be saved as the user settings.
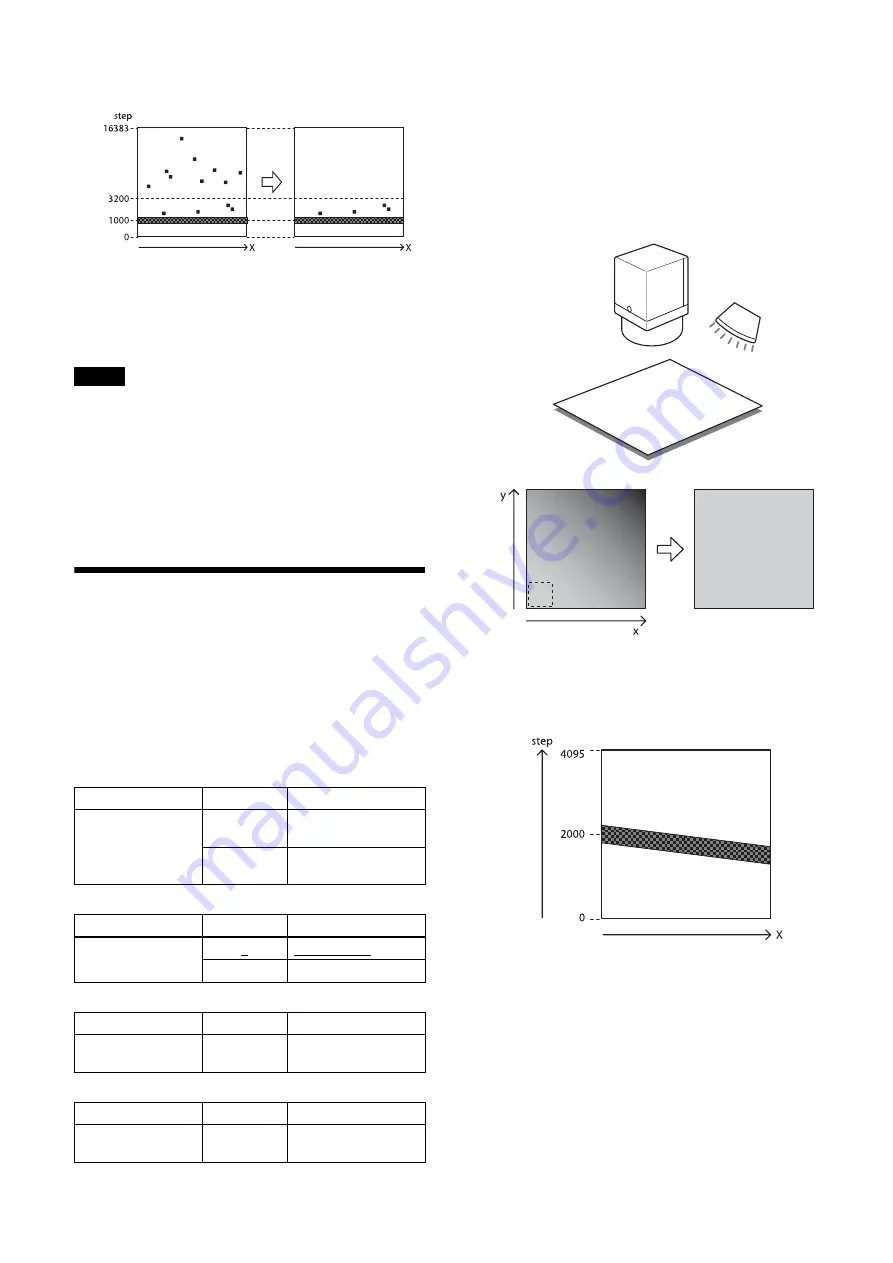
Shading Correction has two modes. In peak detection
mode, you can adjust the screen to brightest level. In
average detection mode, you can adjust the whole screen
to its average brightness.
Shading detection setup procedure
1
Fix the lens and lighting conditions.
Make an adjustment by assuming the brightest level
as the target level in the peak detection mode, where
the condition of the brightness is not uniform due to
an uneven light source, as shown in the figure
below.
2
Adjust the exposure time and other parameters so
that the target level is about 50%.
On color cameras, adjust the white balance.
3
Execute shading detection.
>SHADING-DETECTION 1
Read the Status to determine whether the
calculation is finished.
>SHADING-DETECTION
1 (running)
0 (finished)
Return to 0 when finished.
Command
Parameter
Function
SHADING-
DETECTION
1
Start detection (peak
detection)
2
Start detection
(average detection)
Command
Parameter
Function
SHADING-
CORRECTION
0
Correction off
1
Correction on
Command
Parameter
Function
SHADING-
PATTERN-SAVE
0 to 8
Save shading pattern
Command
Parameter
Function
SHADING-
PATTERN-LOAD
0 to 8
Read shading pattern
Camera
Light source
A colorless and uniform
photographic subject
Brightest area
= target level
Correction


