Data Projector
VPL-CWZ10/CXZ10
Displaying the Control Window of the Projector with a Web Browser
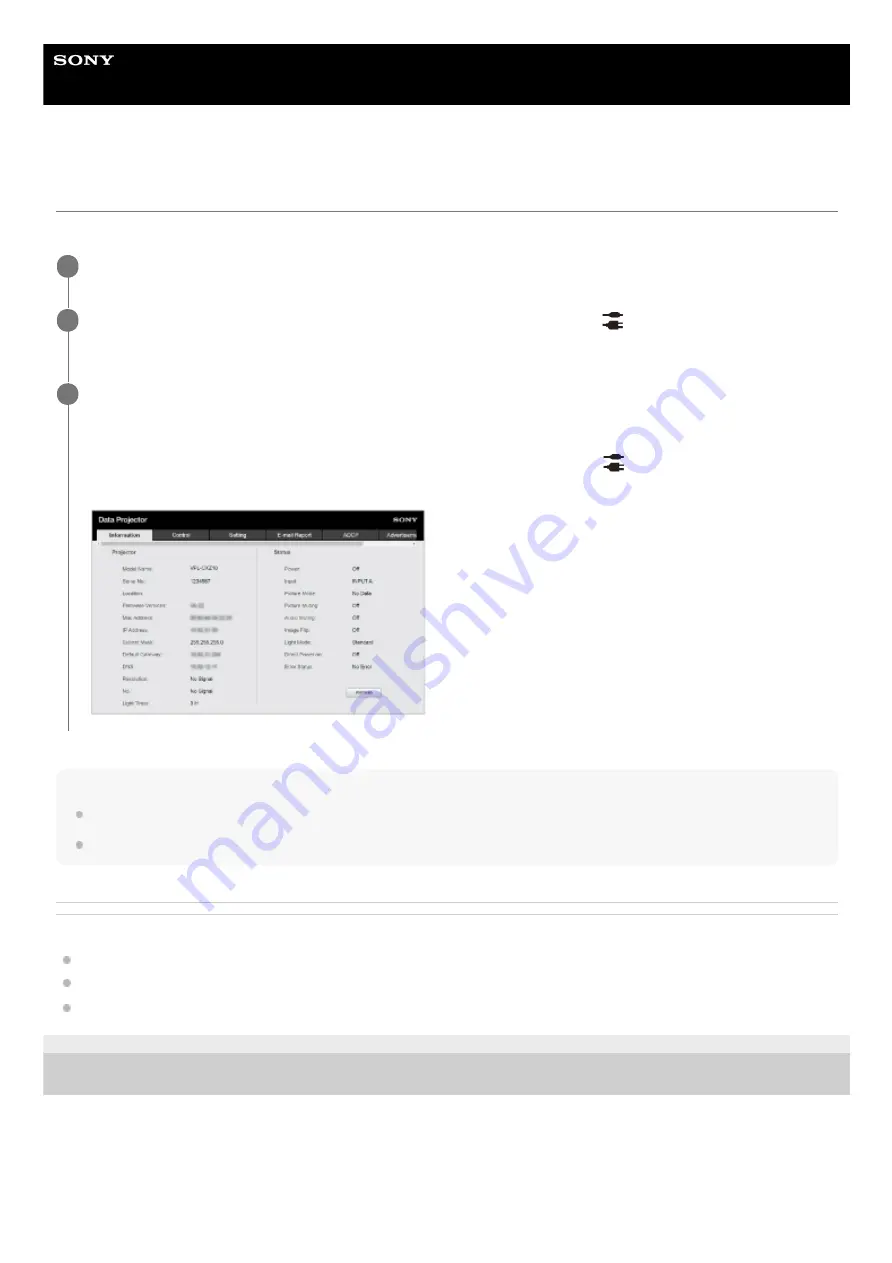
Display the control window of the projector with a web browser and configure the network settings.
Hint
Once the network settings have been configured, the control panel can be displayed thereafter via the operation in Step 3 alone.
For https communication, connect with http first, then configure https communication.
Related Topic
Connecting to a Computer via a Hub or Router
Menu Operation: Network Setting
Configuring https Communication
5-014-280-13(1) Copyright 2020 Sony Corporation
Connect the projector and computer to a hub or router using LAN cables.
1
Press the MENU key and configure the projector’s network settings from
[Connection/Power] -
[Network Setting].
2
Start the web browser, enter the following into the address field, and press the Enter key.
http://xxx.xxx.xxx.xxx
(xxx.xxx.xxx.xxx: IP address of the projector)
The IP address of the projector can be confirmed from [Network Setting] in the
[Connection/Power] menu.
The control panel will be displayed in the browser.
3
93
Содержание VPL-CWZ10
Страница 34: ...5 014 280 13 1 Copyright 2020 Sony Corporation 34 ...
Страница 57: ...Related Topic Aspect Ratio 5 014 280 13 1 Copyright 2020 Sony Corporation 57 ...
Страница 99: ...Related Topic Configuring https Communication 5 014 280 13 1 Copyright 2020 Sony Corporation 99 ...
Страница 108: ...Related Topic Updating Software 5 014 280 13 1 Copyright 2020 Sony Corporation 108 ...
Страница 153: ...5 014 280 13 1 Copyright 2020 Sony Corporation 153 ...


