Data Projector
VPL-CWZ10/CXZ10
Configuring https Communication
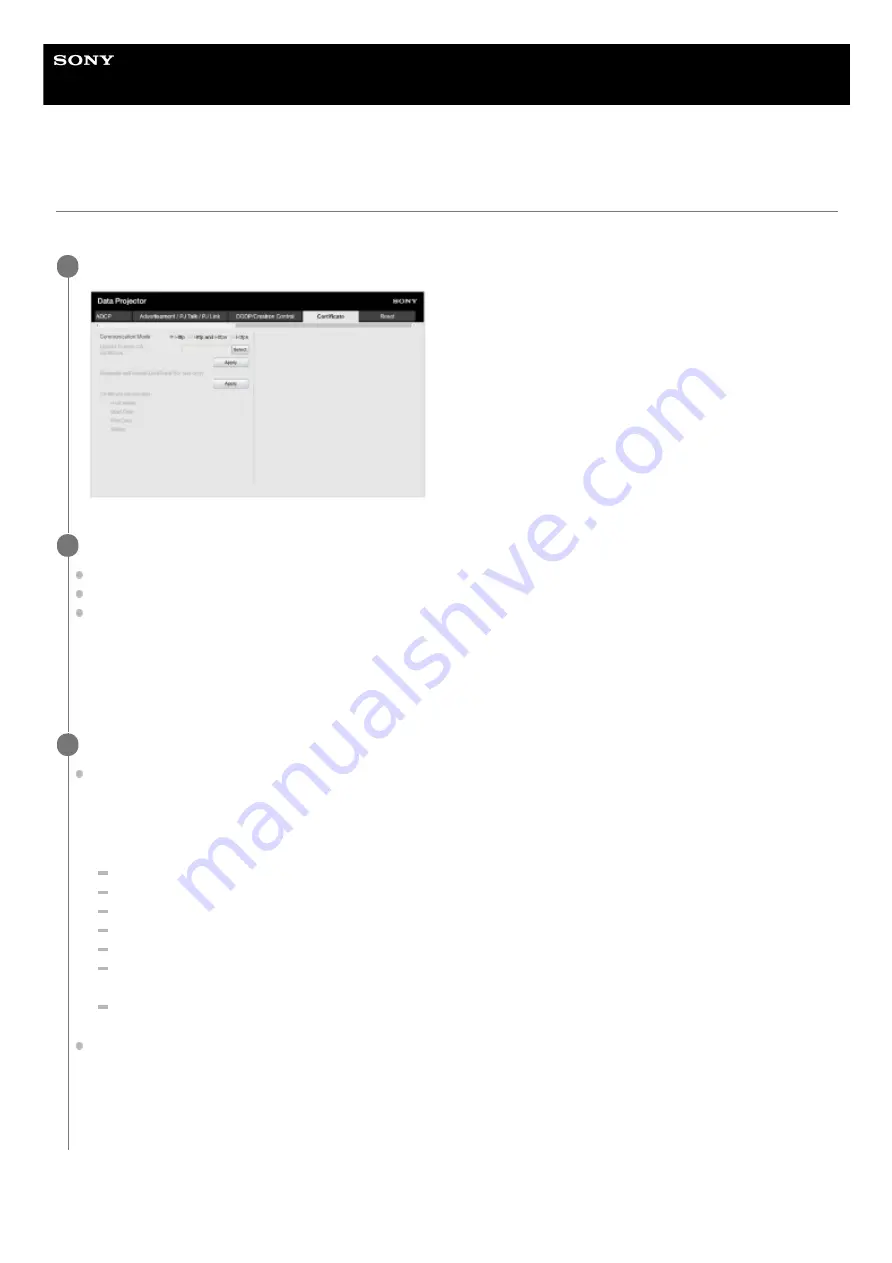
Configure https communication on the [Certificate] page.
The installed certificate will be displayed in [Certificate information].
Click the [Certificate] tab and display the [Certificate] page.
1
Select [Communication Mode].
[Http]:
http connection only.
[Http and Https]:
https and http connection can be used at the same time.
[Https]:
https connection only.
Select [Https] for https connection. However, follow the steps in “
Connecting with https for the First Time
” to set up
https connection for the first time.
The encryption protocol supported by the projector is TLS 1.2. In addition, the port number is set to 443.
2
Set a certificate.
[Upload Trusted CA Certificate]:
The certificate issued by a CA will be installed. Select a certificate saved in a
folder on your computer.
Click [Apply] to install it.
Supported certificate
Format: PEM
Extension: CRT, PEM
Encryption: RSA
Hash: SHA-256/SHA-384
Key length: 512/1024/2048/4096 bit
Common Name: Network host name
For Common Name, use the host name set under [Host Name] on the [Setting] page.
Organization: Define by customer
[Generate self issued certificate (for test only)]:
The certificate generated within the projector (self-generating
certificate) will be installed. Click [Apply] to install it.
You can use either the certificate issued by a CA or the certificate generated within the projector (self-generating
certificate).
3
109
Содержание VPL-CWZ10
Страница 34: ...5 014 280 13 1 Copyright 2020 Sony Corporation 34 ...
Страница 57: ...Related Topic Aspect Ratio 5 014 280 13 1 Copyright 2020 Sony Corporation 57 ...
Страница 99: ...Related Topic Configuring https Communication 5 014 280 13 1 Copyright 2020 Sony Corporation 99 ...
Страница 108: ...Related Topic Updating Software 5 014 280 13 1 Copyright 2020 Sony Corporation 108 ...
Страница 153: ...5 014 280 13 1 Copyright 2020 Sony Corporation 153 ...


