


Capturing still images
The following information tells you how to set preferences and capture a still image.
To set Still mode preferences
1.
Open Network Smart Capture:
(Microsoft
®
Windows
®
XP) From the
Start
menu, click
All Programs
,
Network Smart Capture
, and click
Network Smart Capture
from the submenu.
(Microsoft
®
Windows
®
2000) From the
Start
menu, click
Programs
,
Network Smart Capture
, and click
Network Smart Capture
from the submenu.
2.
Connect your i.LINK
®
interface compatible digital camera or camcorder to your computer with an i.LINK cable
(optional). An image appears in the Finder Window.
3.
Click
Still
near the upper-left of the screen.
4.
Click the
Change Setting
icon
near the bottom of the screen to view setting options for your still image
capture. The
Still Image Setting
window appears.
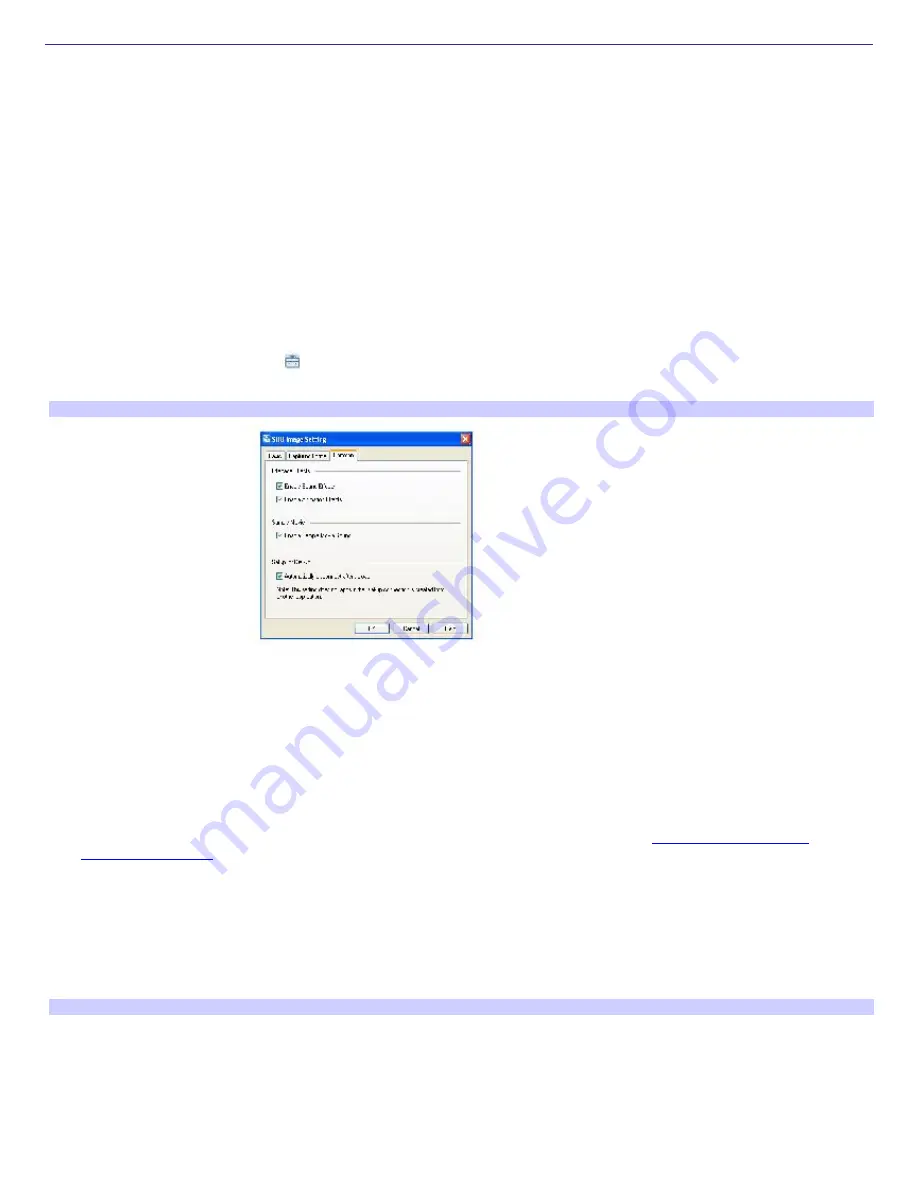
Still Im age Setting Window
The Still Image Options window has three tabs:
Basic
— Choose between
Normal
or
Self
-
timer
capture modes, and select a folder destination for your
images.
Capturing Format
— Select the image size in pixels, and adjust the image quality.
Common
— Enable or disable the sound and animation effects; enable or disable sample movie sound;
and enable or disable automatic dialup connection for uploading images.
5.
Click each tab to view options and set preferences. To apply effects to an image, see
Applying effects to your
images and movies.
To capture an image in Still mode
1.
Use your digital camera or camcorder to locate the image you want to capture. When you see the desired image
in the Finder Window, click
Capture
. You can capture a single image or several image at once.
Your captured images are stored as thumbnail images in the Display List to the right of the Finder Window.
Im age in Finder Window
Page 174
Содержание VAIO PCG-GRX700K
Страница 21: ...Internet and Network Connections Internet Connections Network Connections Page 21 ...
Страница 31: ...CDs and DVDs Inserting and Ejecting CDs or DVDs Copying and Playing CDs Copying and Playing DVDs Page 31 ...
Страница 46: ...Printer Connections Printing With Your Computer Page 46 ...
Страница 49: ...See the guide that accompanied the printer for more information on its installation and use Page 49 ...
Страница 66: ...Mice and Keyboards Using the Keyboard Connecting External Mice and Keyboards Page 66 ...
Страница 74: ...Page 74 ...
Страница 77: ...Floppy Disks PC Cards and i LINK Connections Using a Floppy Disk Drive Using PC Cards Page 77 ...
Страница 91: ...Port Replicators Locating Ports and Jacks Connecting a Port Replicator Disconnecting a Port Replicator Page 91 ...
Страница 118: ...Preinstalled Programs Programs On Your Computer DVgate Program Notes Program Support Information Page 118 ...