


RCD-W7V 4-236-407-
11
(1)
42
US
Selecting Parental Control Rating
Levels
Some DVDs contain a restriction level
which enables parents to remove scenes or
prevent children from playing the discs. This
unit is equipped with a password designed
to prevent children from changing the level.
1
Follow steps 1 and 2 of “Selection
of initial settings” on page 40.
The setup menu is displayed.
2
Press
X
/
x
to select “Rating”.
3
Press
c
and then
X
/
x
to select the
desired restriction level and press
ENTER.
• You cannot play DVD video discs rated higher than
the level you selected unless you cancel the
parental lock function.
For example, when you select level 7, discs rated
higher than level 7 are blocked and cannot be
played.
• The parent lock level is equivalent to the following
USA movie ratings.
Level 7: NC-17 Level 6: R Level 4: PG 13
Level 3: PG Level 1: G
• Some titles do not match with the rating level
described as above.
To turn off the SETUP Menu
Press RETURN or
H
(PLAY).
z
To cancel the rating, select “Unlock” in step 3.
Disc Audio
Disc Subtitle
Disc Menu
Menu Language
8
7
6
5
4
3
2
1
Unlock
Rating
Password
TV Aspect
Others
Digital Audio Output
Press to select Press ENTER button
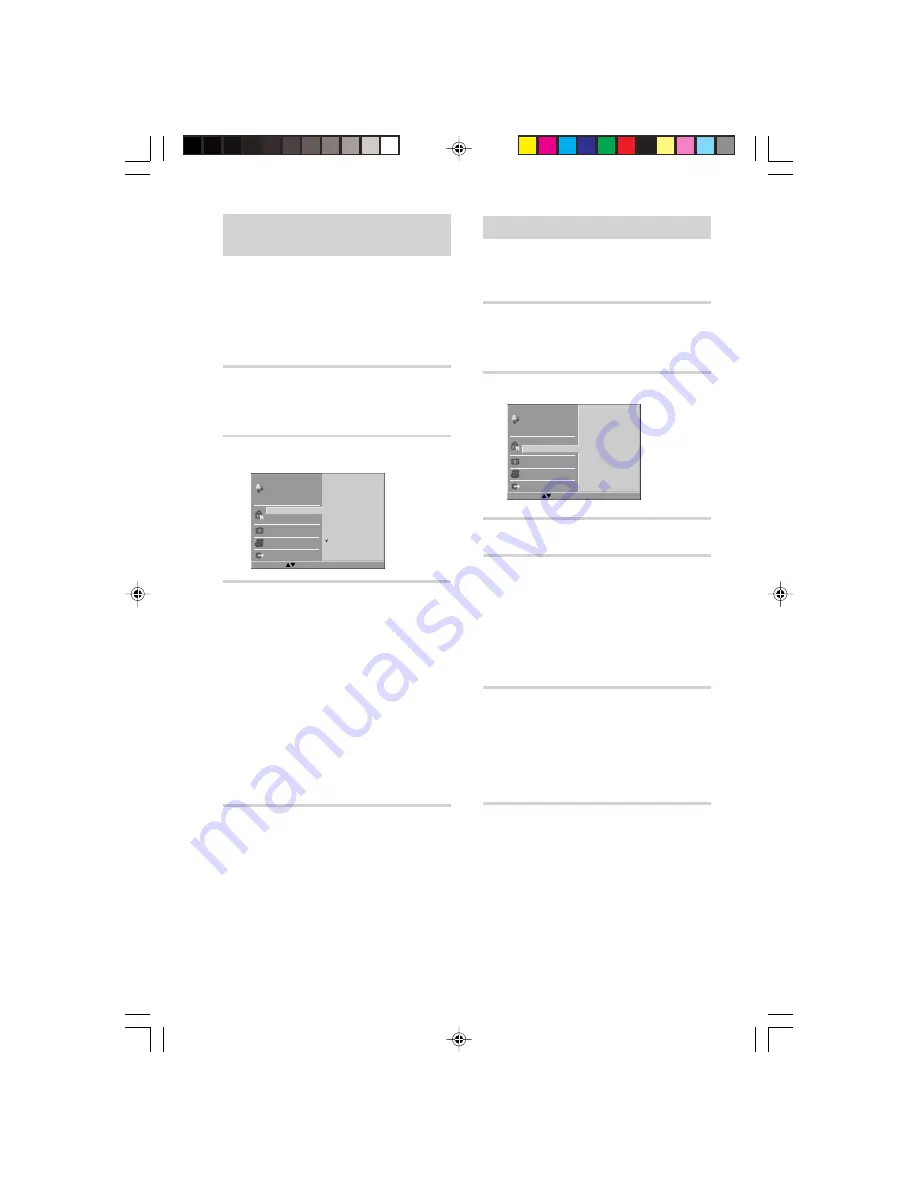
Setting the Password
A 4-digit password can be set to prevent
playing discs with higher rating.
1
Follow steps 1 and 2 of “Selection
of initial settings” on page 40.
The setup menu is displayed.
2
Press
X
/
x
to select “Password”.
3
Press ENTER.
4
Enter a 4-digit password using the
number buttons, then press ENTER.
Example: To set the password, press 1,
2, 3 and 4.
Do not forget your password.
If you enter the wrong number, press
CLEAR.
5
Enter the same 4-digit password
again to verify, then press ENTER.
The password is set.
The rating is locked. Any discs with a
higher rating than the setting cannot be
played back.
To turn off the SETUP Menu
Press RETURN or
H
(PLAY).
Disc Audio
Disc Subtitle
Disc Menu
Menu Language
New
- - - -
Rating
Password
TV Aspect
Others
Digital Audio Output
Press to select Press ENTER button
*RCD-W7V.p65_40-45
12/9/01, 6:10 PM
42


