18
Preparations
Prep
ar
at
ion
s
3
Select CLOCK SET, and press the
SET button.
4
Select DATE/TIME, and press the
SET button.
5
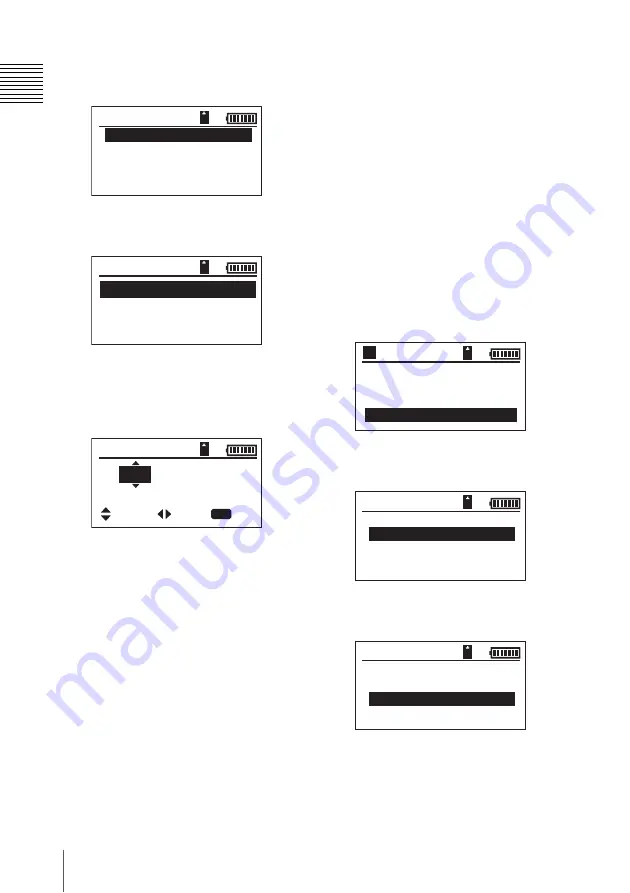
Set the year, month, day, hour, minute,
and second by using the
V
or
v
button
to select values and the
B
or
b
button
to move the cursor.
6
Press the SET button when you finish
configuration.
The setting screen disappears, and
clock setting is complete.
To switch between 12-hour and 24-
hour clock display
1
Select 12H/24H in step
4
, and press the
SET button.
2
Select 12H or 24H, and press the SET
button.
To change the date display format
1
Select DATEMODE in step
4
, and
press the SET button.
2
Select one of the display formats, and
press the SET button.
Example: October 20, 2009
YYMMDD: 09/10/20
MMDDYY: OCT/20/09
DDMMYY: 20/OCT/09
Selecting the display
language
You can select to display messages in
Japanese, English, or Chinese. Operation
menus are always displayed in English.
1
Select SETUP in the main menu, and
press the SET button.
2
Select OTHERS, and press the SET
button.
3
Select LANGUAGE, and press the
SET button.
4
Select a language, and press the SET
button.
CLOCK
S
ET
COPY OPTION
LANGUAGE
ALL RE
S
ET
OTHER
S
DATE / TIME
12H / 24H :24H
DATEMODE :MMDDYY
CLOCK SET
/ 01 / 2009
AUG
SET
00 : 13 : 01
:SELEC
:MOVE
:END
DATE / TIME
BROW
S
E HDD
CONNECT TO PC
BROW
S
E
S
x
S
S
ETUP
A
080/ 080
GB
HDD SET
OTHERS
F I RMWARE
SETUP
CLOCK
S
ET
COPY OPTION
LANGUAGE
ALL RE
S
ET
OTHER
S


