17
Preparations
Prep
ar
at
ion
s
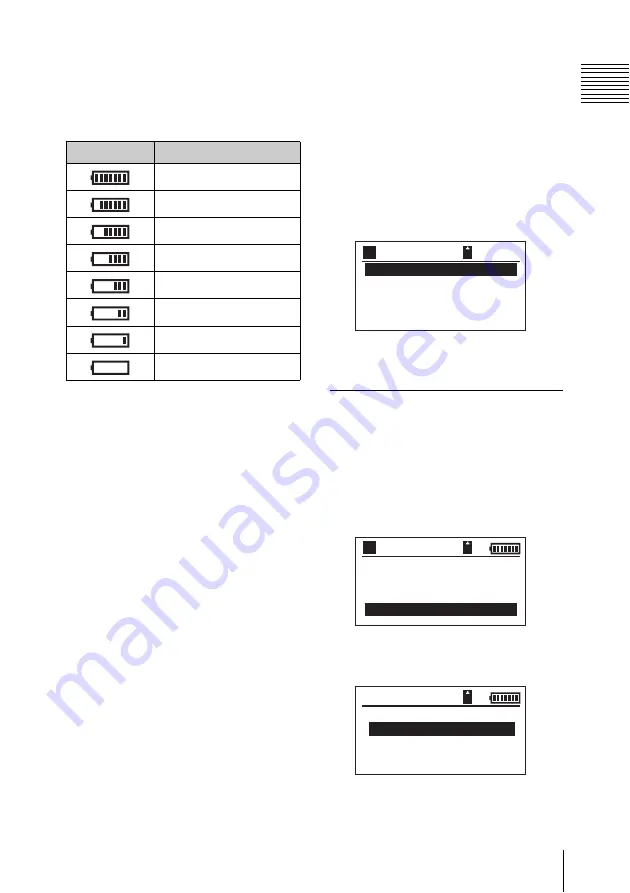
Checking the remaining
battery charge
The battery charge icon appears on the
OLED screen.
When the remaining charge for a battery
pack is low during use, the “Battery Near
End” message appears on the OLED screen
and the BATTERY indicator flashes at 1-
second intervals.
If the remaining charge drops even lower
and operation is no longer possible, the
“Battery End” message appears on the
OLED screen and the BATTERY indicator
flashes faster at 0.5-second intervals.
Turn off the unit in such cases, and replace
the battery pack with a charged battery
pack, or connect the AC adaptor to the DC
IN connector.
Using AC power (DC IN
power)
Use the supplied AC adaptor when using
AC power to power the unit.
1
Connect the AC adaptor to the DC IN
connector on the unit.
2
Connect the power cord to the AC
adaptor, and connect to an AC power
source.
Turning on the unit
Press the unit’s power button for about
three seconds to turn on the unit.
When the unit turns on, the POWER
indicator lights green and the main menu
appears on the OLED screen.
For more information on menu operations, see
“Menu Displays and Settings” on page 33.
Setup
Setting the clock
Set the unit’s internal clock.
1
Select SETUP in the main menu, and
press the SET button.
2
Select OTHERS, and press the SET
button.
Icon
Remaining charge
100% to 84%
83% to 72%
71% to 60%
59% to 48%
47% to 36%
35% to 24%
23% to 12%
11% to 0%
BROW
S
E HDD
CONNECT TO PC
BROW
S
E
S
x
S
S
ETUP
A
080/ 080
GB
BROW
S
E HDD
CONNECT TO PC
BROW
S
E
S
x
S
S
ETUP
A
080/ 080
GB
HDD SET
OTHERS
F I RMWARE
SETUP


