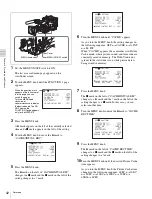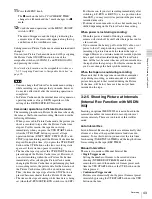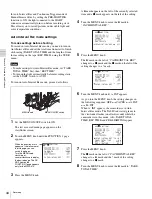
29
Time Code System
Cha
p
te
r 2
Loc
a
tio
ns
a
nd F
unc
tions
of
P
a
rts
a
nd Cont
rol
s
Time code functions (2)
d
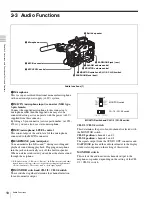
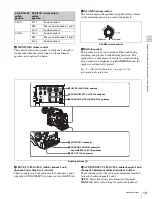
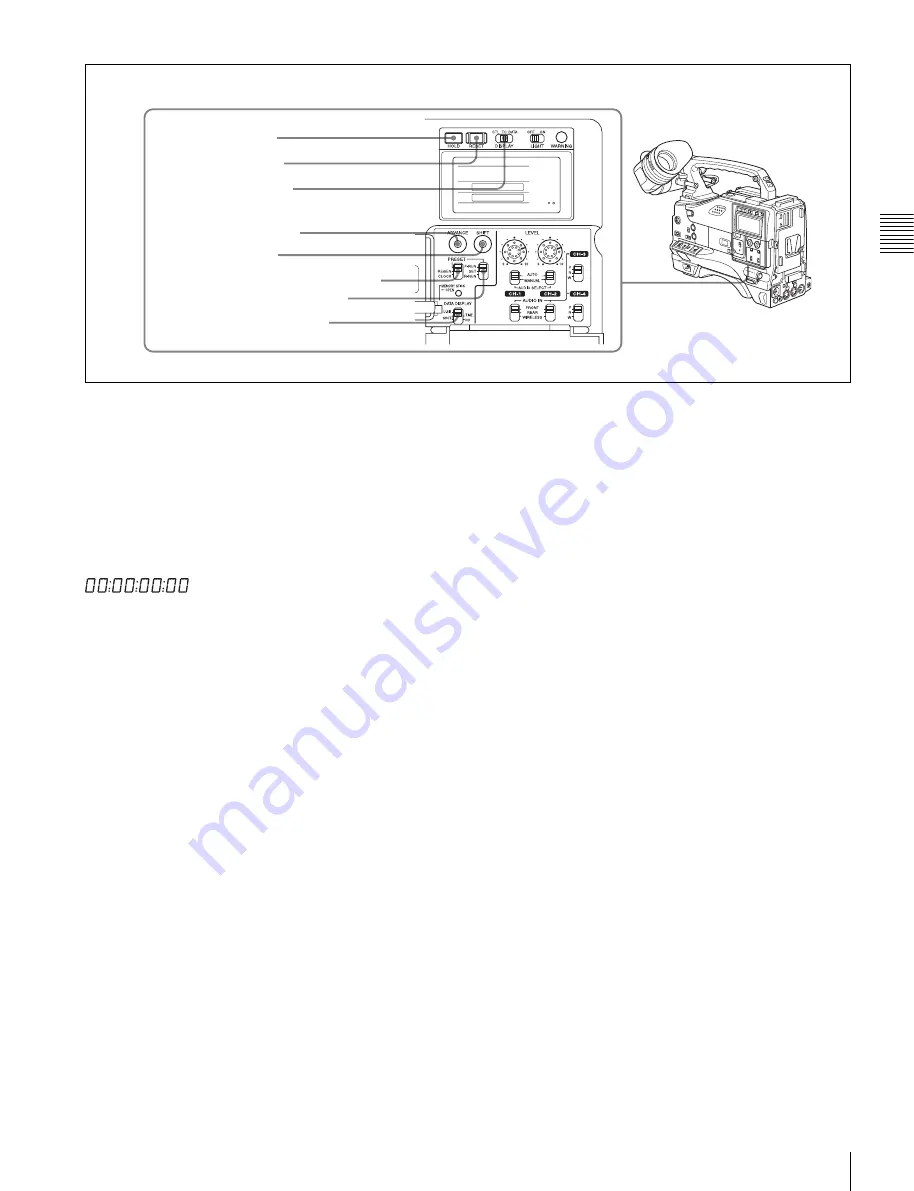
HOLD (display hold) button
Pressing this button instantly freezes the time data
displayed in the counter display section. (The time code
generator continues running.) Pressing this button again
releases the hold. You can use this button, for example, to
determine the exact time of a particular shot.
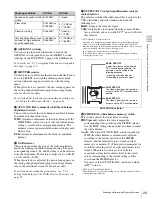
When the HOLD button is activated, the time data is
displayed in the following format:
For details of the counter display, see “2-8 Warnings and
Indications on the Display Panel” on page 31.
e
RESET button
Pressing this button resets the time data displayed on the
counter display section to “00:00:00:00” or the user bit
data to “00000000.”
f
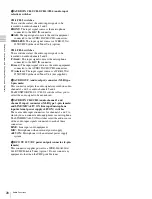
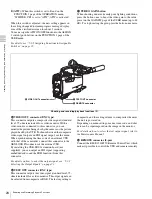
DISPLAY (LCD display) switch
CTL:
Control signal
TC:
Time code
DATA:
The item selected by the DATA DISPLAY switch.
For details, see “Time code display” on page 32.
g
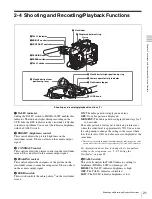
ADVANCE button
For setting the time code, user bits, or real time, each press
of this button increments the flashing digit selected by the
SHIFT button.
h
SHIFT button
For setting the time code, user bits, or real time, this button
selects the digit to be changed. The selected digit flashes.
i
PRESET/REGEN (regeneration)/CLOCK switch
This switch selects whether to set a new time code or to
follow the already recorded time code.
PRESET:
Records time code with a preset initial value.
REGEN:
Records time code continuous with the existing
time code recorded on the tape. Regardless of the
setting of the F-RUN/SET/R-RUN switch, the
camcorder operates in R-RUN mode.
CLOCK:
Records time code synchronized to the internal
clock. Regardless of the setting of the F-RUN/SET/R-
RUN switch, the camcorder operates in F-RUN mode.
For more information, see “To make the time code
consecutive” on page 72.
j
F-RUN/SET/R-RUN (free run/set/recording run)
switch
This switch selects the operating mode for the internal time
code generator.
F-RUN:
Time code keeps advancing, regardless of the
operating state of the VTR. Use this setting when
aligning the time code with real time or when
synchronizing the time code with an external time
code.
SET:
Set the switch to this position to set the time code or
user bits.
R-RUN:
The time code value advances only during
recording. Use this setting to have a consecutive time
code on the tape.
For details, see “4-5-1 Setting the Time Code” on page 71
and “4-5-3 Setting the User Bits” on page 72.
k
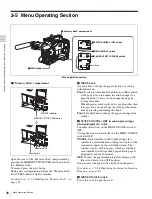
DATA DISPLAY switch
U-BIT:
To display the user bit value
SHOT-TIME:
To display the date and time from the shot
data
SHOT-NO:
Not used
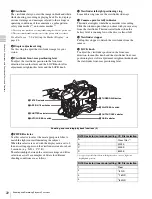
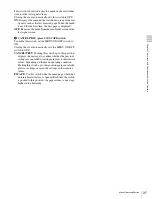
d
HOLD button
e
RESET button
f
DISPLAY switch
g
ADVANCE button
k
DATA DISPLAY switch
h
SHIFT button
i
PRESET/REGEN/CLOCK switch
j
F-RUN/SET/R-RUN switch
Содержание MSV-970
Страница 5: ...5 ...
Страница 168: ...168 Index Index ...
Страница 170: ...Sony Corporation MSW 970 970P SY 3 863 920 03 1 Printed in Japan 2006 11 13 2005 ...

