O
per
at
ing
t
he
Came
ra
Configuration of Main Viewer
26
Panning and tilting by dragging the
screen (Vector dragging mode
only)
When you click on the starting point on the image and
drag to the end point, the camera pans/tilts in the
direction of the arrow from the starting point to the end
point. The speed of operation is determined by the
length of arrow. Releasing the button on the mouse stops
the panning/tilting of the camera.
Moving the camera to a preset
position (Common operations in
Area zoom and Vector dragging
modes)
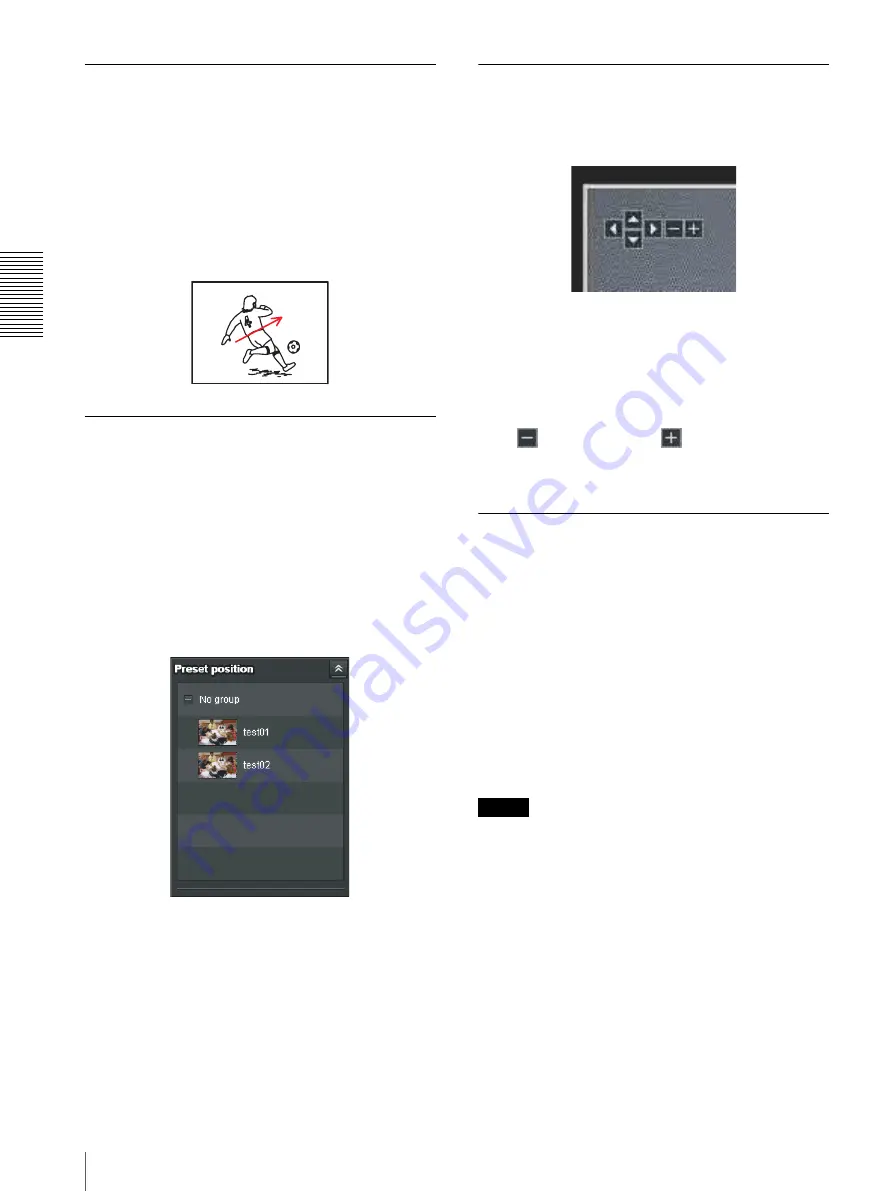
Select a preset position name from the
Preset position
panel. The camera will move to the preset position that
you have stored in memory using the Preset position
menu (page 72).
Multiple preset positions can be organized by group
according to setting.
Using pan/tilt/zoom operations with
the displayed control bar (PTZ
Control bar only)
Pan/Tilt operations
Click the arrow of the direction you wish to move the
camera. Continue clicking on the arrow to keep moving
the direction of the camera.
Zoom operation
Click
to zoom out, click
to zoom in. The zoom
operation continues while you are clicking on the
button.
Controlling the Camera on a Full
Image
When the camera is in controllable condition, the full
image appears on the panorama panel.
The full image is the still image of entire area to be shot
by the camera in reduced-sized image. By clicking on
the full image, the selected location appears on the
panorama panel.
To create a full image
Create the full image with
Capture full image
in the
Initialize tab of the System menu. See page 40 for
details.
Tip
Make sure to recreate the full image when you move the
camera position or change the layout around the camera.
To display a specified position on the
monitor
1
Create the full image and display on the monitor.
2
Click the potion you want to see on the full image.


