31
Recording Images onto a CD-R/RW (Making a
“
Folder
”
)
Recording Images onto a CD-R/RW (Making a ”Folder“)
You can edit images recorded on a CD-R/RW as
follows.
• Rotate images to the left or right
• Trim images
• Add memos to images
• Voice-over audio onto images
• Delete images
You can also record the edited images back to the CD-
R/RW.
Rotating images to the left or right
You can rotate an image to the left or right in 90˚
increments.
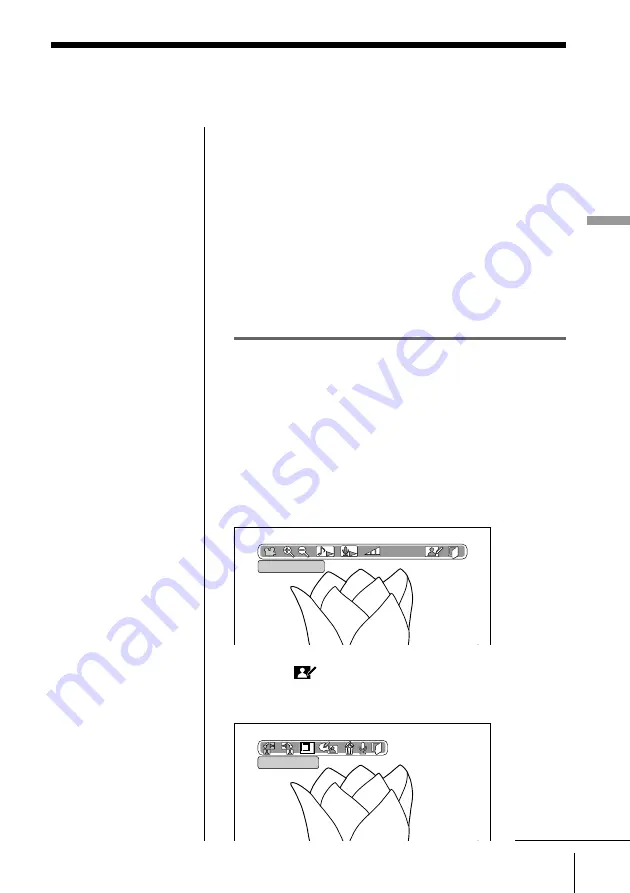
1
Select and display the image you want to edit (page
24).
2
Press OK.
The operation icons appear.
3
Select
(Edit images) by pressing
C
/
c
, then
press OK.
The edit icons appear.
Editing images in a folder
Slide show
Rotate 90˚ left
Note
• This system cannot edit
images stored on CD-
R/RWs recorded by
other CD-R/RW drives.
continued
Содержание DPF-P7
Страница 86: ...86 For Your Information ...
Страница 87: ...87 For Your Information For Your Information ...
Страница 88: ...Sony Corporation Printed in Japan ...