36
GB
4
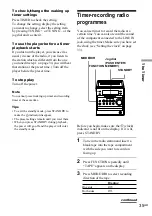
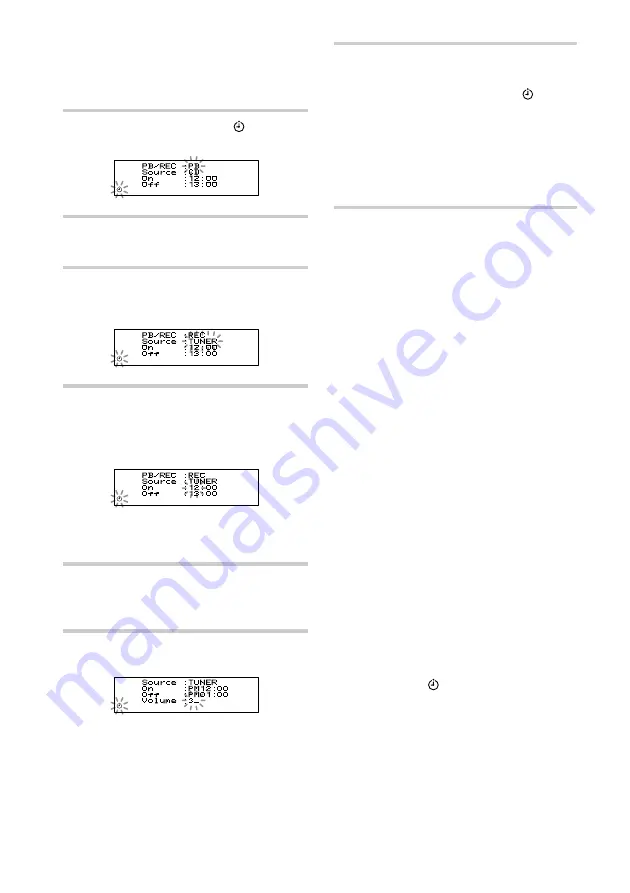
Press TIMER to make the indicator
and setting display appear.
5
Turn the jog dial to select “REC”, and
press the jog dial to enter the selection.
6
Turn the jog dial to select “TUNER” or
“LINE”, and press the jog dial to enter
the selection.
7
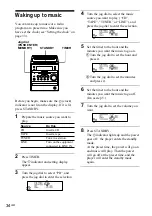
Set the timer to the hour and the
minutes you want to start recording.
1
Turn the jog dial to set the hour and
press it.
2
Turn the jog dial to set the minutes
and press it.
8
Set the timer to the hour and the
minutes you want to stop recording. (Do
as step 7.)
9
Turn the jog dial to set the volume you
want.
10
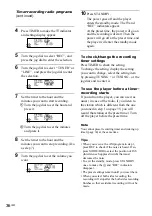
Press STANDBY.
The power goes off and the player
enters the standby mode. The and
“REC” indicators appear.
At the preset time, the power will go on
and the recording will start. Then the
power will go off at the preset time, and
the player will enter the standby mode
again.
To check/change the recording
timer settings
Press TIMER to check the setting.
To change the setting, display the setting
you want to change, select the setting item
by pressing or TUNING – or the
jog dial and re-enter it.
To use the player before a timer-
recording starts
If you turn on the player, you can use it as
usual ( in case of the radio, if you listen to
the station which is different from the one
you tuned in step 1 on page 35, you will
record that station at the preset time.) Turn
off the player before the preset time.
Note
You cannot preset recording timer and waking up
timer (page 34) at the same time.
Tips
• When you receive the AM program in step 1,
press REC to check if the noise is heard. If so,
press MODE/DIR to select the position of ISS
(Interference Suppress Switch) that most
decreases the noise.
• To exit the standby mode, press STANDBY
once to make the
and “REC” indicators
disappear.
• The preset settings remain until you reset them.
• When you select both sides recording, the
recording will stop after the both sides recording
finishes so that accidental recording will not be
made.
Timer-recording radio programs
(continued)

