8
Other functions
Changing the sound settings
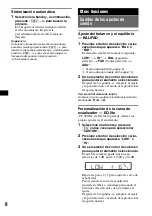
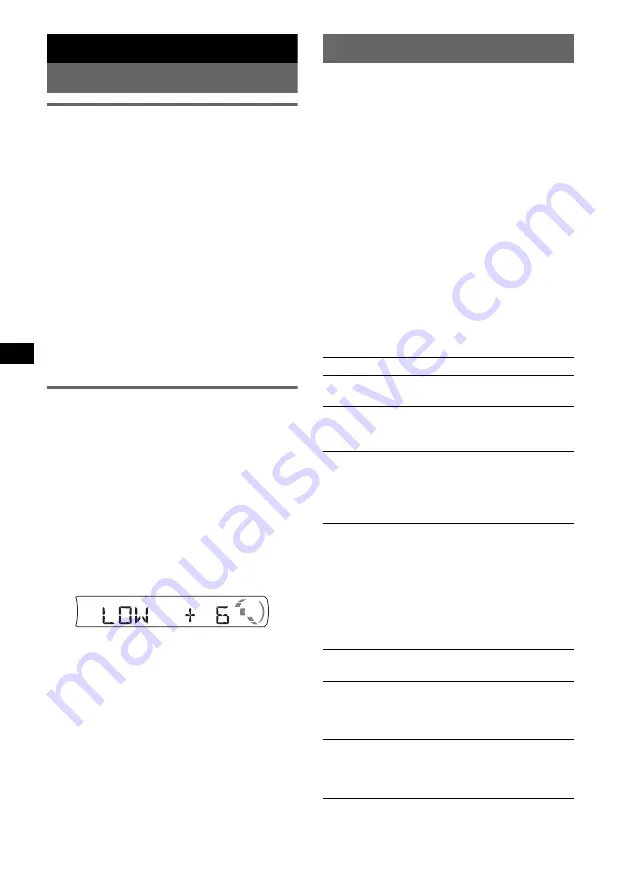
Adjusting the balance and fader
— BAL/FAD
1
Press the select button repeatedly
until “BAL” or “FAD” appears.
The item changes as follows:
LOW
*
1
t
HI
*
1
t
BAL
(left-right)
t
FAD
(front-rear)
t
AUX
*
2
*1
When EQ lite is activated (page 8).
*2
When AUX source is activated (page 9).
2
Rotate the volume control dial to
adjust the selected item.
After 3 seconds, the setting is complete and
the display returns to normal play/reception
mode.
With the card remote commander
In step 2, to adjust the selected item, press
<
,
M
,
,
or
m
.
Customizing the equalizer curve
— EQ lite
“CUSTOM” of EQ lite allows you to make your
own equalizer settings.
1
Select a source, then press
(EQ)
repeatedly to select “CUSTOM.”
2
Press the select button repeatedly
until “LOW” or “HI” appears.
3
Rotate the volume control dial to
adjust the selected item.
The volume level is adjustable in 1 dB steps,
from –10 dB to +10 dB.
Repeat steps 2 and 3 to adjust the equalizer
curve.
To restore the factory-set equalizer curve,
press and hold the select button before the
setting is complete.
After 3 seconds, the setting is complete and
the display returns to normal play/reception
mode.
Tip
Other equalizer types are also adjustable.
With the card remote commander
In step 3, to adjust the selected item, press
<
,
M
,
,
or
m
.
Adjusting setup items — SET
1
Press and hold the select button.
The setup display appears.
2
Press the select button repeatedly
until the desired item appears.
3
Rotate the volume control dial to
select the setting (example “ON” or
“OFF”).
4
Press and hold the select button.
The setup is complete and the display returns
to normal play/reception mode.
Note
Displayed items will differ, depending on the source
and setting.
With the card remote commander
In step 3, to select the setting, press
<
or
,
.
The following items can be set (follow the page
reference for details):
“
z
” indicates the default settings.
CLOCK-ADJ
(Clock Adjust) (page 4)
BEEP
To set “BEEP-ON” (
z
) or “BEEP-OFF.”
AUX-A
*
1
(AUX Audio)
To turn the AUX source display “AUX-A-ON”
(
z
) or “AUX-A-OFF” (page 9).
A.OFF
(Auto Off)
To shut off automatically after a desired time
when the unit is turned off: “A.OFF-NO” (
z
),
“A.OFF-30S (Seconds),” “A.OFF-30M
(Minutes)” or “A.OFF-60M (Minutes).”
B.OUT
(Black Out)
To turn off the illumination automatically for
any source (for example, during CD playback/
radio reception, etc.).
– “B.OUT-ON”*
2
: to turn off the illumination if
no operation is performed for 5 seconds.
– “B.OUT-OFF” (
z
): to deactivate the Black Out
function.
To bring the light back on, press any button.
DEMO
*
1
(Demonstration)
To set “DEMO-ON” (
z
) or “DEMO-OFF.”
DIM
(Dimmer)
To change the brightness of the display.
– “DIM-ON”: to dim the display.
– “DIM-OFF” (
z
): to deactivate the dimmer.
M.DSPL
(Motion Display)
– “M.DSPL-ON” (
z
): to show moving patterns.
– “M.DSPL-OFF”: to deactivate the Motion
Display.
Содержание CDX-GT260
Страница 30: ...2 您的汽车引擎没有 ACC 位置时的警告 必须设定自动断电功能 第 8 页 本机在关机后会在设定的时间内完全并自 动切断电源 以防止电池消耗 如果您未设定自动断电功能 则在每次关闭 引擎时按住 OFF 直至显示画面消失 ...
Страница 33: ...5 安装前面板 如图所示 将前面板的 A 部分与本机的 B 部分接合 然后将左侧推入到位直至听到喀 嗒声 注意 切勿在前面板内表面放任何东西 B A ...
Страница 43: ......
Страница 44: ...Sony Corporation Printed in China http www sony net ...

