6
3. Chassis Assembly Removal
4
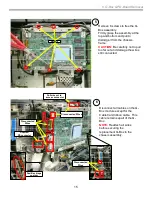
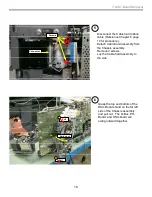
Slide Chassis out until it is stopped
by the vertical bracket. Before
attempting to remove the Chassis
assembly disconnect the wires as
illustrated in the photo.
Removal of Complete Chassis Assembly (cont.)
Disconnect
Cables on each side of the
chassis assembly
Disconnect
Fan
connector
5
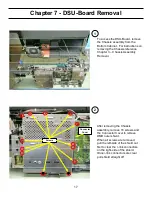
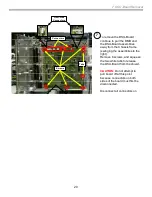
Angle the left side of Chassis
assembly out.
Slide the Chassis to the left (around
the vertical bracket and pull chassis
out.
CAUTION:
Do not remove the vertical
bracket
. This bracket is critical
support for the Upper mirror and
screen block.
Angle out
Slide to
the left
Around
vertical
bracket
6
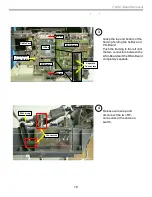
Completely remove the Chassis
assembly and disconnect Lamp
Power Supply Block cable.
Power Block cable
Vertical
Bracket
Содержание 2005 SXRD KDS-R50XBR1
Страница 26: ...24 Chapter 9 Wire Routing Diagrams Wire Routing Diagrams ...
Страница 27: ...25 9 Wire Routing Diagrams Wire Routing Diagrams cont ...
Страница 28: ...26 9 Wire Routing Diagrams Wire Routing Diagrams cont ...
Страница 29: ...27 9 Wire Routing Diagrams Wire Routing Diagrams cont ...
Страница 30: ...28 9 Wire Routing Diagrams Wire Routing Diagrams cont ...


