SONOSAX SX62R
Quick Start Guide
Page 22 of 34
6.
SETUP MENU
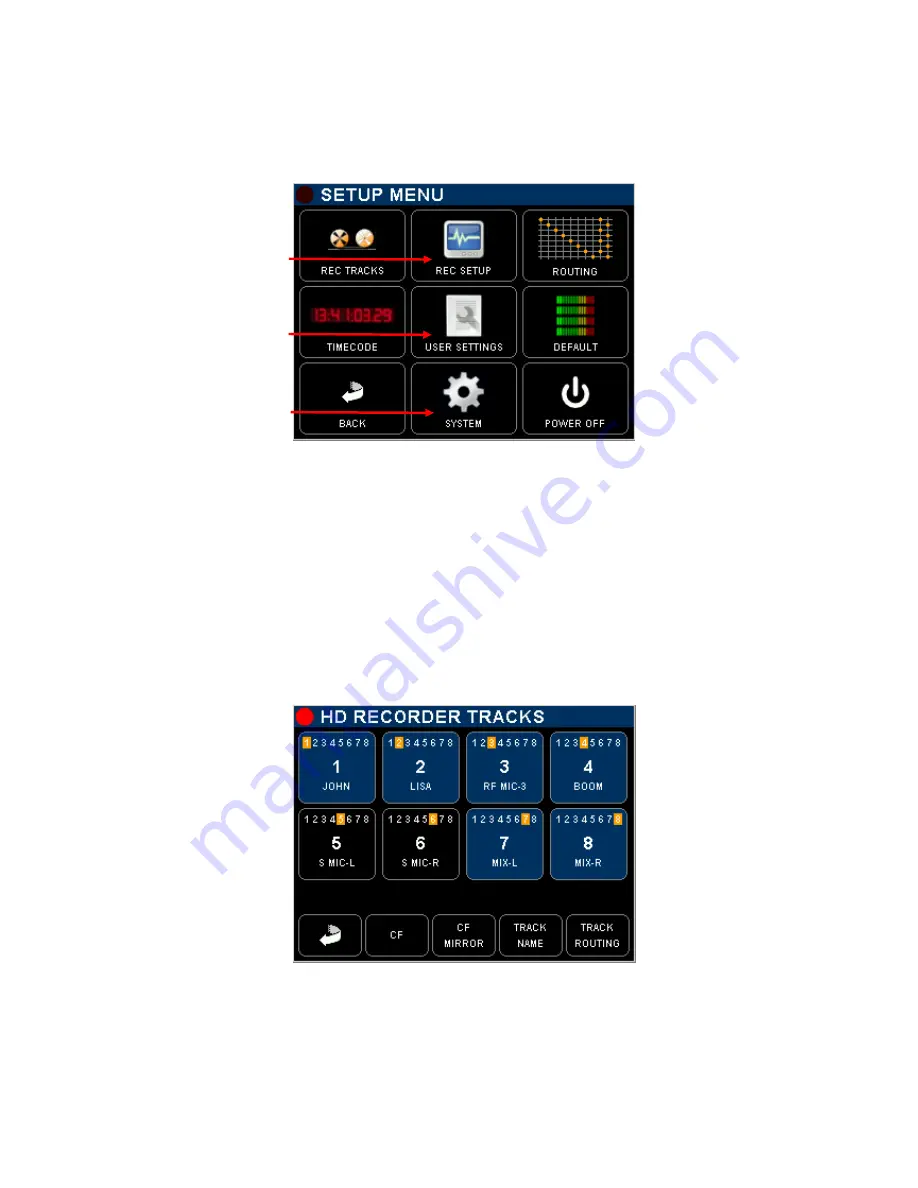
The [SETUP MENU] gives access to several Sub pages to configure the Recorder such as track arming and
routing and all recorders' setup, to the Time Code settings, to store and recall user's settings, to setup
system's parameters and to switch off the SX62R.
Track configuration: arming,
routing, naming
Recorder set-up: sampling,
bit depth, file format, sync
mode, pre-record etc
Call a cross matrix in X-Y
format for track routing.
The logo displays the
current configuration
Set up all Time Code
parameters
Store and Recall Users
Settings
Toggle Backlight mode:
Default = normal
Reversed = direct sun light
Return to Main Menu
Call the System Setup
Turn Off the unit
All keys call specific sub-menus except the "Backlight Key" that toggles the backlight of the Inputs or Track
Monitoring pages as follow:
- DEFAULT:
modulometers are displayed over a black background
- REVERSED: modulometers are displayed over a white background with a higher contrast to improve
reading on direct sun light
6.1
CONFIGURING THE RECORDER
6.1.1
Configuring the Tracks [REC TRACKS]
Assigning input channels to the tracks, arming and naming tracks on the Hard disk and CF Card is done in
this menu; the same routing is replicated in an X-Y cross matrix form in the [ROUTING] page; both forms are
provided so users can choose.
Touch a Track key to arm /
unarm a track.
Armed track in blue (will be
recorded)
Unarmed track in black (will
not be recorded)
Return to previous menu
Assigned Input channel are
highlighted in yellow over
track keys;
the displayed example
shows a 1 x 1 assignment:
Input channel 1 on track 1
Input channel 2 on track 2
etc
TRACK ARMING: toggle to arm / un-arm a track, armed track are notified with a highlighted red square on
the main Track Monitoring screen.
CF:
call the CF Card configuration page
CF MIRROR:
toggle the mirroring; (mirroring = CF replicates the HD)
TRACK NAME:
edit track's name
TRACK ROUTING: edit the input channels assignment to recorder's tracks


