


2
© 2013 Observint Technologies. All rights reserved.
•
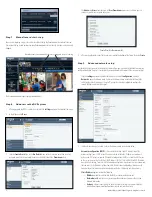
Network connectors
: Used to connect an Ethernet cable to the NVR. The 2nd network connector
provides a redundant interface to the same network. It can be used for load sharing.
NOTE
: The two
network connectors share the same hardware (MAC) address.
•
USB connector
: For future use.
•
Power connector
: Used to connect the power adapter provided (12 Vdc) to the NVR.
Setting up your NVR
The initial setup of your SLS-ENVR2016 NVR includes the following steps:
1. Installing the NVR on the local area network (LAN)
2. Discovering the NVR on your network
3. Using the Configuration Wizard
4. Associating cameras with the NVR
5. Setting recording options
6. Viewing and exporting recordings
7. Adding users (usernames) to the system
Procedures to login and logout are also included.
Step 1. Installing the NVR on the LAN
1. Plug an Ethernet cable into the network connector on the back of the NVR marked “1”. Plug the other
end into a network access device, such as a network switch, hub, or router.
NOTE
If you are using the second network interface connector (port “2”), plug another Ethernet cable into
it and into the same network the first cable is plugged into. Port “2” must be enable the
Settings |
Configuration | Network
menu. Refer to the
SLS-ENVR Series Network Video Recorder V2.2.2
User Manual
for more information.
Ethernet cable
Power adapter
cable
2. Plug the power adapter into the power connector on the back of the NVR.
3. Plug the power adapter cable into the power adapter, then into a standard 120 Vac outlet. The NVR
should automatically power on within one minute.
Step 2. Discovering the NVR on your network
1. Power on your computer and allow it to boot up.
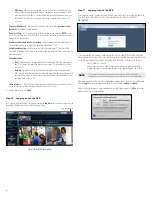
2. Insert the software CD provided with your NVR into the optical drive and allow it to initialize
(autorun). The screen shown below should open.
3. If Java is not loaded on your computer, click the
Download Java
button on the Solstice window,
then follow the on-screen instructions to install it.
4. On the Solstice window, click the
Start Discover
button.
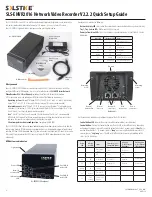
5. In the Solstice Discover window, click the
Discover
button in the lower-right corner, then wait until
completes its search.
NVR device (MAC address) discovered
6. Find the entry in the list with the MAC address of your NVR; the MAC address (S/N) of the NVR
hardware is shown on a label on the underside of the unit. If your NVR was not found during the
scan, click the
Discover
button again.
NOTE
You can change the basic network settings of your NVR with the Discover utility, change them with
the Configuration Wizard, or through the NVR user interface. To change them with the Discover utility,
click on the Discover window line of your NVR to select it, then click the
Device setup
button at the
bottom of the window. Change your network settings in the pop-up window as needed. Refer to the
SLS-ENVR Series Network Video Recorder V2.2.2 User Manual
for more information.
Step 3. Using the Configuration Wizard
1. In the Discover window, double-click the entry for your NVR to access the unit through an internet
browser.
In the login window, enter the default administrator Username and Password (
admin
and
admin
),
then click
Log In
. Passwords are case sensitive.
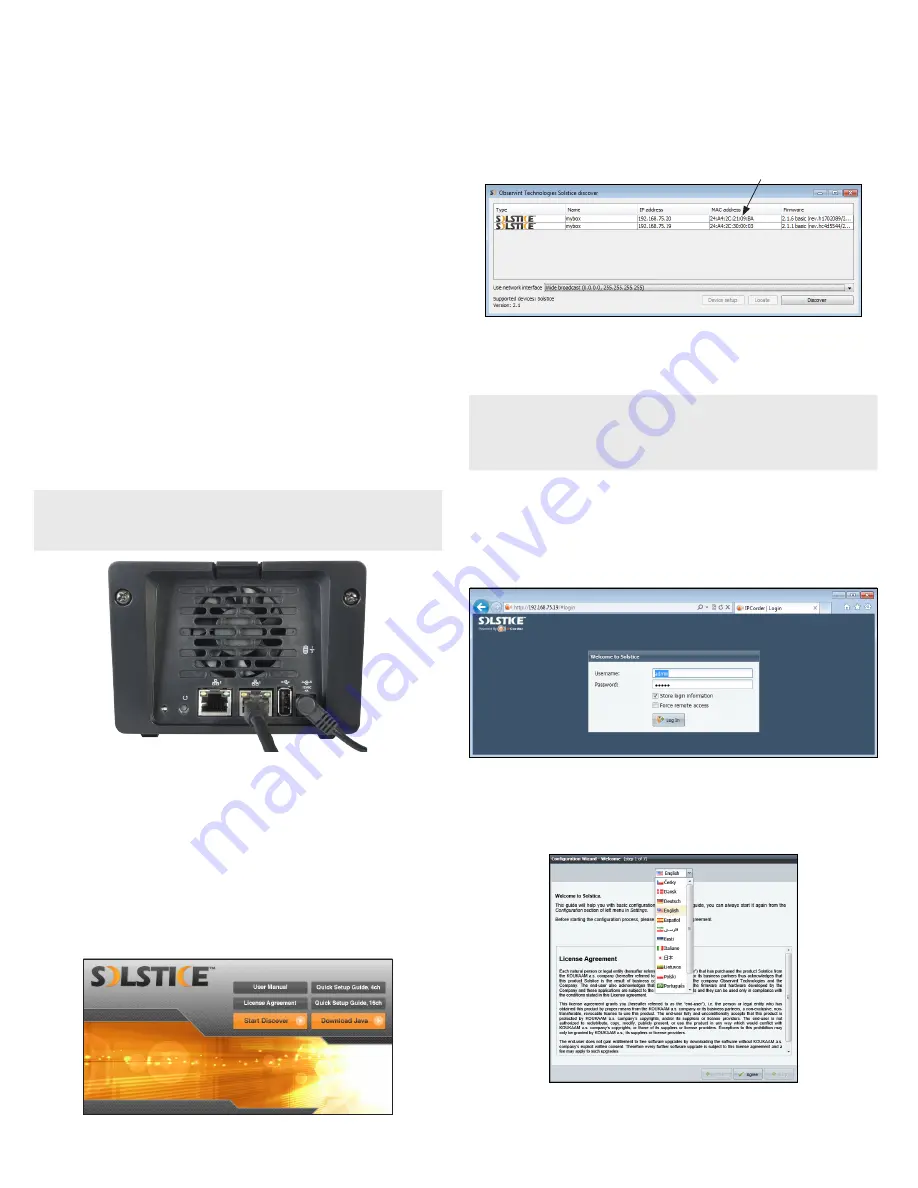
2. In the
Configuration Wizard - Welcome
frame, click the button next to “
English
” open the
drop-down list. Select your preferred language, then click
Apply and Continue
.
3. Read the License Agreement thoroughly, then click
Agree
if you do. If you don not agree with the
requirements in the License Agreement, do not install the NVR.


