background image

20

21

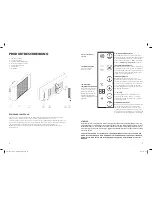
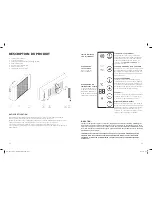
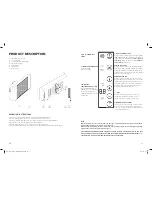
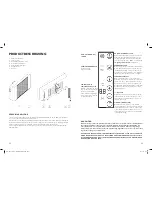
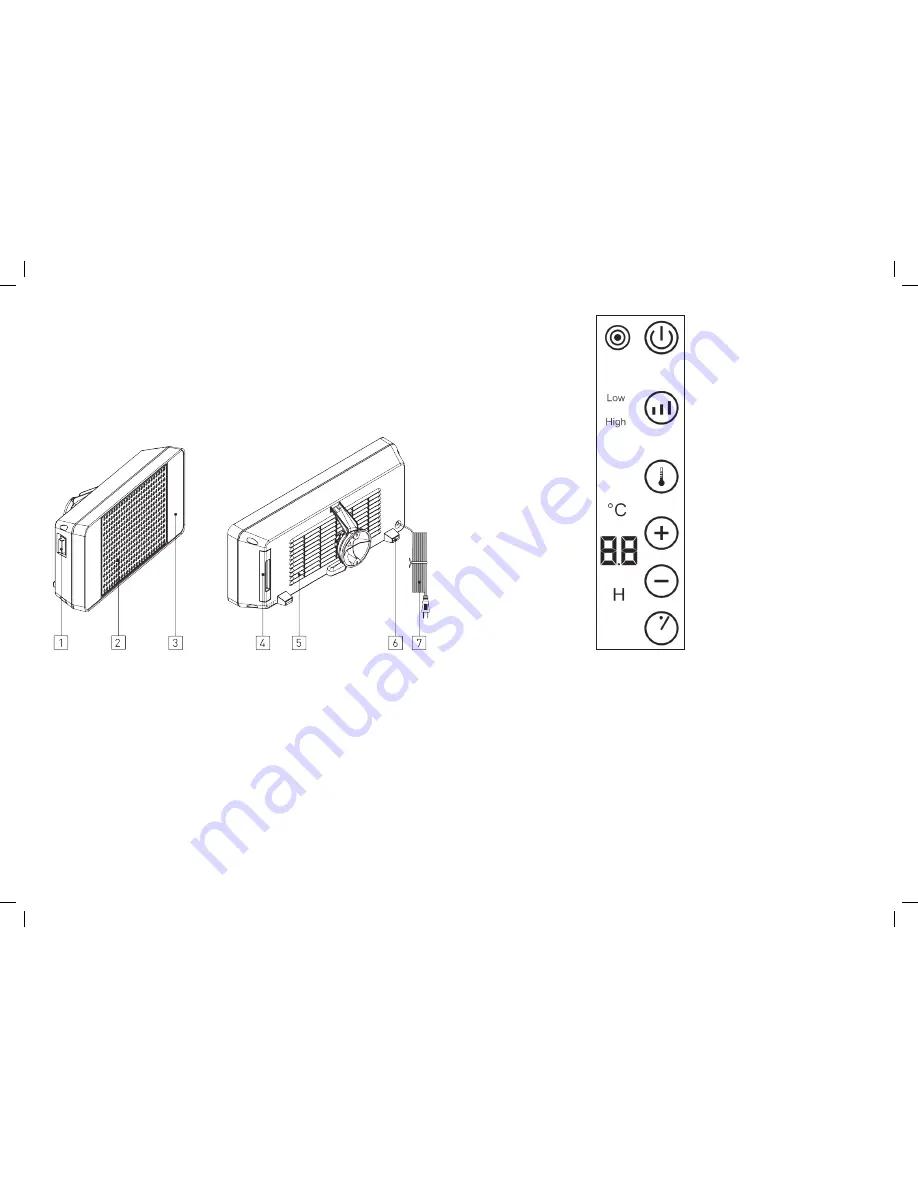
PRODUCT DESCRIPTION

1.  ON/OFF power switch
2.  air outlet grille
3.  touch panel and LCD display
4.  removable air filter
5.  air inlet grille
6.  feet rubber
7.  power cord

OPERATING INSTRUCTIONS

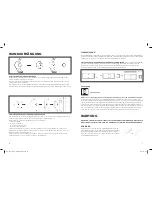
Firstly connect the power cord with correct power supply (220-240V~).  
Press the ON/OFF power switch (no. 1 in the picture) to “I” position. 
The unit is in stand-by mode after two “didi” sound. Then press on/off (stand-by)  
key to make the unit working and all functions available. 
Press the power switch to “0” position to turn off the fan heater. 
Please follow the instructions on next page to use the different functions of the fan heater.

ON/OFF (STAND-BY) 
LIGHT

ON/OFF (STAND-BY) KEY

When you touch this Key, the operation symbol 
(RED) appears and the unit begins operating at 
low power level: the indication 

“Low” appears 

on display

, below on the left, and the 

ambient 

temperature

 appears too.

POWER LEVEL INDICATOR

(Low = 1300 W  
High = 2000 W)

LED DISPLAY:
TEMPERATURE OR TIME

When both temperature 
and time are set, the display 
shows alternatively the 
ambient temperature or the 
resting time.

POWER LEVEL KEY 

When you press this Key, the heating power pass 
from low to high level (from 1300W to 2000W): 
on display it appears the indication “High”. If you 
continue to press this key the power level changes 
from one to the other level.

TEMPERATURE KEY

When you press this Key, you can choose the 
desired temperature, from 5 to 35° C. To set the 
temperature you have to press this key, press + or 
– key and then wait 5”, for setting confirmation. 
The temperature then shown on the display  
will be the ambient temperature.

+/- KEYS

When you press this Key, You can choose  
the desired temperature, from 5 to 35° C, or  
the time, from 1 to 12 hours (by 1h step).

TIMER (SWITCH OFF TIME)

To fix a time for the operation of the unit (from 
0 to 12 hours, by 1h step), press this key and 
then + or – key to fix the time and then wait 5”, 
for setting confirmation.

N.B.

When the temperature set is reached, the unit goes in stand-by mode, the power level indica-
tion disappears and air circulation stops after 10”. 
When the ambient temperature is 2° C below the set temperature, the units begins operating 
again at the same power level previously set.

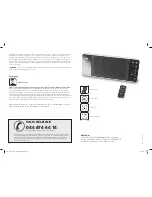
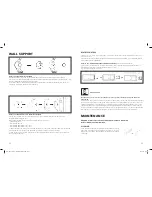
THIS FAN HEATER CAN BE PLACED ON THE FLOOR, ON A SHELF OR ON THE WALL: IN THE LAST 
CASE YOU MUST TAKE THE SPECIAL HOLDER SUPPLIED WITH THE PRODUCT AND INSTALL IT 
ON THE WALL, AS BY FOLLOWING INSTRUCTIONS and PICTURES. 

Solis_Smart_Heater_Betriebsanleitung.indd   20-21

08.04.10   17:16

Содержание SMART HEATER 689

Страница 1: ... contrôlé soigneusement Nous nous engageons à effectuer sans frais toutes les réparations résultant d un défaut de fabrication ou de matériel La garantie commence à la date de vente marquée par le revendeur L appareil est à nous retourner sans avoir été enclenché et accompagné du bon de garantie dûment rempli et accompagné de l original de la quittance de vente Ne sont pas couverts les dommages qu...

Страница 2: ...zkabel aufliegen Verlegen Sie das Netzkabel nicht unter einem Teppich Bedecken Sie das Netz kabel nicht mit Vorlegern Teppichläufern oder ähnlichem Verlegen Sie das Netzkabel möglichst fern von den häufig begangenen Wegen des Raumes damit niemand darüber stolpert Verwenden Sie den Heizlüfter nicht in unmittelbarer Nähe von Badewannen Duschkabinen Waschbecken oder Swimmingpools Platzieren Sie den H...

Страница 3: ...r Anzeige erscheint der Hinweis High Durch nochmaliges Drücken der Taste geht die Leistung wieder zurück TEMPERATURTASTE Durch Drücken dieser Taste lässt sich die gewünschte Temperatur zwischen 5 und 35 C einstellen Drücken Sie zunächst diese Taste dann die Taste oder und warten Sie 5 Sekunden bis zur Bestätigung der Einstellung Die dann auf dem Display angezeigte Temperatur ist die Umgebungstempe...

Страница 4: ...atterie Richtlinie 2006 66 EG entsprechen EINSETZEN UND ENTNEHMEN DER BATTERIEN DER FERNBEDIENUNG siehe nachfolgende Abbildung Öffnen Sie das Batteriefach auf der Rückseite der Fernbedienung durch Drücken auf die Taste und Herausziehen der Halterung Setzen Sie die Batterie in die Halterung ein Achten Sie dabei auf die korrekte Polarität Setzen Sie die Halterung wieder in die Fernbedienung ein Ents...

Страница 5: ...äts mit einem weichen Tuch Bei starker Verschmutzung verwenden Sie ein weiches mit Wasser von unter 50 C und mit neutralem Reinigungsmittel leicht getränktes Tuch Trocknen Sie das Gerät sorgfältig Verwenden Sie kein Öl oder andere chemische Produkte oder Gegenstände die die Oberfläche des Geräts angreifen könnten Ziehen Sie das Netzkabel vor der Reinigung aus der Steckdose Andernfalls besteht die ...

Страница 6: ...imentation secteur sous un tapis Ne le recouvrez pas avec descentes de lits carpettes ou objets analogues Disposez le câble d alimentation secteur le plus loin possible des passages fréquemment empruntés dans la pièce afin que personne ne trébuche dessus N utilisez pas le radiateur soufflant à proximité immédiate de baignoires de cabines de douche de lavabos ou de piscines Ne placez pas le radiate...

Страница 7: ...ce de chauffage de basse à haute de 1300 à 2000 W L indication High apparaît à l écran Un nouvel appui sur la touche ramène la puissance en position basse TOUCHE TEMPÉRATURE L appui sur cette touche permet de régler la température voulue entre 5 et 35 C Appuyez d abord sur cette touche puis sur la touche ou et attendez 5 secondes jusqu à la confirmation du réglage La température qui s affiche ensu...

Страница 8: ...um manganèse de type CR2032 3 volts conformes à la nouvelle directive 2006 66 CE sur les piles MISE EN PLACE ET RETRAIT DES PILES DE LA TÉLÉCOMMANDE voir schéma ci dessous Ouvrez le compartiment à piles au dos de la télécommande en appuyant sur la touche et en faisant glisser le couvercle vers l extérieur Introduisez la pile dans le support veillez à respecter la bonne polarité Remettez le support...

Страница 9: ...appareil Nettoyez le boîtier de l appareil avec un chiffon doux En cas de fortes salissures utilisez un chiffon doux légèrement imbibé d eau à moins de 50 C et d un produit de nettoyage neutre Séchez soigneusement l appareil N utilisez pas d huile ou d autres produits chimiques risquant d attaquer la surface de l appareil Avant de procéder au nettoyage débranchez le câble d alimentation de la pris...

Страница 10: ...peting Do not cover power cord with throw rugs runners or the like Arrange power cord away from room traffic and where it will not be tripped over Do not use the heater in the immediate surroundings of bathtubs showers washing stands or swimming pools Do not locate the heater below a socket outlet Do not let the mains lead hang over the edge of the table or work surface or touch hot surfaces Do no...

Страница 11: ...s from low to high level from 1300W to 2000W on display it appears the indication High If you continue to press this key the power level changes from one to the other level TEMPERATURE KEY When you press this Key you can choose the desired temperature from 5 to 35 C To set the temperature you have to press this key press or key and then wait 5 for setting confirmation The temperature then shown on...

Страница 12: ... up please do not eliminate this battery together with normal household waste It must be taken to special local community waste collection centres or to a dealer providing this service Disposing of a battery separately avoids possible negative effects on the environment and human health deriving from an inappropriate disposal and enables its components to be recovered and recycled to obtain signif...

Страница 13: ...hen put the product in a dry and ventilated place for stocking EU 2006 96 CE Information for correct disposal of the product in accordance with the European Directive 2002 96 EC At the end of its working life this equipment must not be disposed of as an household waste It must be taken to special local community waste collection centres or to a dealer providing this service Disposing of electrical...

Страница 14: ...er en leg ook geen andere voorwerpen bijv matten lopers e d op het snoer Leid het netsnoer niet onder een vloerkleed door Leg het netsnoer op zo groot mogelijke afstand van veel belopen routes binnen de ruimte zodat er niemand over kan struikelen Gebruik de ventilatorkachel niet in de onmiddellijke nabijheid van badkuipen douchecabines wasbakken en zwembaden Plaats de ventilatorkachel niet onder e...

Страница 15: ...t de toets ver schijnt de tekst High Als u de toets nogmaals indrukt wordt het vermogen weer verlaagd TEMPERATUURTOETS Na het indrukken van deze toets kunt u de gewenste temperatuur instellen op een waarde tussen 5 en 35 C Druk eerst deze toets in en daarna de toets of Na 5 seconden wordt de ingestelde waarde bevestigd De temperatuur die dan op het display verschijnt is de omge vingstemperatuur TO...

Страница 16: ... op de juiste manier wordt verwerkt Door de gescheiden inzameling van batterijen worden mogelijke negatieve gevolgen voor het milieu en de gezondheid voorkomen en is het mogelijk dat de componenten worden hergebruikt resp gerecycled waardoor er veel energie en grondstoffen worden bespaard Om de verplichting om de batterij volgens de voorschriften te verwijderen duidelijk onder de aandacht te breng...

Страница 17: ...oorwerpen die het oppervlak van het toestel kunnen aantasten of beschadigen Haal het netsnoer vóór het reinigen uit het stopcontact Anders bestaat het risico dat u een elektrische schok krijgt OPSLAG Laat de ventilatorkachel afkoelen en drogen en verpak hem Bewaar het toestel op een droge en goed geventileerde plek EU 2006 96 CE Aanwijzingen voor het verwijderen van het product volgens EU richtlij...

Страница 18: ...ns tous les cas la peine d appeler notre helpline 044 874 64 14 avant d envoyer l appareil car les pannes peuvent être réparées rapidement et simplement dans beaucoup de cas avec un bon conseil ou une bonne astuce de nos spécia listes expérimentés sans que l appareil ne doive nous être retourné Les clientes et clients à l étranger sont priés de s adresser au point de vente où ils ont acquis l appa...

Отзывы: