8
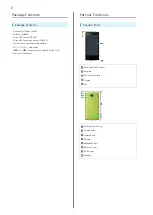
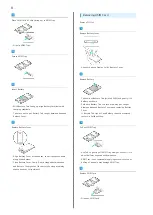
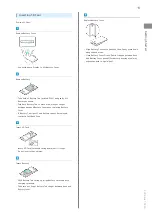
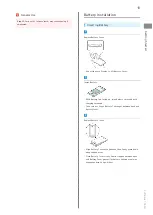
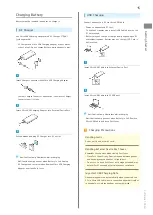
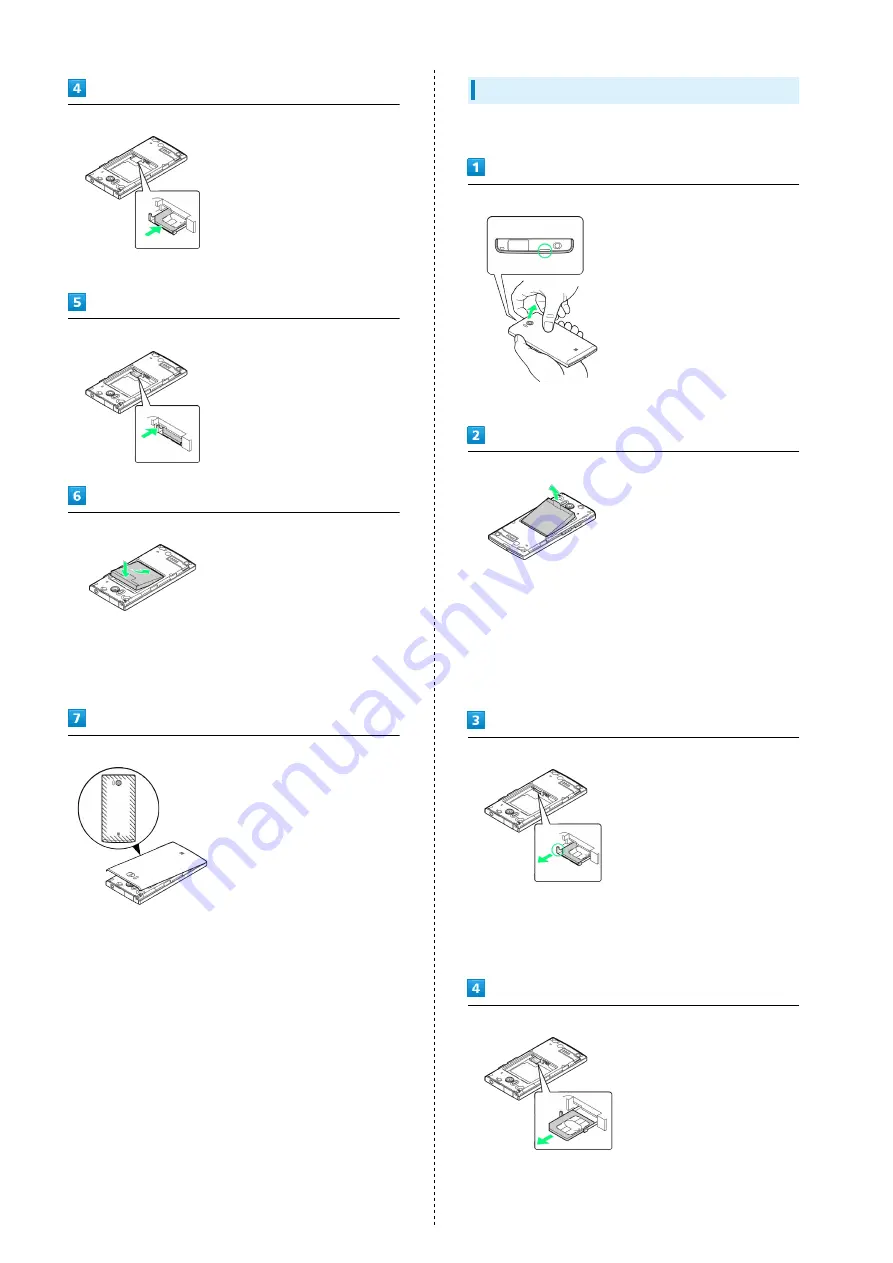
Place USIM Card (IC chip facing up) in USIM Tray
・Slide in USIM Tray.
Secure USIM Tray
Insert Battery
・With Battery Tab facing up, align Battery terminals with
charging terminals.
・Take care not to get Battery Tab caught between base and
Battery Cover.
Replace Battery Cover
・Align Battery Cover with handset, then firmly press down
along shaded areas.
・Close Battery Cover firmly. Debris trapped between base
and Battery Cover gasket (for battery housing area) may
expose handset to liquid/dust.
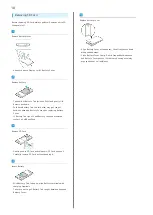
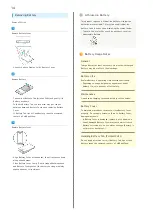
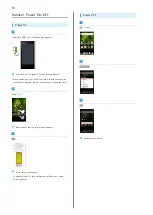
Removing USIM Card
Power off first.
Remove Battery Cover
・Use notch above Display to lift Battery Cover.
Remove Battery
・Take hold of Battery Tab (printed PULL) and gently lift
Battery as shown.
・Fold back Battery Tab to black area; may get caught
between base and Battery Cover upon replacing Battery
Cover.
・If Battery Tab rips off and Battery cannot be removed,
contact a SoftBank Shop.
Pull out USIM Tray
・Use Tab to gently pull USIM Tray straight out until it is
about halfway exposed as shown above.
・USIM Tray is not removable; applying excessive force or
pulling at an angle may damage USIM Tray.
Remove USIM Card
・Slide out USIM Card.
Содержание 103SH
Страница 1: ...103SH User Guide...
Страница 2: ......
Страница 6: ...4...
Страница 20: ...18...
Страница 36: ...34...
Страница 44: ...42...
Страница 45: ...43 Phone SoftBank 103SH Phone Placing Answering Calls 44 Optional Services 45 Using Address Book 50...
Страница 54: ...52...
Страница 67: ...65 Camera SoftBank 103SH Camera Photo Camera 66 Video Camera 67...
Страница 70: ...68...
Страница 71: ...69 Music Images SoftBank 103SH Music Images Music 70 Still Images Video 70...
Страница 74: ...72...
Страница 75: ...73 Connectivity SoftBank 103SH Connectivity Connecting to Wi Fi 74 Using Bluetooth 77...
Страница 82: ...80...
Страница 83: ...81 Global Services SoftBank 103SH Global Services Global Roaming 82 Calling from Outside Japan 83...
Страница 97: ...95 Appendix SoftBank 103SH Appendix Specifications 96 Customer Service 96...
Страница 117: ......


