4
Setup Instructions
This
Quick Start Guide
provides the most basic instructions for installing
and using the GPS Nav Kit to navigate to a destination with known address.
The MyNavigator software includes many options that are not covered in
this
Quick Start Guide
. For complete instructions, please refer to the
User’s
Guide
on the installation CD.
Setup Summary
STEP 1: Charge the battery.
STEP 2: Install the software.
STEP 3: Load maps onto the mobile computer.
STEP 4: Turn on receiver and wait for GPS fix.
STEP 4: Connect the receiver and mobile computer via
Bluetooth
.
STEP 6: Navigate to your destination.
STEP 1: Charge the Battery
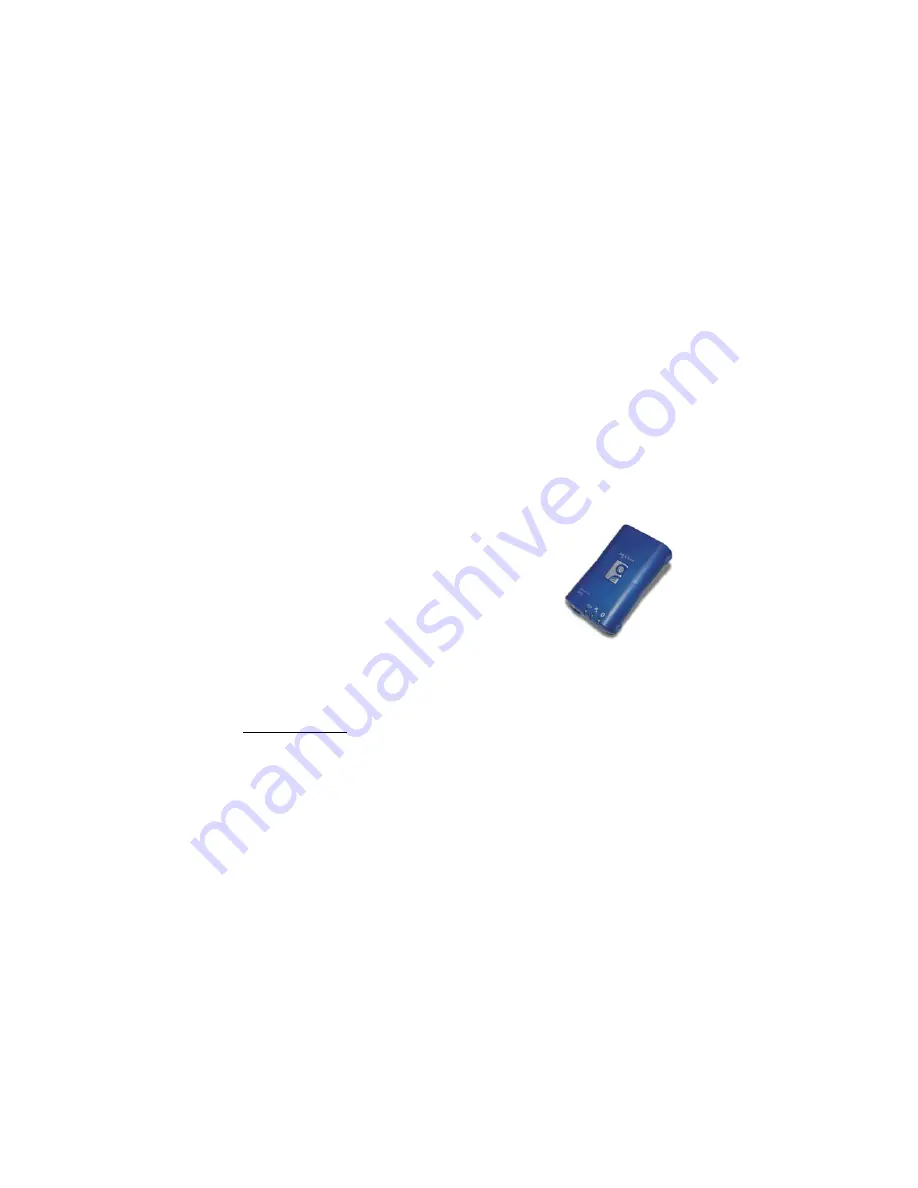
1. Charge the GPS Receiver, using a DC or AC
adapter. Connect a DC charger to a vehicle
cigarette lighter, or connect an AC charger to an
electrical outlet. As the device charges, the Battery
Status LED will emit a solid amber light.
2. When the battery is more than 90% full, the LED
will turn off. Unplug the device and remove the
charger.
STEP 2: Install the Software
1.
Pocket PCs only:
Use ActiveSync and a serial/Ethernet/USB cable or
cradle to make an active connection between the mobile computer and
a host PC.
2. Insert Disk 1 into your CD-ROM drive.
3. Use My Computer or Windows Explorer to access the CD-ROM drive.
In the CD, click on SETUP.EXE.
4. Follow the instructions on your screen to install the software.
5. When prompted, select the type of mobile computer you want to install the
software onto.
6. Now you are ready to load maps. If you are using a Pocket PC, do not
disconnect it from your host PC.


