12
Getting Started
Powering Up
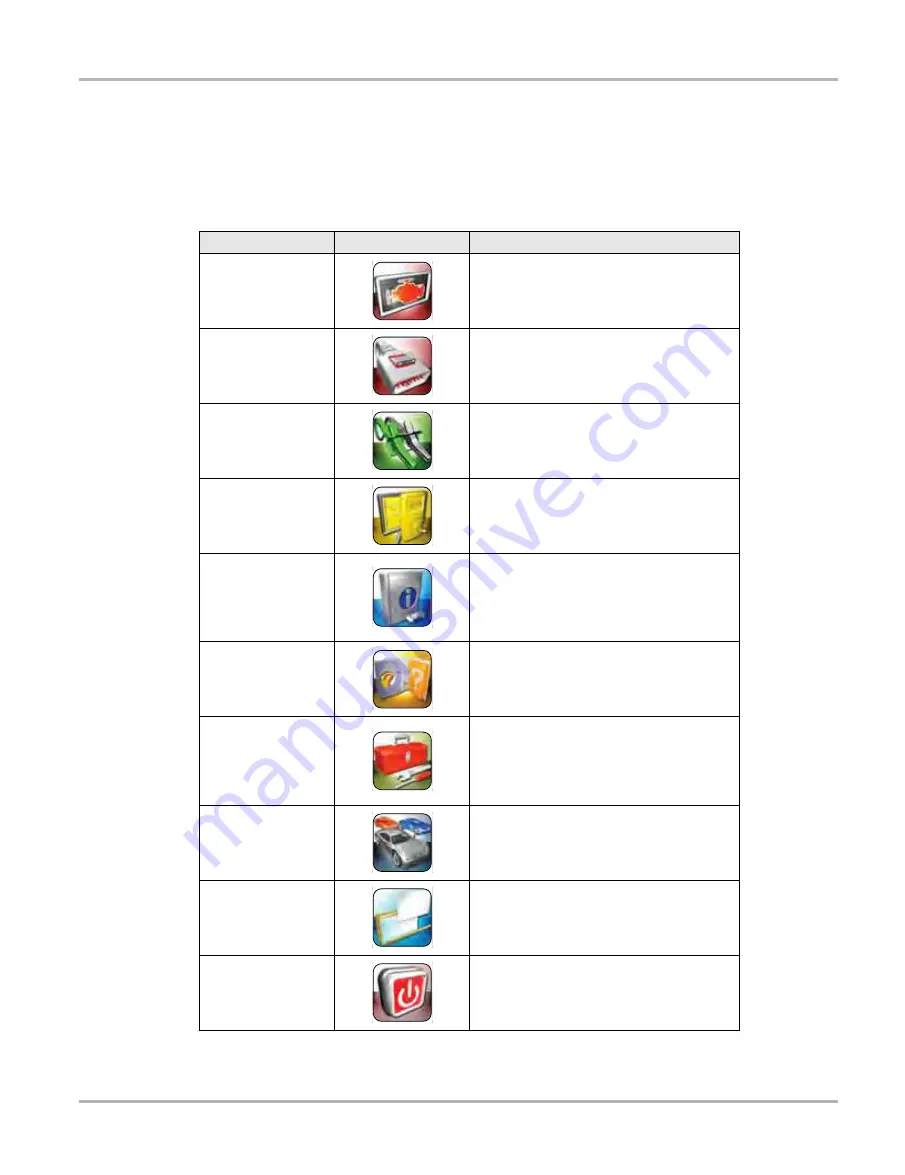
3.1.1 Module Buttons
The Module buttons configure the VERDICT for the type of test to be performed. The table below
gives brief descriptions of the available Module buttons, which operations are available depends
upon the individual configuration of your VERDICT system.
Use the stylus or your finger tip to select from the Module buttons.
Table 3-1 Module buttons
Name
Button
Description
Scanner
Configures the unit to operate as a scan
tool. See
OBD Direct
Allows you to perform generic OBD-II or
EOBD system tests without identifying the
specific vehicle. See
.
Component Test
Opens a diagnostic database of specific
tests for the identified vehicle. See
"Component Test Operations‚" on page 58
Scope Multimeter
Configures the unit to operate as a lab
scope, graphing multimeter, or digital
multimeter. See
.
Information
Provides the information needed to make
repairs once you have made your
diagnosis. The linked program varies by
region. See
.
Help
Opens the on-line help for the system. See
"Help Operations‚" on page 109
System Settings
Establishes and manages wireless
connections to peripheral devices, such as
the SCAN MODULE and the Data
Acquisition Device. See
Vehicle History
Identifies the test vehicle and organizes and
manages work in progress and service
records. See
.
Data Manager
Opens the organization system for saved
data files. See
.
Exit
Closes the VERDICT diagnostic Platform
software and returns the display to the
Windows desktop.
Содержание VERDICT D7
Страница 1: ...User Manual May 2011 EAZ0063L05C Rev B ...
Страница 3: ...iii ...


