background image

p. 6 

1.


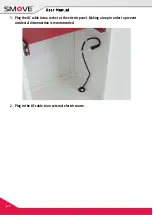
Plug the AC cable into a socket at the electric panel. Making a loop in order to prevent 
accidental disconnection is recommended.


2.


Plug in the AC cable to an external electric source. 


Содержание FBOX PRO

Страница 1: ...PHOTO BOOTH SMOVE FBOX PRO...

Страница 2: ...orking The maximum operating duration should not exceed 12h After this period the machine should be turned off for at least 6h Photo Booth cannot be used and stored in an open space area Operating and...

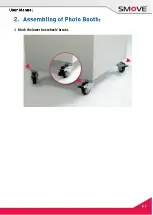
Страница 3: ...p 3 1 Block the lower box wheels breaks...

Страница 4: ...p 4 2 Place the upper box on the lower box according to four angle sections Regulate the boxes in relation to each other...

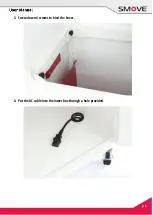
Страница 5: ...p 5 3 Screw down 4 screws to bind the boxes 4 Put the AC cable into the lower box through a hole provided...

Страница 6: ...p 6 1 Plug the AC cable into a socket at the electric panel Making a loop in order to prevent accidental disconnection is recommended 2 Plug in the AC cable to an external electric source...

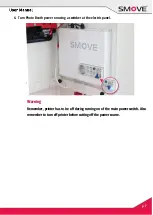
Страница 7: ...Photo Booth power on using a switcher at the electric panel Warning Remember printer has to be off during turning on of the main power switch Also remember to turn off printer before cutting off the p...

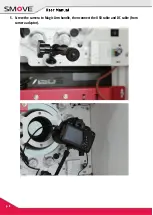
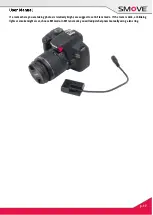
Страница 8: ...p 8 5 Screw the camera to Magic Arm handle then connect the USB cable and DC cable from camera adaptor...

Страница 9: ...p 9 6 If your Photo Booth is provided with Flash module Plug in the hot shoe into the camera slot...

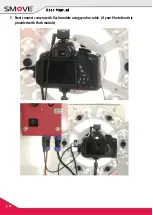
Страница 10: ...p 10 7 Next connect camera with flash module using synchro cable if your Photo Booth is provided with Flash module...

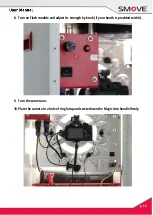
Страница 11: ...p 11 8 Turn on Flash module and adjust its strength by knob if your booth is provided with it 9 Turn the camera on 10 Place the camera in a hole of ring lamp and screw down the Magic Arm handle firmly...

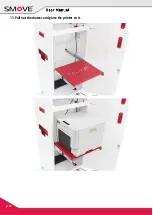
Страница 12: ...p 12 11 Pull out the drawer and place the printer on it...

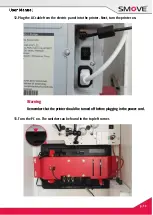
Страница 13: ...e from the electric panel into the printer Next turn the printer on Warning Remember that the printer should be turned off before plugging in the power cord 13 Turn the PC on The switcher can be found...

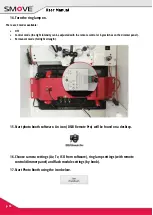
Страница 14: ...ol or by switches on the dimmer panel Permanent mode full light strength 15 Start photo booth software An icon DSLR Remote Pro will be found on a desktop 16 Choose camera settings Av Tv ISO from softw...

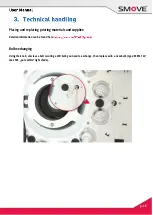
Страница 15: ...inting materials and supplies Detailed information can be found here Bulb exchanging Using the knob unscrew a bolt securing a LED bulb you need to exchange then replace with a new bulb type MR16 12V m...

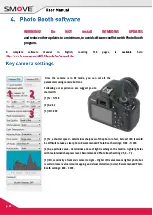
Страница 16: ...1 Tv 1 100 2 Av 6 3 3 ISO 400 1 Tv a shutter speed determines sharpness of the photo In fact below 1 80 it would be difficult to take a clear photo Recommended Photo Booth settings 1 80 1 200 2 Av ape...

Страница 17: ...e you are taking photos is relatively bright we suggest to set AF lens mode If the room is dark or blinking lights or smoke might occur choose MF mode In MF lens mode you will adjust sharpness manuall...

Отзывы: