3-6
Installing the Switch
3
Connecting to a Power Source
To connect a device to a power source:
1.
Insert the power cable plug directly into the socket located at the back of the
device.
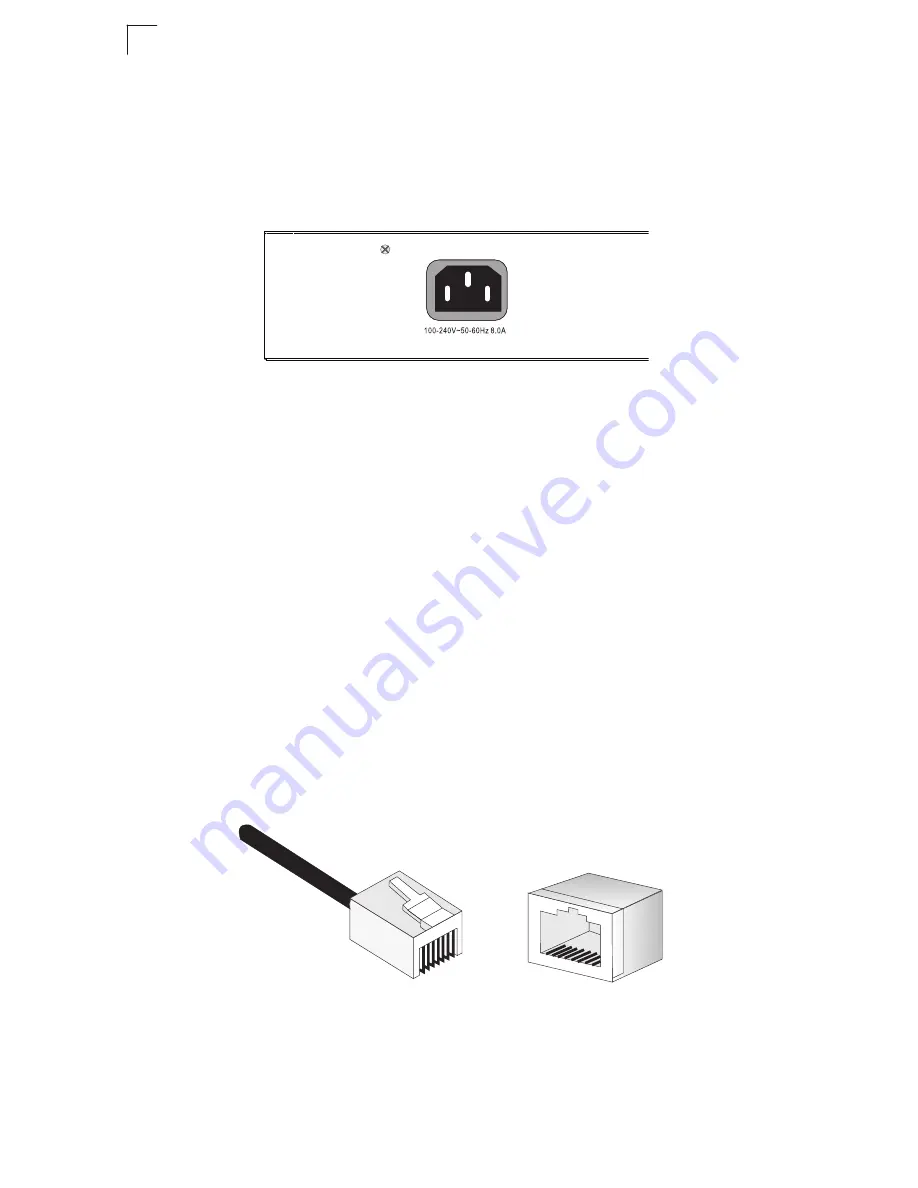
Figure 3-6 Power Socket
2.
Plug the other end of the cable into a grounded, 3-pin, AC power source.
Note:
For international use, you may need to change the AC line cord. You must
use a line cord set that has been approved for the receptacle type in your
country.
3.
Check the front-panel LEDs as the device is powered on to be sure the Power
LED is on. If not, check that the power cable is correctly plugged in.
4.
If you have purchased a Redundant Power Supply, connect it to the switch and
to an AC power source now.
Connecting to the Console Port
The RJ-45 serial port on the switch’s front panel is used to connect to the switch for
out-of-band console configuration. The on-board configuration program can be
accessed from a terminal or a PC running a terminal emulation program. The pin
assignments used to connect to the serial port are provided in the following table.
Figure 3-7 Serial Port (RJ-45) Pin-Out
8
1
1
8
Содержание 8126PL2-F
Страница 1: ...INSTALLATION GUIDE ta TigerSwitchTM 10 100 1000 L2 Lite SMB PoE Gigabit Switch SMC8126PL2 F ...
Страница 14: ...x ...
Страница 20: ...xvi ...
Страница 40: ...3 8 Installing the Switch 3 ...
Страница 54: ...B 6 Cables B ...
Страница 58: ...C 4 Specifications C ...
Страница 60: ...Ordering Information D 2 D ...
Страница 67: ......
Страница 68: ...20 Mason Irvine CA 92618 Phn 949 679 8000 www smc com 150200062800A R02 150200000032A R01 SMC8126PL2 F ...


