www.smartdigital.com.au
Edition 1.2
11
Powering ON the Projector
1.
Remove the lens cap.
2.
Turn on the lamp by pressing “POWER” button either on the top of the projector or on the
remote. The Power LED will now turn Green.
3.
The startup screen will display in approximately 10-15 seconds.
4.
The projector will detect the source automatically. If it does not detect the DVD player, press the
source button until found. Repeat if necessary.
Adjustment of Zoom & Focus
You may
press the zoom button, until it is correct.
To focus the image, rotate the focus ring until the image
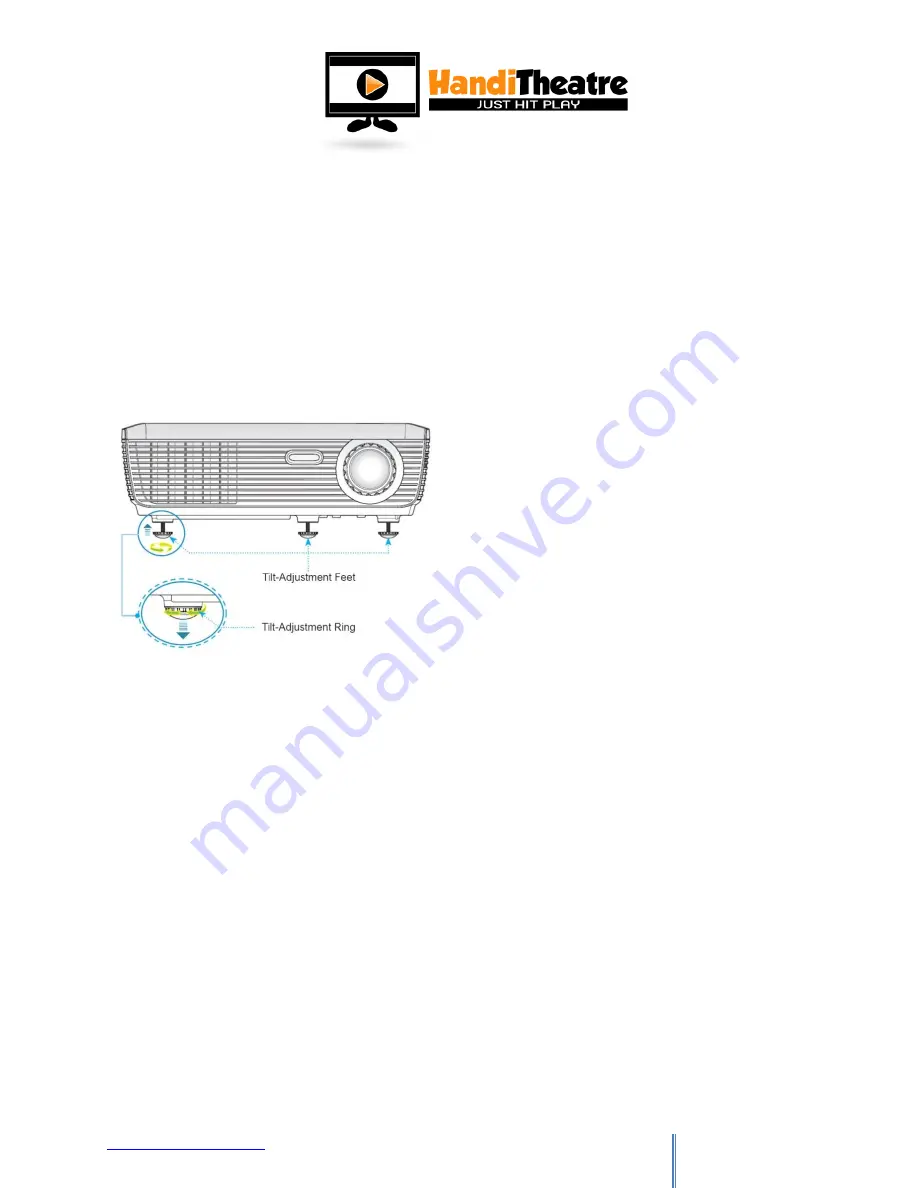
is clear. If need be, adjust the height the projector using the tilt adjustment feet and the front and rear
of the projector.
Image Alignment
1.
To align the image of the projector to your screen, use the
zoom function to get the image the correct size, and focus
to get the image clear.
2.
Adjust the height of the projector using the feet of the
Projector
to adjust to the correct height. If the image need
s
to come further up or down, prop up the
front or back of the box with a flat object to produce the
desired image height.
3.
Under ‘Display’ tab in the menu in adjust the vertical or
horizontal image shift to get the image precisely in the
centre of the screen if required.
4.
U
se the keystone feature to square up the image if extra tilting of the image
was required.
5.
For rear projection
select the "Flip" option of your remote OR
go to Set-up, then to projection. Use
the arrows to select rear projection (when image is
backwards).

