6 Electrical Connection
SMA Solar Technology AG
Operating manual
STP3-6-3AV-40-BE-en-13
35
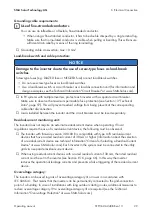
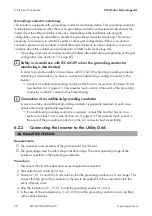
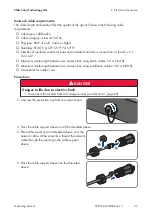
3. Ensure that all conductors are correctly connected to the M12 plug.
4. Unscrew the protective cap from the jack for the
RS485 communication connection.
56
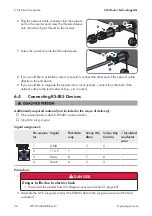
5. Plug the M12 connector into the jack for the RS485
communication connection and screw tight. When
doing so, align the connector so that the key on the
inverter AC jack is inserted into the keyway on the
plug.
56
6.5
Mounting the WLAN Antenna
Requirement:
☐ The WLAN antenna supplied must be used.
Procedure:
1.
DANGER
Danger to life due to electric shock
• Disconnect the inverter from all voltage sources (see Section 9, page 69).
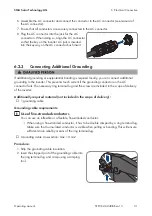
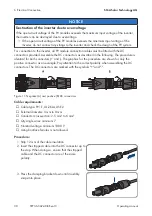
2. Remove the protective cap from the jack on the inverter.
3. Plug the WLAN antenna into the jack and screw
tight (torque: 1 Nm).
4. Pull on the WLAN antenna to ensure that the WLAN antenna is securely in place.
6.6
DC Connection
6.6.1
Requirements for the DC Connection
Connection options:
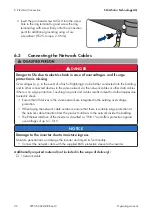
The inverter has two DC inputs, to each of which one string can be connected in normal operation.
Содержание STP3.0-3AV-40
Страница 106: ...www SMA Solar com ...

