……………………………………………………
7. Installing The SkyWind NG
Seite 16
| Owners Manual SkyWind NG, Version 5.1
7.1 Installation Schedule
We have prepared this schedule to allow you to follow the steps undertaken by
your professional installer. Always remember to document every step with pictures
and detailed information.
1. Unboxing your
SkyWind NG
, check that everything is complete!
Check page five to see the delivery contents.
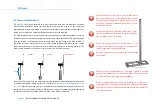
2. Install the tower for your wind turbine.
3. Cut the DC cables to the correct length.
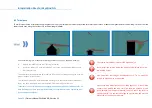
4. Open the nacelle.
5. Fit the cables through the mast adapter into the nacelle. Do not loosen the ge-
nerator for this.
6. Connect the generator output cables with Crimp connectors to the cables.
7. Close the nacelle and tighten the screws (2 Nm) using Loctite 243.
8. Install the inverter and do the wiring.
Set the required power curve as required
for your installation site. Remember documenting.
8. Fit the cables into the tower and mount the generator nacelle on top of the
tower.
9. Install the storm control system and
program the brake controller.
Check the
wiring and remember the documentation. Set the main switch to OFF.
10. Tighten the mounting screws on the mast adapter and align the turbines
nacelle perfectly vertical on the tower.
11. Check that the turbine and all components are fitted in the correct place and
all screws are tightened as they should.
•
Check that the wind turbine can follow the wind direction freely (
after turn-
ing it in one direction it must not turn back on its own
)
12. Finish up the electrical installation and install accessories (if needed). Recheck
that everything is set
-
up correctly.
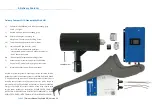
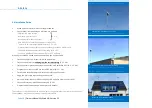
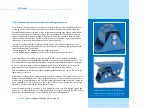
13. Now install the rotor blade by following these steps (see details later):
1)
Fit the aft cone to the generator shaft. Small side facing the generator.
2)
Fit the two rotor blades on top of each other and align them.
3)
Fit the front cone to the generator shaft. Large side facing the rotor blades.
4)
Fit the mounting screw with lock ring ( 7 Nm, Loctite 243 )
The winglets (bended rotor tips) must face away from the nacelle.
14. Tighten the main mounting screw with 7 Nm and secure it using Loctite 243.
15. Apply the protective wax coating (underbody coating wax for cars) on the
entire outside of the wind turbines nacelle.
16. Switch the turbine ON and perform final testing.

