Skymaster DXS 23 Скачать руководство пользователя страница 6

GB 4

5. The OSD menu: The most important functions

OSD = On Screen Display

Open and close the OSD: Carry out all your receiver settings via the OSD. Press the MENU button
to open the OSD. To close the OSD, press the MENU or EXIT button until all the menus have been
closed.

Navigate in the OSD: Use the control buttons or specific buttons to navigate through the OSD.
These buttons and their functions are displayed in the OSD. The number buttons on the remote
 control are usually used for this task.

General OSD information: The receiver has been preset and usually no or only a few changes are
necessary. The OSD is clearly structured and the buttons required for changing a certain setting are
shown on the screen. These are the best prerequisites for putting the operating instructions to one
side and referring to them again at a later date, e.g. after extending the antenna installation.

If you are a novice to digital satellite reception, please take time and carefully read through the
 entire operating instructions once. The instructions contain several possibilities to extend your
antenna installation.

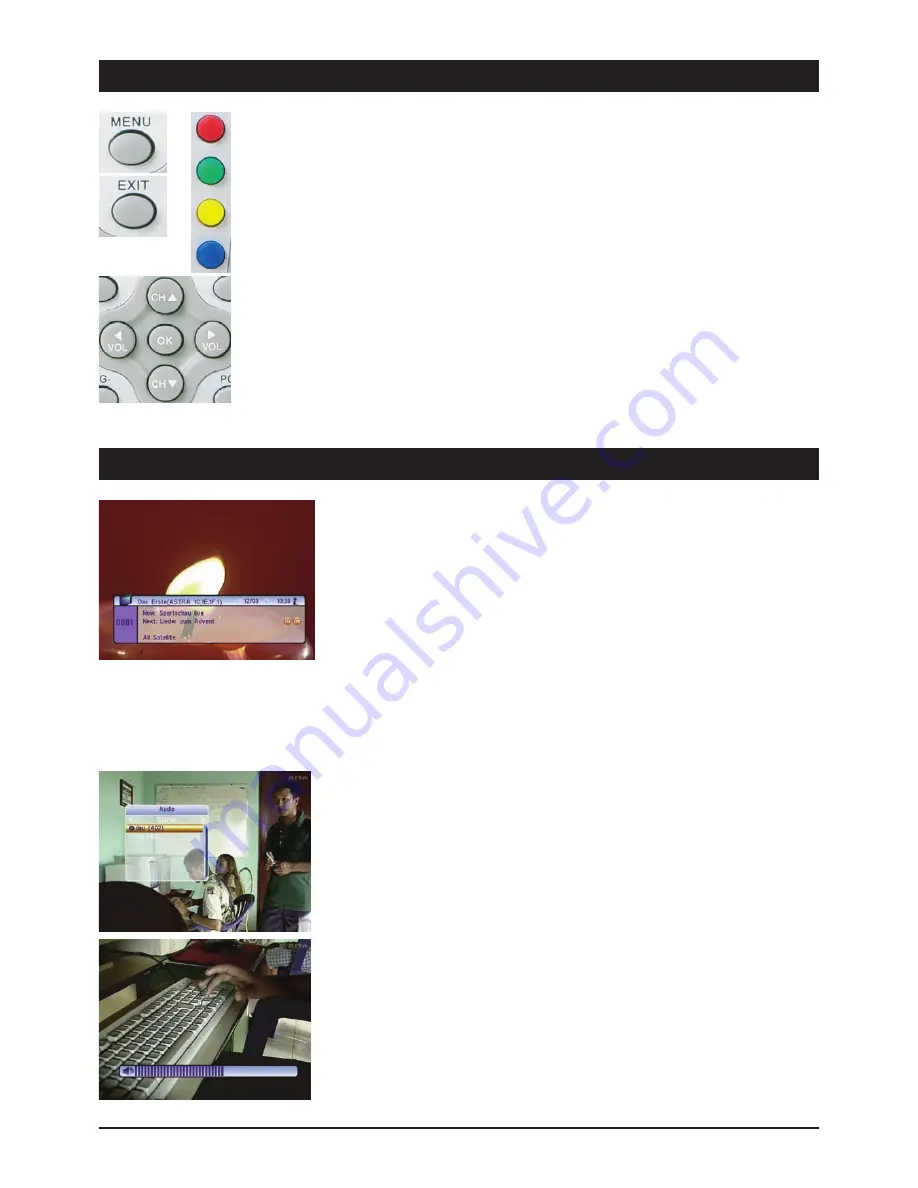
Channel information:

After switching the device on and changing channels, an info window appears. This window provides
you with information about the respective channel:

Date/Time
Channel name
Title of the current programme (current and next programme)
Teletext available/not available
Subtitles
Storage location (e.g. CH 0189)
Satellite name and position
Type of programme list (e.g. all satellites, favourites)

The amount of information displayed depends on the channel provider. If no additional information
about the channel is transmitted, a respective message is displayed (e.g. “no channel information”).
The info window can be opened at any time by pressing the INFO button. The duration of the display
(1 - 10 seconds) can be changed under (see System settings/OSD setting).

Note: If you cannot access certain channels, the favourites list is most probably active. To select the
desired list, press the OK button and the 

or 

button until the desired overview appears.

Select audio channels:

Some channels are broadcast with multiple audio channels. These audio channels can be multi-lang-
uage channels or various radio stations. 

Press the AUDIO button to select an audio channel or a language. Select the desired selection from
the list and close the selection via EXIT.

In addition to this, it is possible to set whether the left or right audio channel is played. The default
setting is stereo.

Volume settings/mute:

Use the VOL- and VOL+ control buttons to control the volume. Press the MUTE button to turn off the
sound. Reactivate the sound by pressing this button again or by pressing the volume buttons.

6.1 The OSD menu: Info screen, audio channels and volume

Содержание DXS 23

Страница 1: ...Digital Satellite Receiver DXS 23 39698 OPERATING INSTRUCTIONS...

Страница 2: ...DXS 23 TV HiFi 230 V A B C D DISH 2 1 5 10 7 6 16 8 9 12 11 13 17 15 19 11 4 3 14 12 13 18 4 2 3 1 6 7 8 5 10 14 9 13 11 12...

Страница 3: ......

Страница 4: ...ttings mute 4 6 2 The OSD menu Direct channel selection etc 5 Direct channel selection 5 Display the channel list 5 Display subtitles 5 Teletext 5 EPG Electronic Program Guide 5 Menu 5 Navigation and...

Страница 5: ...the device to moisture e g condensation or splash water or direct sunlight Do not place the device in the vicinity of heat sources such as e g heaters or devices that heat up Mains voltage Use the eq...

Страница 6: ...Date Time Channel name Title of the current programme current and next programme Teletext available not available Subtitles Storage location e g CH 0189 Satellite name and position Type of programme l...

Страница 7: ...s commercial offers and much more The quantity and content is regulated by the channel provider Page 100 always displays a table of contents From here you can select an overview of further subpages e...

Страница 8: ...tles TV RADIO Switching between TV and radio You can find detailed descriptions of these and other functions on the following pages 7 The OSD menu overview 1 Edit channels 1 1 TV channel list 1 1 1 Fa...

Страница 9: ...repeat 15 3 4 1 2 Timer service 15 3 4 1 3 Switch on channel 15 3 4 1 4 Switch on date 15 3 4 1 5 Time 15 3 4 1 6 Duration 15 3 4 1 7 Reminder message 15 3 4 1 8 Reminder date 15 3 4 1 9 Switch on tim...

Страница 10: ...tton to insert the channel into one or several FAV lists Channel deleting is carried out in the same way 1 1 2 Parental lock It is possible to lock unauthorized access to certain channels e g with con...

Страница 11: ...green button if you wish to rename the selected channel Upper red button Toggles between upper and lowercase letters Del green button Deletes characters OK yellow button Saves names Cancel blue button...

Страница 12: ...ist menu Transponder It is possible to select a pre programmed transponder to search for the satellite Position saving Allocate a position number to each satellite Important After successful alignment...

Страница 13: ...positions If you have e g aligned two LNBs to two different satellites ASTRA and HOTBIRD use DiSEqC LNBs and a DiSEqC switch For the ASTRA position select the setting 1 2 and for the HOTBIRD position...

Страница 14: ...work search The ASTRA 19 2 East and HOTBIRD 13 East satellites offer a so called network search These satellites transmit a table NIT Network Information Table via all the available channels Therefore...

Страница 15: ...a new transponder press the green button and to delete the current transponder press the yellow button If you wish to search for the transponder of the currently selected satellite press the blue but...

Страница 16: ...receiver to the TV set 3 2 1 Video standard For adapting the video standard to the connected TV set Use the PAL or AUTO setting for operation in German speaking countries The video standard NTSC is no...

Страница 17: ...yearly If you select the Off setting the timer remains deactivated 3 4 1 2 Timer service Select Programme if you wish to watch a certain programme or record it via a VCR If you wish to receive a remin...

Страница 18: ...r messages can be set to between 1 and 10 seconds 3 6 3 OSD transparency Select the transparency of the OSD menu 10 background slightly visible and 40 backg round very transparent 3 7 Favourites In th...

Страница 19: ...need to contact our telephone hotline 4 2 Factory setting The Presetting function is used to reset the device to the delivery status Caution All the values and channels which have been changed and st...

Страница 20: ...GB 18 7 The OSD Menu Games 5 Games Two classic games are available for your entertainment 5 1 Tetris 5 2 Othello...

Страница 21: ...is process may take some time Sometimes it is necessary to call up the EPG again or to switch channels 2 No response from the unit Pull out the power plug and wait a few seconds before starting the un...

Страница 22: ...emodulation QPSK kompatibel mit SCPC und MCPC Input Symbol Rate 2 45 Mbit s FEC Decoder Convolutional Code Rate 1 2 2 3 3 4 5 6 und 7 8 MPEG Transport Stream A V Decoding Transport Stream MPEG 2 ISO I...

Страница 23: ...GB 21...

Страница 24: ...9903969802 BDA GB 01 2007...

Отзывы: