


WLX-2100 | User Manual
27
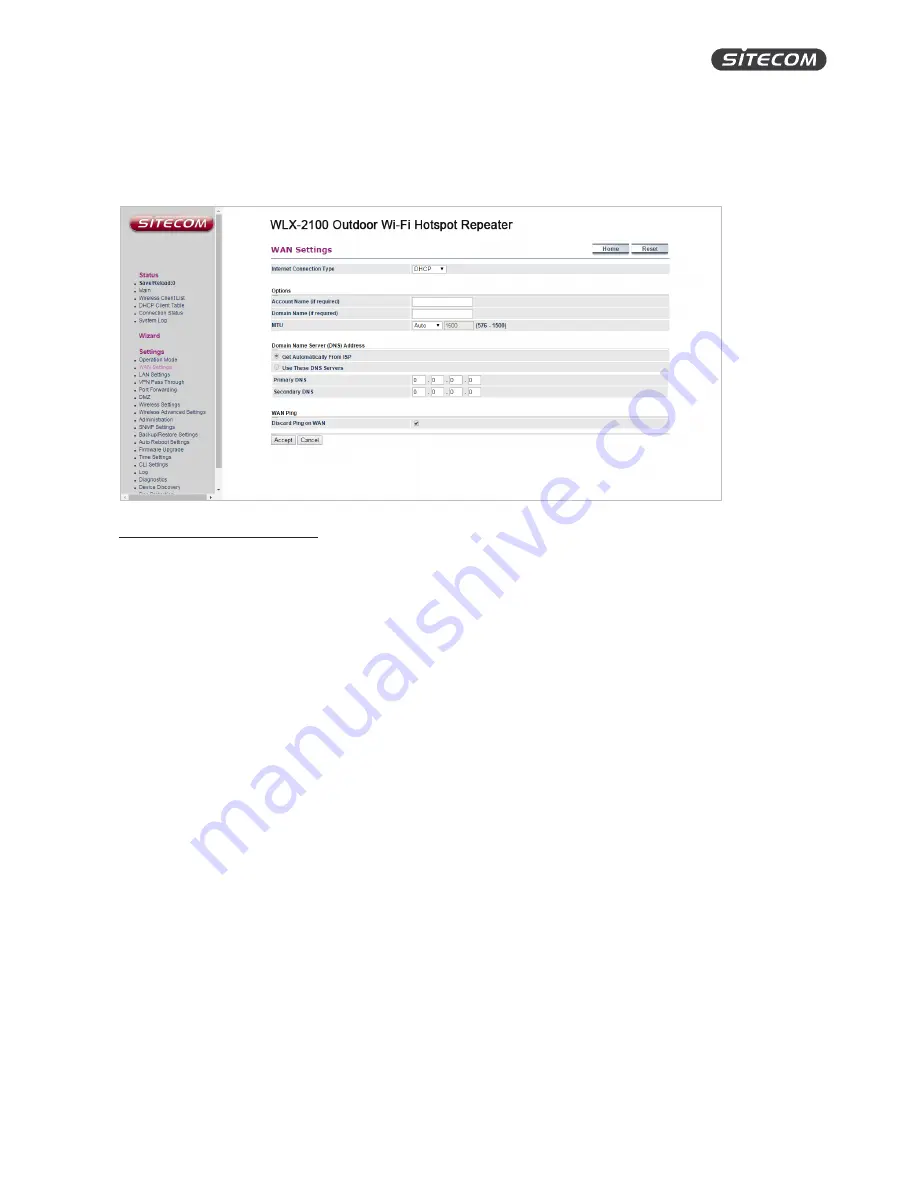
WAN SETTINGS
On this screen, you can configure the WAN settings for the range extender. Click on the drop down menu
under “Internet Connection Type” and select dynamic IP (DHCP), static IP, PPPoE or PPTP.
Configuring Dynamic IP (DHCP)
Dynamic IP addressing assigns a different IP address each time a device connects to an ISP service provider.
The service is most commonly used by cable Internet providers.
Account Name
•
Enter the account name provided by your Internet Service Provider (ISP).
Domain Name
•
Enter the domain name provided by your Internet Service Provider (ISP).
MTU
•
The maximum transmission unit (MTU) specifies the largest packet size permitted for an internet
transmission. The factory default MTU size for static IP is 1500. The MTU size can be set between
512 and 1500.
Get Automatically From ISP
•
Click the radio button to obtain the DNS automatically from the DHCP server.
Use These DNS Servers
•
Click the radio button to set up the Primary DNS and Secondary DNS servers manually.
Discard Ping on WAN
•
Keep it checked to recognize pings on the WLX-2100 WAN interface
•
Disable to block pings on the WLX-2100 WAN interface
Tip: Pinging IP addresses is a common method used by hackers to test whether the IP address is
valid. Blocking pings provides some extra security from hackers.