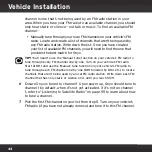
46
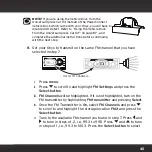
the FM channel.
vi.
Start Using
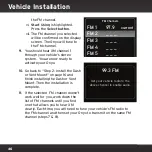
is highlighted.
Press the
Select button.
vii. The FM channel you selected
will be confirmed on the display
screen. The Onyx
will tune to
the FM channel
.
9.
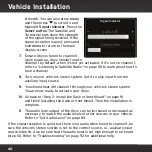
You should hear XM channel 1
through your vehicle’s stereo
system. You are now ready to
activate your Onyx.
10.
Go back to “Step 2: Install the Dash
or Vent Mount” on page 16 and
finish installing the Dash or Vent
Mount. Then the installation is
complete.
11.
If the selected FM channel doesn’t
work well for you, work down the
list of FM channels until you find
one that allows you to hear XM
clearly. Each time, you will need to tune your vehicle’s FM radio to
the FM channel and then set your Onyx to transmit on the same FM
channel (steps 7 & 8).
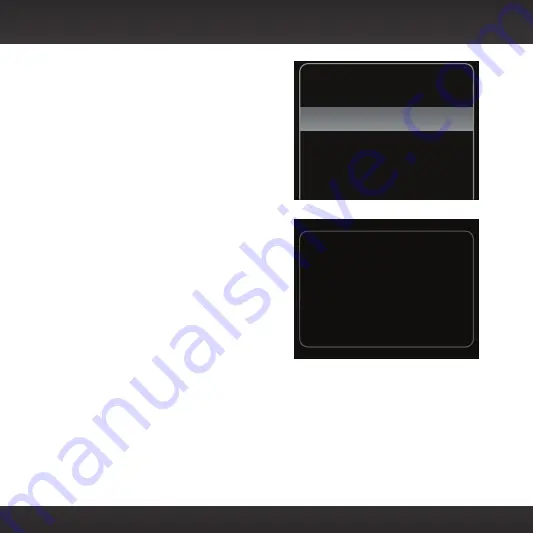
Set your vehicle radio to the
above channel to enable audio.
99.3 FM
Vehicle Installation
FM Channels
current
FM 1
FM 2
FM 3
FM 4
FM 5
97.9
_ _ _
_ _ _
_ _ _
_ _ _
Содержание Onyx
Страница 1: ...Onyx Radio Vehicle Kit User Guide ...
Страница 2: ......
Страница 4: ...4 ...
Страница 5: ...5 Introduction ...
Страница 13: ...13 Vehicle Installation ...
Страница 48: ...48 ...
Страница 49: ...49 Activation ...
Страница 51: ...51 Using Your Onyx ...
Страница 62: ...62 ...
Страница 63: ...63 Special Features ...
Страница 71: ...71 Configuring Your Onyx ...
Страница 90: ...90 ...
Страница 91: ...91 Troubleshooting ...
Страница 96: ...96 ...
Страница 97: ...97 Product Specifications ...
Страница 103: ......

