4
of 12
MA14-710ENG-REV1
6. Freeze the image
on the LCD screen so that you may take your time and
inspect details in the image.
7. Save the image or return to live view
.
Once you become comfortable using the unit, try the following advanced features.
• Turn the LED lights on or off to adjust for glare and reflections when viewing an
item.
• Use the reference line and masks to help you align the object that you are view-
ing on the unit’s screen.
• Save, view, and delete images stored on the unit.
• For additional storage, transfer images from the unit to your computer.
Charging the Unit
Note:
You must use the supplied power adapter to charge the unit. It cannot be
charged using the computer’s USB port.
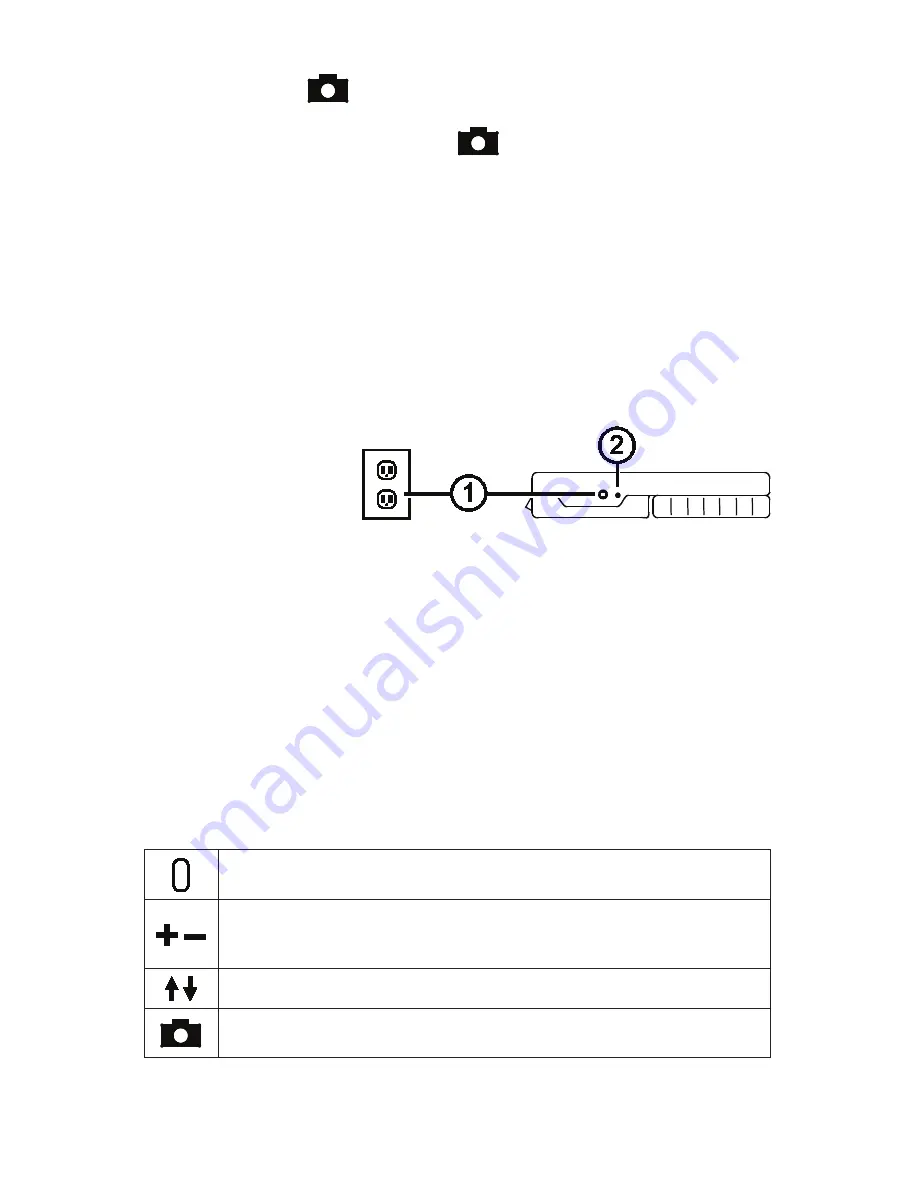
1. Plug one end of the
power adapter into the
unit and the other end
into a wall outlet (1).
2. The battery indicator
LED blinks green to show that the battery is charging (2).
3. The LED stops blinking and glows a steady green once the battery is charged.
Unplug the power adapter from the unit. The battery indicator LED turns off.
4. You can now use the unit for approximately three hours of continuous use. When
the battery is low, the battery indicator LED flashes red. Connect the power
adapter and plug it in to recharge the battery.
Battery LED Descriptions
Green – Solid:
Battery charged – power adapter connected
Green – Flashing:
Battery charging – power adapter connected
Red – Flashing:
Battery low
Red – Solid:
Error – unplug power adapter, wait a few seconds, and plug in again
Button Descriptions
Power (Green/Yellow):
Press to turn power on. Press it again to turn
power off.
Magnification (Yellow):
Press and HOLD for continuous zoom mag-
nification with live images. When viewing frozen images, press and
release to incrementally increase or decrease magnification.
Color Mode (Blue):
Press to switch between full color and grayscale.
Freeze Frame (Red):
Press to freeze the current image. Press it again
to turn off Freeze Frame mode and return to live view.


