background image

8/13


ASSEMBLY

                                                                    MODEL # 

AXCBXT - 03

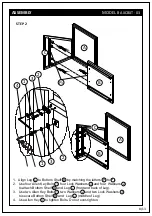
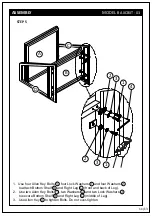
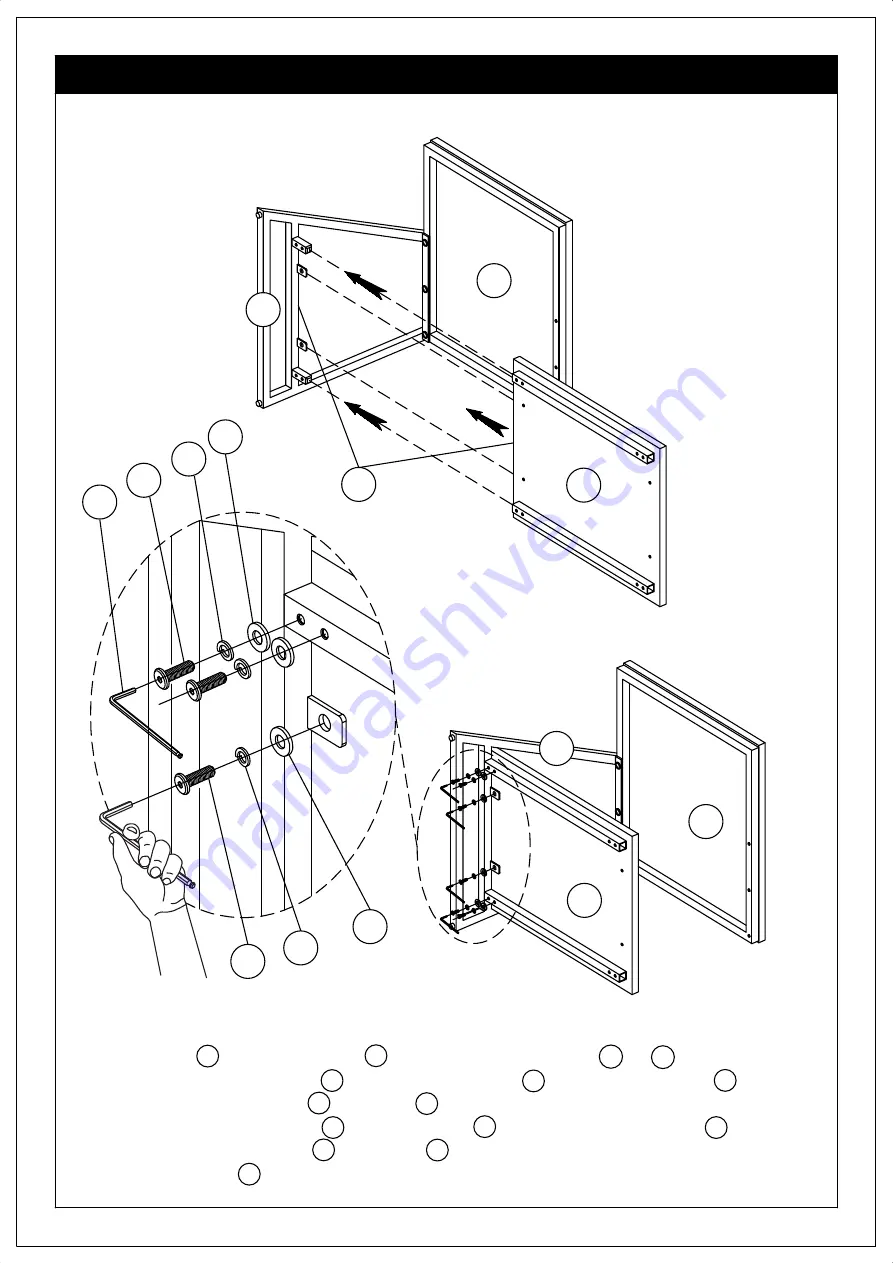
STEP 2

B

C

1.   Align Leg  C  to Bottom Shelf  B  by matching the letters  P

3

 to  P

.

2.   Use four Allen Key Bolts 1 , four Lock Washers  3  and four  Washers  2

      to attach Bottom Shelf  B  and Leg  C  (front and back of Leg).

3.   Use two Allen Key Bolts  1 , two Washers  2  and two Lock Washers  3

      to secure Bottom Shelf  B  and  Leg  C  (middle of Leg).
4.   Use Allen Key  4  to tighten Bolts. Do not over-tighten.

P

3

2

1

4

2

3

1

B

A

C

A

3

Содержание Wynden Hall Brooklyn+Max END TABLE AXCBXT-03

Страница 1: ...1 13 END TABLE MODEL AXCBXT 03 BRAXTON ELLERY HOLT ...

Страница 2: ... Monday to Friday between 9 am 4 pm EST or go to www simpli home com parts request If you wish to return the product please contact the retailer where the product was purchased In order to assist you in a timely manner please have the following information ready Model ____________________Part Number or Letter______________________ Purchased at _________________Date of Purchase ____________________...

Страница 3: ...the parts and hardware required hardware package may have spare parts WARNING This item contains small parts which can be swallowed by children and pets keep children and pets away during assembly to avoid danger of suffocation always keep plastic bags away from children and pets We recommend that you assemble this unit on a carpeted floor to avoid scratches If using power tools set the tool to lo...

Страница 4: ...ishing and scratching and keeps it looking good for years to come The wood is sealed and lacquered to protect against humidity To help protect your furniture follow these steps Use a humidifier preferably one with an automatic control system that can sense the humidity level and adjust itself accordingly Dust with soft dry cloth Wipe up spills promptly Clean with a dry cloth Do not use abrasive cl...

Страница 5: ...m to 4 pm est PARTS DESCRIPTION HARDWARE DESCRIPTION TOP QTY 1 A B C PRE ASSEMBLY INFORMATION MODEL AXCBXT 03 PRE ASSEMBLY INFORMATION MODEL AXCBXT 03 RIGHT LEG QTY 1 BOTTOM QTY 1 D LEFT LEG QTY 1 1 2 3 4 ALLEN KEY QTY 1 WASHER Ø 16 Ø 6 5 X 1 5 mm QTY 18 LOCK WASHER Ø 12 Ø 6 5 X 1 5 mm QTY 18 ALLEN KEY BOLT M6 X 15 mm QTY 18 ...

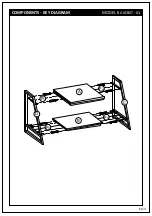
Страница 6: ...6 13 COMPONENTS KEY DIAGRAM MODEL AXCBXT 03 A B C D P1 P2 P3 P4 ...

Страница 7: ... 1 Align Left Leg D to Top A by matching the letters P1 to P1 2 Use three Allen Key Bolts 1 three Lock Washers 3 and three Washers 2 to attach Top A and Left Leg D 3 Use Allen Key 4 to tighten Bolts Do not over tighten A D P1 2 1 4 A D 3 ...

Страница 8: ... four Allen Key Bolts 1 four Lock Washers 3 and four Washers 2 to attach Bottom Shelf B and Leg C front and back of Leg 3 Use two Allen Key Bolts 1 two Washers 2 and two Lock Washers 3 to secure Bottom Shelf B and Leg C middle of Leg 4 Use Allen Key 4 to tighten Bolts Do not over tighten P3 2 1 4 2 3 1 B A C A 3 ...

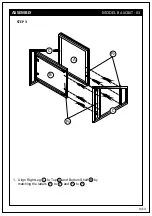
Страница 9: ...9 13 ASSEMBLY MODEL AXCBXT 03 STEP 3 1 Align Right Leg C to Top A and Bottom Shelf B by matching the letters P2 to P2 and P4 to P4 A B C C P4 P2 ...

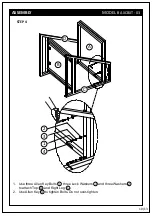
Страница 10: ... ASSEMBLY MODEL AXCBXT 03 STEP 4 1 Use three Allen Key Bolts 1 three Lock Washers 3 and three Washers 2 to attach Top A and Right Leg C 2 Use Allen Key 4 to tighten Bolts Do not over tighten C D B A 2 1 4 3 ...

Страница 11: ...rs 3 and four Washers 2 to attach Bottom Shelf B and Right Leg C front and back of Leg 2 Use two Allen Key Bolts 1 two Washers 2 and two Lock Washers 3 to secure Bottom Shelf B and Right Leg C middle of Leg 3 Use Allen Key 4 to tighten Bolts Do not over tighten 2 1 4 2 3 1 A B D C 3 ...

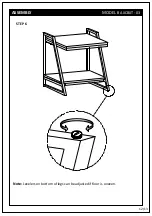
Страница 12: ...12 13 ASSEMBLY MODEL AXCBXT 03 STEP 6 Note Levelers on bottom of legs can be adjusted if floor is uneven ...

Страница 13: ...e at 1 866 518 0120 ext 262 from 9 am to 4 pm Monday to Friday Eastern Standard Time or by email at simpli home com customer support We reserve the right to repair or replace the defective product at its discretion This product is guaranteed for 12 months if used for normal purposes Any warranty is invalid if the product has been overloaded or subject to neglect improper use or an attempted repair...

Отзывы: