2-9
About PRICOM
Users Manual CX
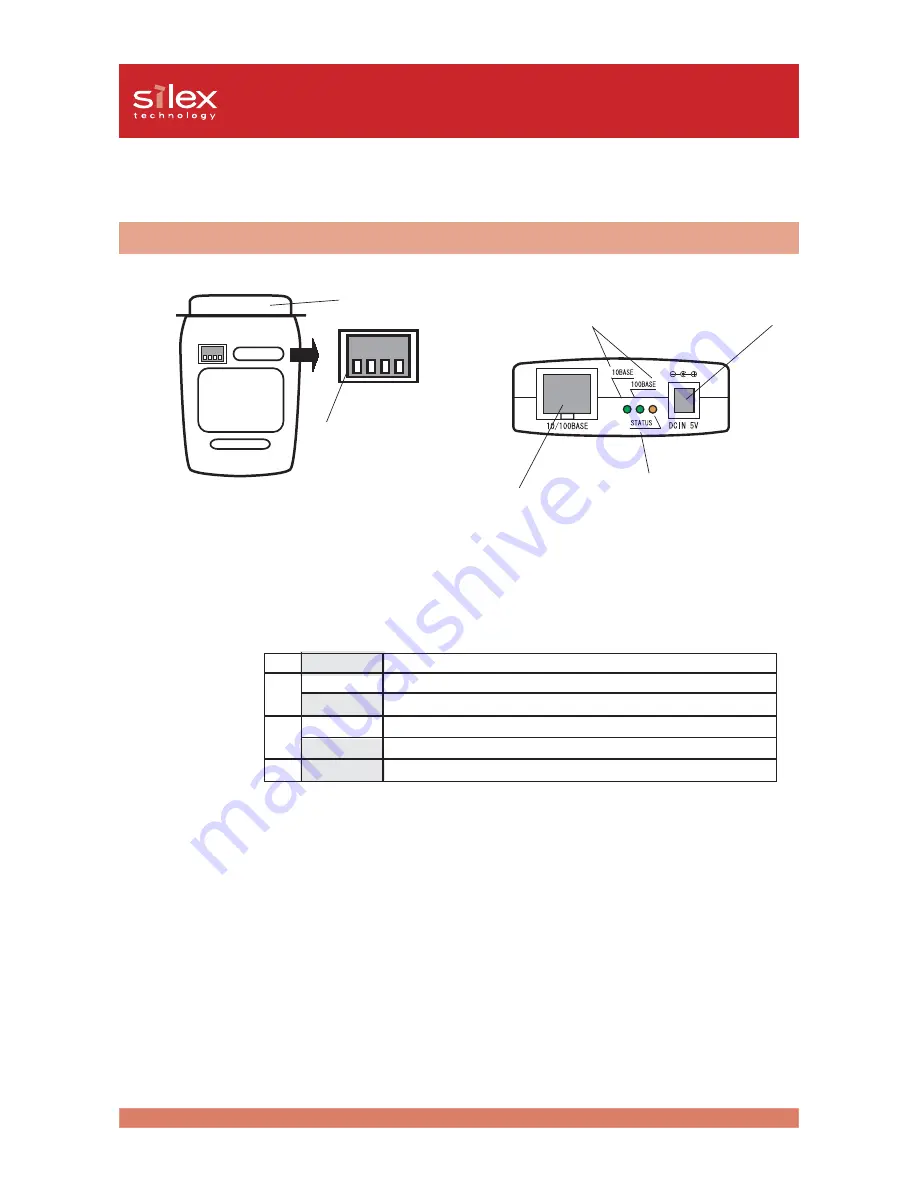
Parts on PRICOM C-5100
Parts and Function
Bottom Back
Bottom Back
Bottom Back
Bottom Back
Bottom Back
(Bottom)
-Printer Port (Parallel Port)
Connect to parallel port of printer.
-Dip Switches (1-4)
The following list describes the function of each switch.
-Ethernet Address
The Ethernet Address of the device. The last 6 digits are the product’s serial number.
1
OFF Normal operating setting
2
ON
Initialization/Reset to factory default upon power up
OFF Normal operating setting
3
ON
Prints Diagnostic/Configuration report upon power up
OFF Normal operating setting
4
OFF Normal operating setting
STATUS LED
1 2 3 4
1 2 3 4
1 2 3 4
1 2 3 4
1 2 3 4
ON
ON
ON
ON
ON
OFF
OFF
OFF
OFF
OFF
Parallel Port
Dip Switches
Network Port
(10BASE-T/100BASE-TX)
LINK LED
Power Connector
<Initialization/Reset to factory default>
1. Switch off the printer. Make sure that PRICOM C-5100 is not connected to the AC adapter, then
switch on the dip switch No. 2.
2. Connect the AC adapter to PRICOM C-5100 and switch on the printer.
3. Unplug the AC adapter of PRICOM C-5100 and switch off the dip switch No. 2.
<Diagnostic/Configuration report>
1. Swtich off the printer. Make sure that PRICOM C-5100 is not connected to the AC adapter, and
then switch on the dip switch No.3.
2. Connect the AC adapter to PRICOM C-5100. Switch on the printer and the diagnostic report will
start.


