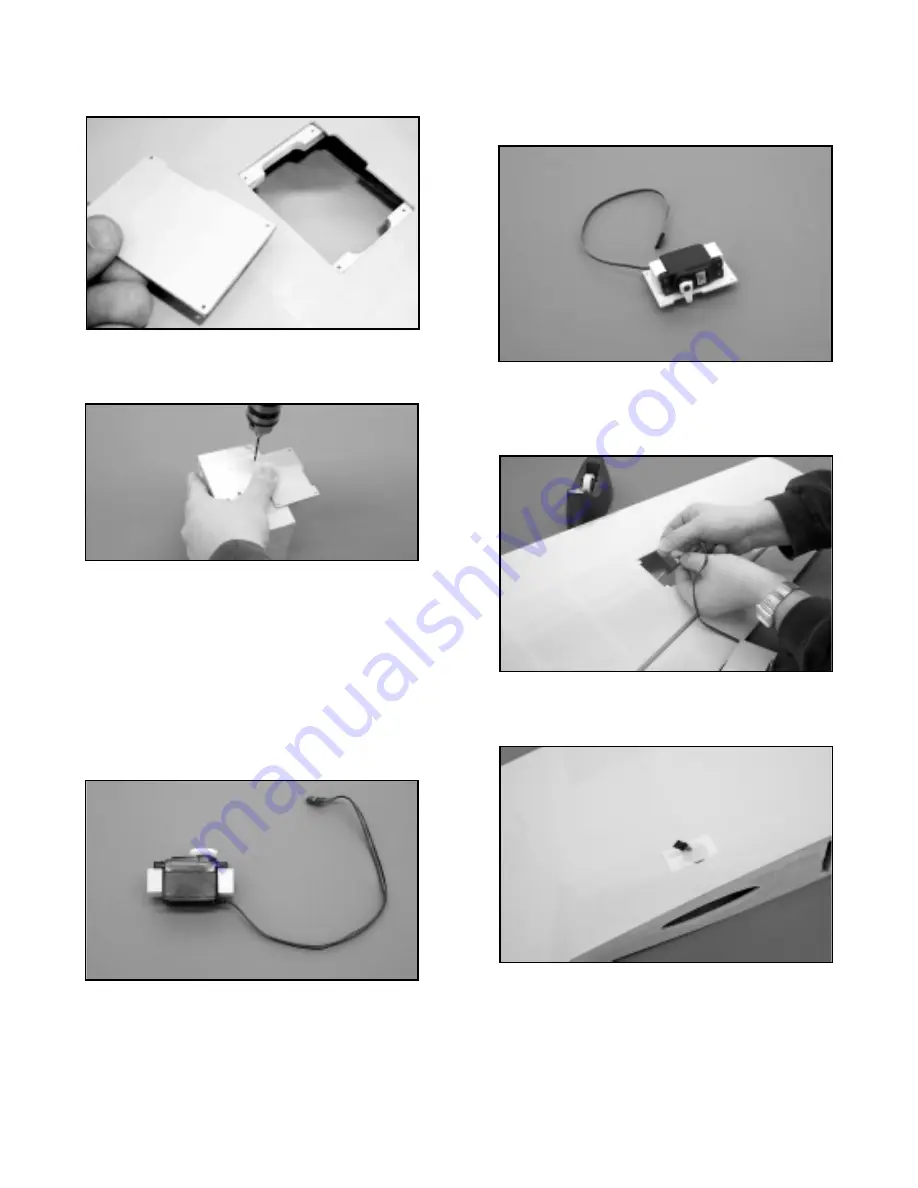
Drill a 1/16" dia. hole near each corner of the hatch covers.
Drill completely thru the hatch cover and into the hardwood
mounting beams that are in the wing.
❑
3) Remove the hatch covers. Redrill the holes in each corner
of the covers with a 1/8" dia. drill bit to allow clearance for
the screws.
❑
4) The aileron servos are mounted to the back, uncovered
sides of the servo hatch covers. From the kit contents,
locate the four (4) 13/16" sq. x 3/8" aileron servo mounts.
You will also need the servo mounting grommets, screws,
etc., supplied by the radio manufacturer for this step.
Remove the servo output arm/wheel and lay the servo flat
on its side. Position two of the mounting blocks beneath the
servo’s mounting arms, also flat on the same surface as the
servo. Use a bit to drill the servo mounting holes into the
wood mounting blocks. Use the screws that came with your
radio system to now mount the servos to the two mounting
blocks.
❑
5) Attach the output arm back onto the aileron servo. Place
the servo/mounting block assembly onto the back side of
the servo hatch, aligning the output arm with the half slot
opening. The servo output arm must be able to move freely
back and forth without touching the slot’s edge - about 1/32"
clearance is adequate. With the servo now in this position,
use a sharp pencil to mark the hatch with the locations of
the servo mounting blocks. Remove the servo from the
hatch and apply thick CA or 5-minute epoxy the to bottoms
of the servo blocks and glue them in place to the hatch,
again checking for output arm clearance. Place a weight
onto this assembly and allow it to dry. Repeat this step with
the opposite servo hatch cover.
❑
6) Before installing the aileron servos and hatch covers into
the wing panels, use your radio system to 1) center both
servos and 2) to check travel. Install the correct servo
output arms onto each servo, being sure they are upright at
90¡ to the servo and that they are long enough to clear the
wing’s surface during extremes of travel. Once this has
been checked, attach the 12" servo cable extensions to
both aileron servos. We would suggest that you also use
tape to secure these connections. Feed the servo
extension cable into the wing servo hatch opening, through
the holes in the ribs and finally out through the round holes
provided at the center of each wing panel. Tape the
connector to the wing’s top surface. Install the aileron
servo/servo hatch in place into the wing and use the
#2 x 3/8" washer head screws to secure the hatch. Did you
remember to install the output arm screws in each servo?
5
Содержание CAP 231EX
Страница 26: ......


