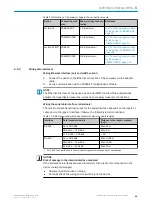
NOTE
The following functions are deactivated in
Live
mode:
•
Digital inputs and outputs
•
Data output via the host interface.
2.
Align the device in the desired depth of field range with a medium-height object
with a test code.
3.
Click the
Camera & Illumination
configuration bar. Use the
Shutter timer
and
Brightness
sliders to adjust the image brightness so that the code is easy to see.
4.
Only available in
Extended
mode: Activate the sharpness diagnostic bar. To do this,
go to the
Camera & Illumination
area and click the
Display sharpness
checkbox.
Continuing configuration
1.
Make settings for additional functions during planned operation such as codes,
trigger, data processing, data interface, etc.
2.
In the
Online Images
window, click the
Operation
button and test the settings in oper‐
ational use.
Completing the configuration
1.
To permanently save the parameter set in the device: Click the
button.
2.
To permanently save the parameter set on the PC: Click the
button.
7.2
Configuring the device via buttons without configuration software (SOPAS ET)
The two function buttons, the second display level of the status LEDs and the bar graph
display are used to manually adjust the reading characteristics of the device with
Auto-
Setup
.
NOTICE
Auto-Setup
is not supported for a Pharmacode.
1.
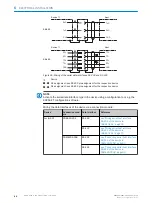
Start
Setup
mode.
Ready
Read Diagn
Result
TeachIn
LED
Auto-Setup
Data
Autofocus
LNK TX
Userdefined
300
200
100
70
40
100
0
[mm]
[%]
Ready
Read Diagn
Result
TeachIn
LED
Auto-Setup
Data
Autofocus
LNK TX
Userdefined
300
200
100
70
40
100
0
[mm]
[%]
O
Press key 3 seconds
1
1
Press the function button for 3 seconds
2.
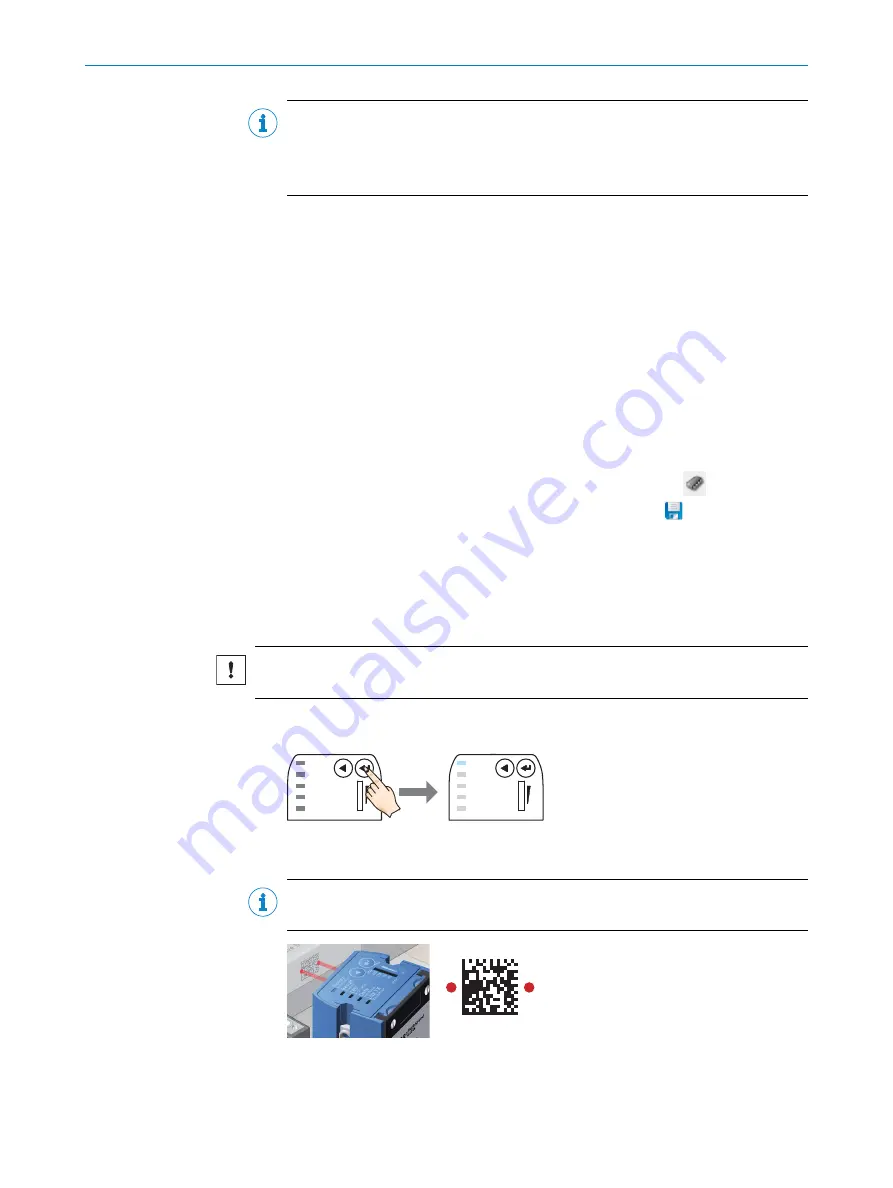
Align the device with the code.
NOTE
The Lector621 ECO does not have a laser alignment aid.
1
1
Code pattern
3.
Select
Auto-Setup
.
COMMISSIONING
7
8022502/15NT/2020-02-11 | SICK
O P E R A T I N G I N S T R U C T I O N S | Lector621
53
Subject to change without notice


