Shure Incorporated
5/59
•
1.
2.
3.
4.
5.
1.
2.
3.
4.
◦
◦
◦
1.
Shure Designer software installed on a computer. Download at
.
Note:
If Designer isn’t available, you can use a web application to control the MXA910 and Dante Controller to route audio. Download the Shure Web
Device Discovery application to access your device’s web application.
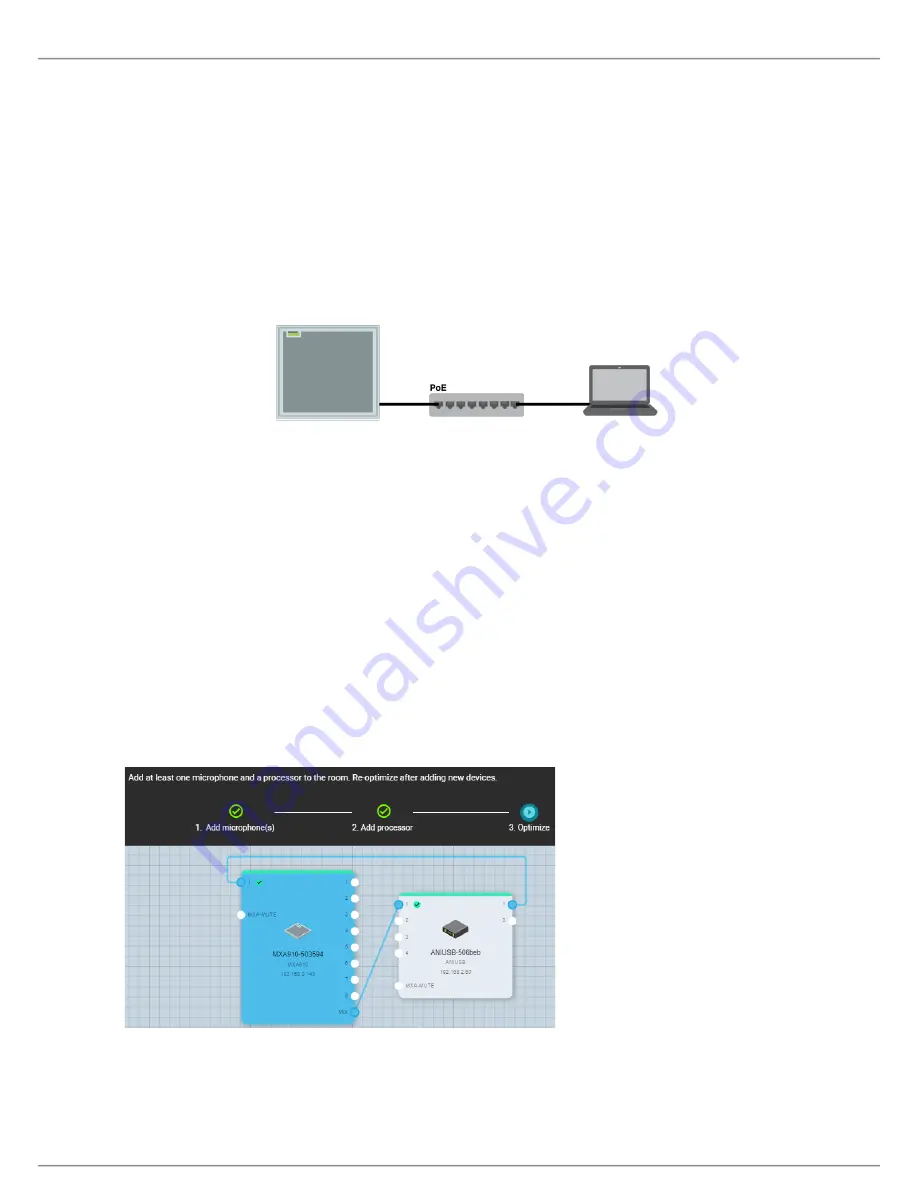
Step 1: Connect to a Network and Discover in Designer
Connect the microphone to a PoE port on the network switch using Cat5e (or better) cable.
Connect your computer running Designer to the network switch.
Open Designer, and check that you’re connected to the correct network in
Settings.
Click Online devices. A list of online devices appears.
To identify devices, click the product icon to flash the lights on a device.
Step 2: Route Audio and Apply DSP
The easiest way to route audio and apply DSP is with Designer's Optimize workflow. Optimize
automatically routes audio sig
nals, applies DSP settings, turns on mute synchronization, and enables LED logic control for connected devices.
The MXA910 includes IntelliMix DSP that can be applied to the automix channel output.
For this example, we'll connect an MXA910 and an ANIUSB-MATRIX.
Go to
My
projects
>
New
to create a new project.
Select
New
>
Room
(live)
to create a new room. Any online devices appear in the list. Drag and drop the MXA910
and the ANIUSB-MATRIX to add them to your room.
Select Optimize.
Check the audio routes and settings to make sure they fit your needs. You might need to:
Delete unnecessary routes.
Verify that AEC reference signals are correctly routed.
Fine-tune DSP blocks as needed.
You can also route audio manually in Designer outside of the Optimize workflow, or use Dante Controller.
Step 3: Adjust Microphone Coverage
Select Coverage map to adjust the microphone's coverage.
®
Содержание Microflex Advance MXA910
Страница 28: ...Shure Incorporated 28 59...


