16
4)
Press ENTER to open a specific folder.
5)
Press Up / Down buttons to choose your show mode:
ILDA
single show
PRG
preprogrammed show.
6)
Press ENTER to confirm the desired laser show.
7)
Use the Up / Down buttons to scroll through the entire file menu.
Attention
:
Please
ONLY
put ILD-format laser shows on the SD card.
DO NOT save any other files on it.
The SD Card supports max. 100 folders with less than 255 files in each folder.
The SD Card has to be a FAT32 format system.
One of the PRG preprogrammed shows on the SD card is located in the folder ANIMATION.
To play a PRG preprogrammed show, a TXT file (with a WINDOW PC) has to be made in the same folder.
Once the file is created and saved, the TXT file has to be renamed to *.PRG
Create your own show
1)
In the folder ANIMA folder, there are 3 ILD-files, they are ANIMA1.ild, ANIMA2.ild, ANIMA3.ild.
2)
If you want to create your own preprogrammed show with these 3 files, you should create a TXT file
with the following contents:
ANIMA1.ild,12,3
ANIMA2.ild,20,1
ANIMA3.ild,18,4
3)
Save this TXT file with name ANIMA.TXT.
4)
Change the extension of the file name from ANIMA.TXT to ANIMA.PRG
Explanation
: ANIMA1.ild,12,3
ANIMA1.ild is the
ILD
show name,
12
is the scanner speed,
3
is how many times you want this show to be
repeated.
3. DMX Mode
With this menu you can set the DMX address.
1)
When the laser is connected with a DMX controlled device or if a DMX signal is present, the DMX LED
on the front panel will light up RED.
2)
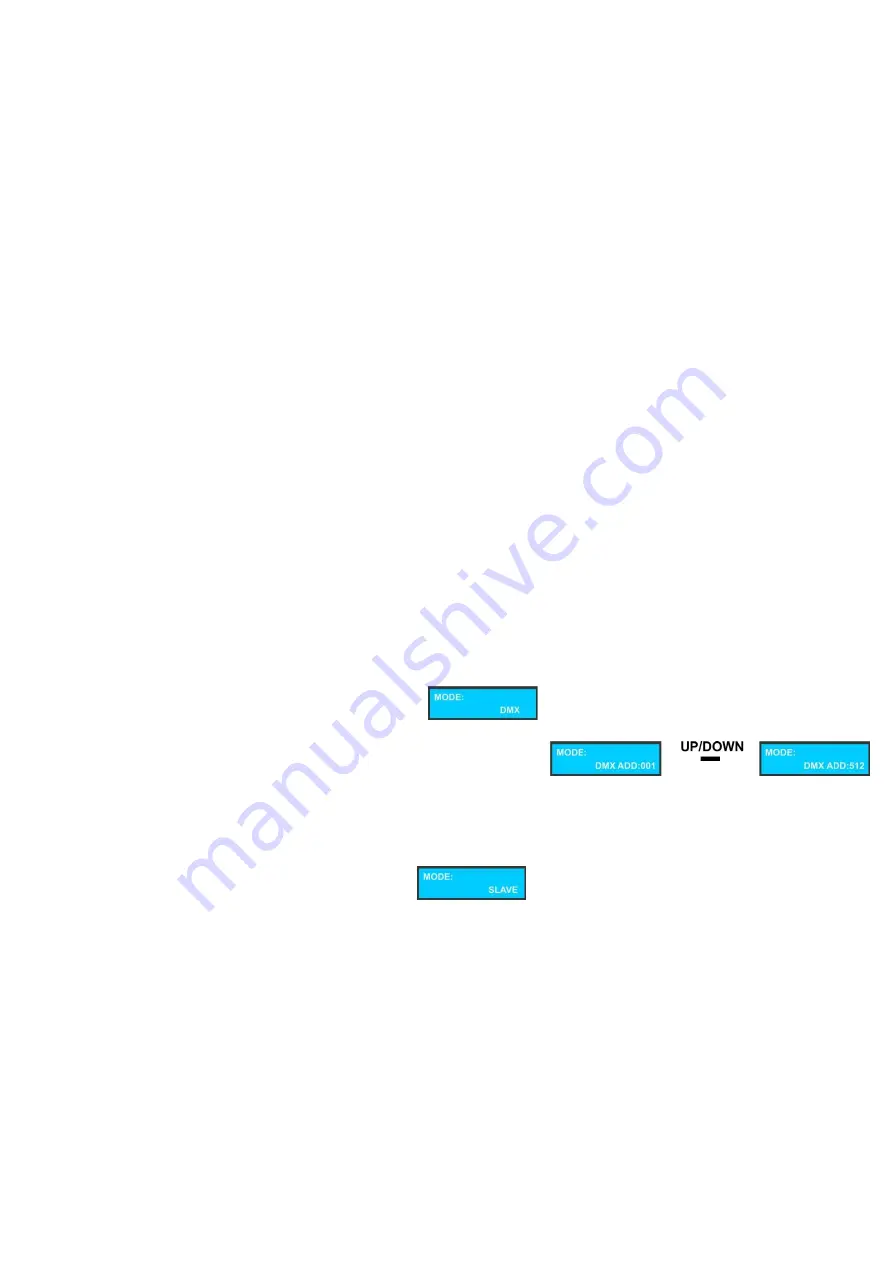
Press the
FUNC
button, until the display shows .
3)
Press
ENTER
to open this menu.
4)
You can choose 512 different DMX addresses.
Use the Up / Down buttons to select the required address from
5)
Use the
ENTER
button to store your setting.
4. Slave Mode
With this menu you are able to set the device as a slave device.
1)
Press the
FUNC
button, until the display shows .
2)
Use the
ENTER
button to store your setting.


