Hardware Installation
Chapter 1:
10
1.2.2.4
Physical Installation
Rack-Mount Installation
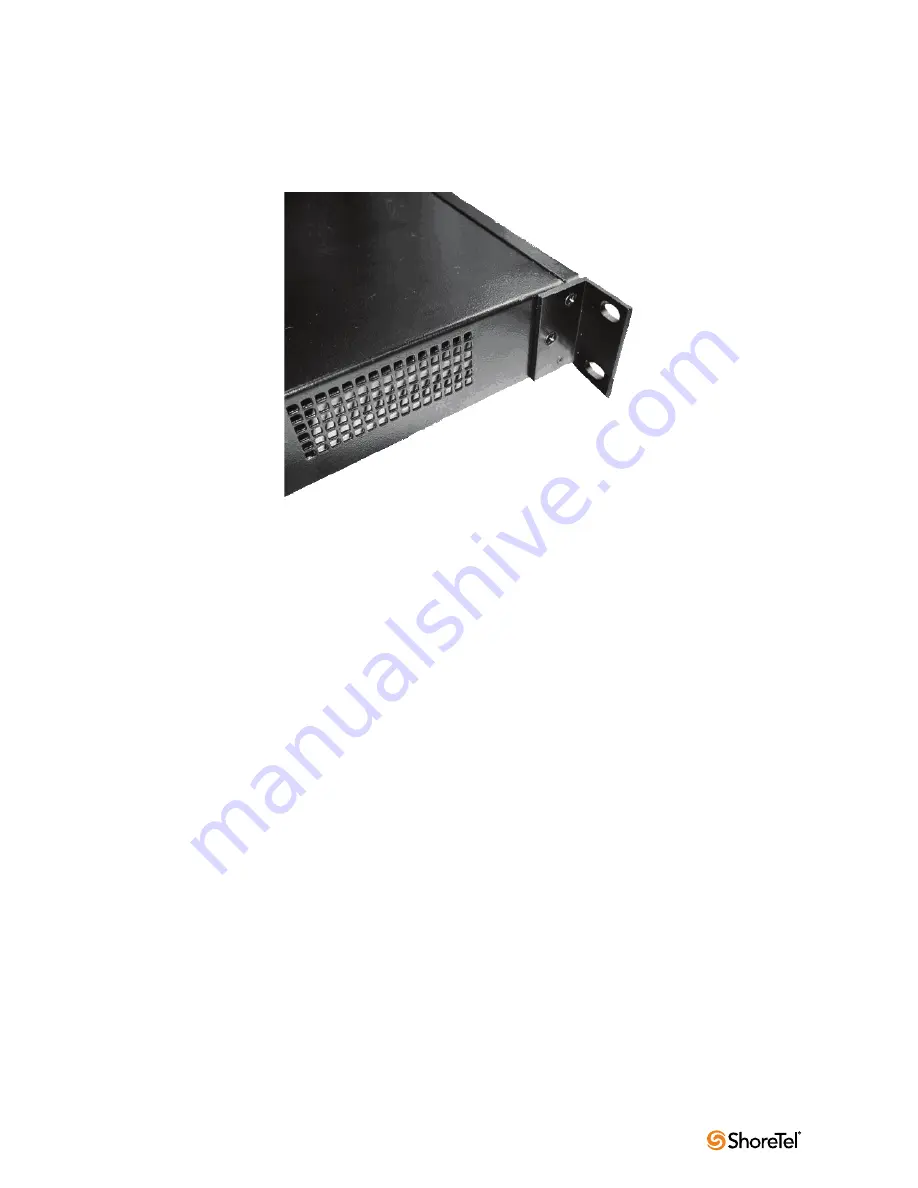
The 5300 is designed for 19” rack mount installation. Simply secure the ear mounts (as shown
in
Figure 1-5
) on both sides of the chassis to the rack post with screws.
Please observe the following guidelines when installing the system:
•
Never assume that the AC cord is disconnected from a power source. Always check
first.
•
Never place objects greater than 5 lbs on top of the appliance as damage to the chassis
may result.
•
Always connect the AC power cord to a properly grounded AC outlet to avoid damage
to the system or injury.
•
Ensure that the physical location of the installation has adequate air circulation and
meets the minimum operating conditions as provided in the environmental
specifications for the system.
Connecting the Power and Cables
1.
Connect one end of an Ethernet cable to local LAN port (Port 1) of the 5300. This port
can be seen as “F” in
Figure 1-3
. Connect the other end of the cable to your computer’s
Ethernet port.
2.
Connect one end of an Ethernet cable to the WAN port (Port 2) of the 5300, shown in
Figure 1-3
as “E,” and the other end to Ethernet port of an appropriate device based on
your deployment scenario. Please see section
1.2.3
for examples of deployment
scenarios.
3.
Connect the 3-pin Shroud Female connector of the power cord to the AC socket on the
5300 shown as “A” in
Figure 1-4
. Connect the other end of the power cord into an AC
outlet on the wall.
4.
Turn on the power by pressing 1 on the power switch (shown as “B” in
Figure 1-4
).
5.
Make sure that the power LED (shown as “B” in
Figure 1-3
) is solid green and the disk
activity LED (shown as “C” in
Figure 1-3
) in not solid red.
Figure 1-5 Ear mounts on the 5300
Содержание VPN Concentrator 4500
Страница 1: ...VPN Concentrator 4500 5300 Installation and Configuration Guide...
Страница 20: ...Other Features Chapter2 16...
Страница 40: ...Configuration Chapter3 34...
Страница 46: ...Tools and Troubleshooting Chapter4 40...


