


17
E
N
G
L
IS
H
DOLBY DIGITAL
[DOLBY PLII MOVIE, DOLBY PLII MUSIC, DOLBY PRO LOGIC] or <DOLBY DIGITAL>
DTS
[DOLBY PLII MOVIE, DOLBY PLII MUSIC, DOLBY PRO LOGIC, MATRIX, CHURCH, THEATER,
HALL, STADIUM] or <STEREO>
STEREO
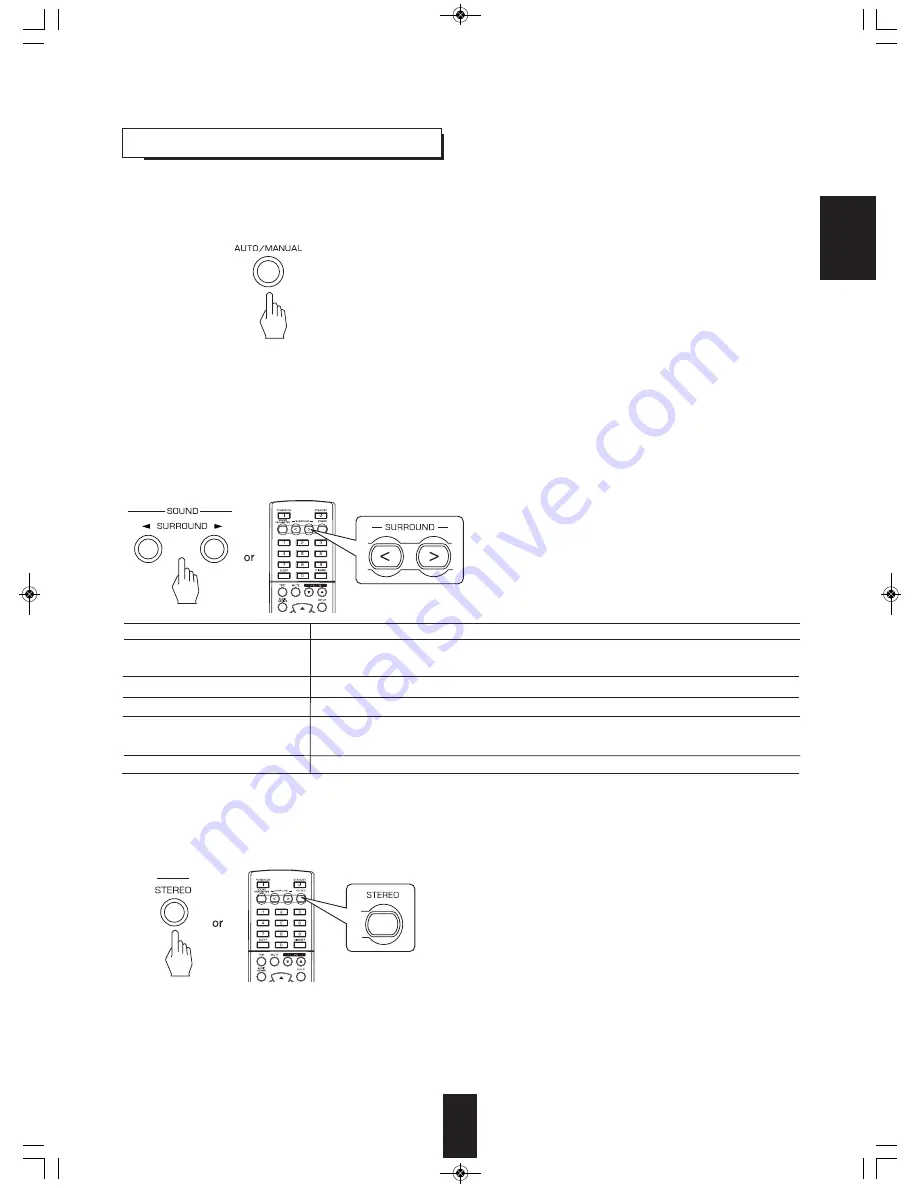
ENJOYING SURROUND SOUND
• Each time this button is pressed, the mode changes as follows :
Auto surround mode : The optimum surround mode will be
automatically selected depending on the signal
format being input.
Manual surround mode : You can select the desired of different
surround modes selectable for the signal
being input with using the SURROUND
MODE UP/DOWN (>/<) buttons.
• Depending on speaker setting, some surround modes can be selected or not as follows :
[ ] : Possible only when “CENTER” or/and “SURR(Surround)” is/are not set to “N(No)”.
< > : Possible only when “CENTER” and “SURR(Surround)” are set to “N(No)”.
■
Notes :
• When the SPEAKER button is set to off or “CENTER” and “SURR(Surround)” are set to “N(No)”, the auto surround mode is invalid.
• Even when the auto surround mode is selected and the same type of digital signal format is being input, the optimum
surround mode may vary depending on whether the speaker type is set to "N(No)" or not.
• When the auto surround mode is selected, the surround modes other than the optimum surround mode cannot be selected.
■
When selecting the manual surround mode with pressing the AUTO/MANUAL button on the front panel
Select the desired surround mode.
■
Note
: Before surround playback, first perform the speaker setup procedure, etc. on the SETUP menu for optimum performance.
(For details, refer to "SETTING THE SPEAKER SETUP" on page 32.)
Depending on how to select a surround mode, select the auto surround mode or the manual surround mode.
("AUTO" indicator
lights up.)
("AUTO" indicator
goes off.)
• Each time the SURROUND MODE UP/ DOWN (>/<)
buttons are pressed, the surround mode changes
depending on the input signal format as follows :
Dolby Digital EX 6.1 channel sources,
Dolby Digital 5.1 channel sources
Dolby Digital 2 channel sources
DTS sources
PCM (2 channel) sources,
Analog stereo sources
96 kHz PCM(2 channel) sources
Signal format being input
Selectable surround mode
■
To cancel the surround mode for stereo operation
• Depending on the signal format which is being input, either the
stereo mode or the 2CH downmix mode is selected.
• To cancel either the stereo mode or the 2CH downmix
mode, select the surround mode with using the SURROUND
MODE UP/ DOWN (>/<) buttons.
■
2CH downmix mode
• This mode allows the multi-channel signals encoded in DTS or Dolby Digital format to be mixed down into 2 front channels and
to be reproduced through only two front speakers or through headphones.
• When the SPEAKER button is set to off to listen with headphones while playing the multi-channel digital signals from DTS or
Dolby Digital sources, it will enter the 2CH downmix mode automatically.
RD-6505(E)_ENG_100517_RD-6505(E)_ENG 2010-05-24 오전 9:59 페이지 17
Содержание RD-6505
Страница 1: ...RD 6505 AUDIO VIDEO RECEIVER OPERATING INSTRUCTIONS 6505 E cover_cover qxp 2010 05 24 9 57 1...
Страница 12: ...ENGLISH 12 Remote Controls CURSOR CONTROL ENTER buttons RD 6505 E _ENG_100517_RD 6505 E _ENG 2010 05 24 9 59 12...
Страница 42: ...RD 6505 5707 00000 345 0S AUDIO VIDEO RECEIVER 6505 E cover_cover qxp 2010 05 24 9 57 2...