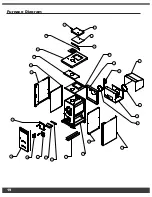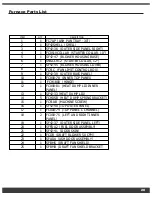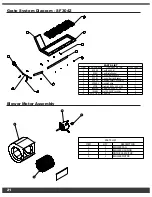
6
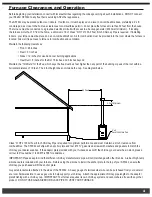
INSTALLING THE ANCHOR PLATE:
Note: Check with your dealer for the anchor plate that connects to Class A HT2100 chimney. IMPORTANT: BEFORE YOU FOLLOW THE
NEXT STEPS, ENSURE THE ANCHOR YOU PURCHASE MATCHES YOUR CHIMNEY PIPE, AS CHIMNEY PIPE IS NOT GENERIC
AND WILL NOT INTERCHANGE.
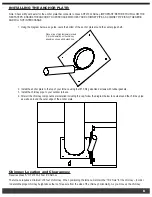
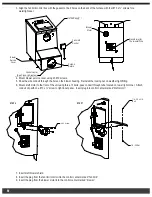
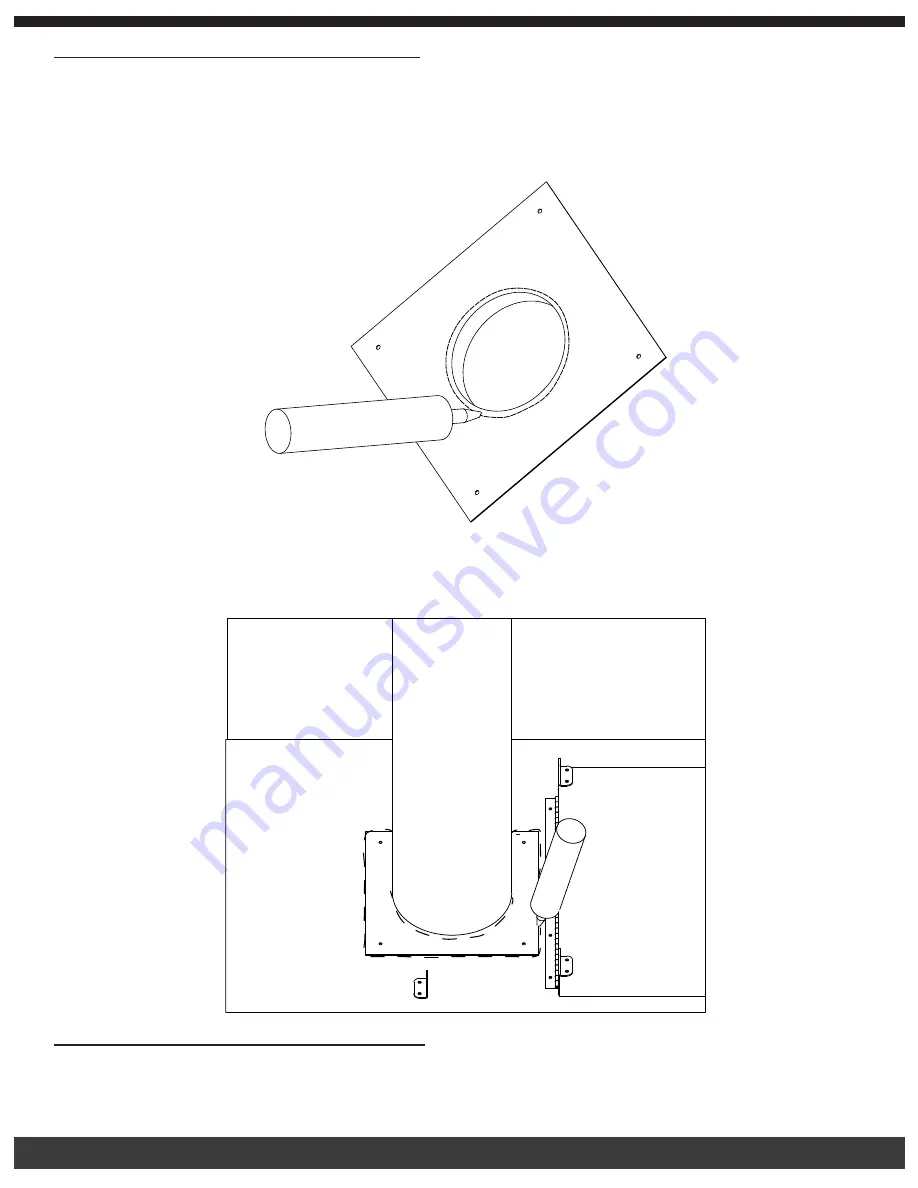
1. Using the diagram below as a guide, caulk the bottom of the anchor plate around the center pipe shaft.
2. Install the anchor plate to the top of your furnace using four #10 3/4 galvanized screws with rubber gaskets.
3. Install the chimney pipe to your outdoor furnace.
4. After all the chimney components are installed including the cap, follow the diagram below to caulk around the chimney pipe
as well as around the outer edge of the anchor plate.
Chimney Location and Clearances:
Requires Class “A” HT 2100 All Fuel 6” Chimney
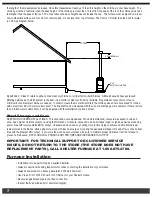
The furnace requires a minimum of 6 feet of chimney. When positioning the furnace, maintain the “10/2 Rule” for the chimney – In order
to determine proper chimney height above the roof, measure from the side of the chimney horizontally. As you move up the chimney,
PLACE A LINE OF
1
4
DIA HIGH TEMPERATURE
SILICONE CAULK ON CHIMNEY ADAPTOR AS
SHOWN BY DASHED LINES
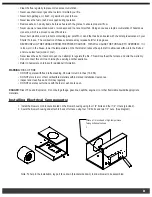
Place a line of high temperature caulk
(1/4 inch diameter) on the chimney
adaptor as shown with dashed line.


