MX-2310U MX-FN17 (FINISHER) 6 – 5
2)
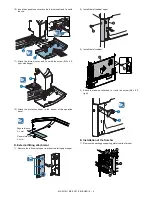
Pull out the rail on the R side of the finisher. Check to confirm
that the slide roller is in the rail groove, and insert the finisher
and insert the rail on the R side into the attachment plate pin.
3)
Fix the rail on the R side with the screw (M4 x 6 S tight).
When attaching the rail on the R side, lift it slightly so that
there is no clearance between the rail on the R side and the
machine frame.
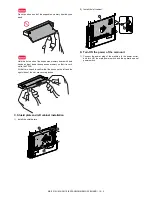
4)
Attach the left rear cover, and fix it with the screw (M4 x 6 S
tight).
Check to confirm that the I/F cable is in the concave section in
the left rear cover.
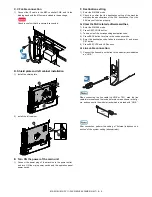
F. Connector connection
1)
Remove the protection material and the fixing tape from the
connector.
2)
Remove the connector cover of the machine.
3)
Connect the connector of the finisher to the machine, fix it with
the screw.
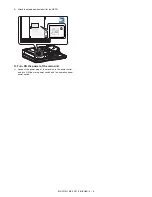
G. Staple position label attachment
1)
Attach the staple position label (for the scanner).
1
2
3
1
2
1
2
2
1
2
1
2
1
2
Fit with the corner R.
First label
Fit with the corner R.
Label attachment reference
* Corner of the upper
cabinet bottom


