ENGLISH OPERATION MANUAL
102
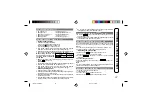
7. Move the M button toward
06
.
●
Be sure to use a plug-in power type microphone.
A microphone which is activated by the power from the main
unit is called a plug-in power type microphone.
●
Connecting a microphone other than a plug-in power type may
cause malfunction or damage to the unit.
■
Sound-actuated recording (Mic Synchronized recording)
In this mode, recording will be paused automatically if no sound
is detected from the microphone for 3 seconds or more, and a
track number is created at that point.
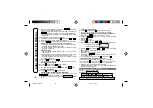
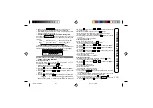
1. Insert a recordable MiniDisc.
2. Plug a microphone into the MIC IN jack on this unit.
3. Hold down the REC button for 2 seconds or more.
4. Press the GROUP button for 1 second or more to display
“GROUP”.
If you do not record tracks by the group, press the GROUP button
for 1 second or more to extinguish “GROUP”.
5. Move the M button toward
5
or
4
to adjust the recording
level.
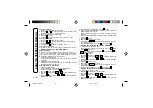
6. Press the MODE button repeatedly to select the recording mode.
7. Press the M button.
The unit enters the menu select mode.
8. Move the M button toward
5
or
4
to select “M (MIC SYNC
LEVEL)” and press it.
9. Move the M button toward
5
or
4
to select the recording
sensitivity and press it.
H (High): Recording will starts when the unit detects –24dB or more.
L (Low): Recording will starts when the unit detects –12dB or more.
10. Press the M button again.
The unit enters the menu select mode.
11. Move the M button toward
5
or
4
to select “S (SYNC)”
and press it.
12. Press the M button again.
13. When a sound is picked up by the microphone, recording will
begin automatically.
■
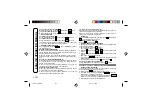
Changing intervals between tracks (Time Auto Mark)
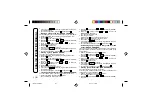
1. Press the M button while recording is paused or recording.
The unit enters the menu select mode.
2. Move the M button toward
5
or
4
to select “T (TIME
MARK)” and press it.
3. Move the M button toward
5
or
4
to select the desired
interval and press it.
0 (OFF): No track numbers are created automatically.
1 (10 min): A new track number is created every 10 minutes.
5 (5 min): A new track number is created every 5 minutes.
3 (3 min): A new track number is created every 3 minutes.
●
Select the menu within 25 seconds.
●
If you press the CLEAR button during operation, the previous
display appears.
●
To stop the operation, move the M button toward
.
CHECKING DISPLAYS (pages 57 – 58)
■
Checking the remaining recording time and total
playing time
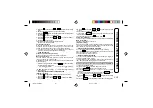
Hold down the MODE/-DISP button for 1 second or more in
the stop mode.
When “GROUP” is out:
Disc name
Total playing time
When “GROUP” is lit:
Group name
Total playing time of the selected
group
Remaining recording time
■
Checking the playing time of each track
1. When stopped, move the M button toward
5
or
4
to select
a track number or name.
The number and name of the selected track will be displayed.
*P96˜107-ENGLISH
01.6.30, 1:34 PM
102

