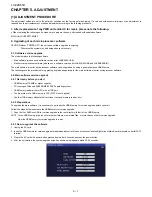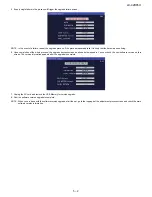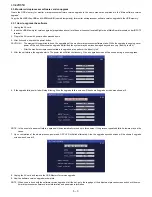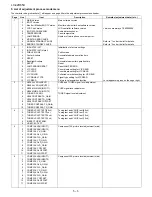
LC-42D65U
5 – 14
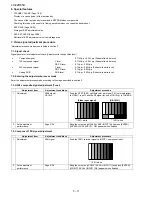
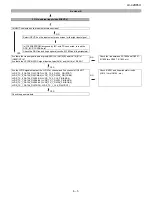
8.2. Adjusting procedure by use of [RS-232C]
1. Get ready the PC with COM port (RS-232C) running on Windows 95/98/ME/2000/XP operating system, as well as the RS-232C cross cable.
2. Start the unit with the RS-232C cable connected.
3. Start the terminal software. (The freeware readily available on the Internet will do.)
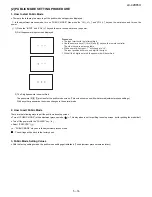
4. Make the following settings.
5. If the settings are correct, the terminal software indicates “ERR” against pressing of the “ENTER” key.
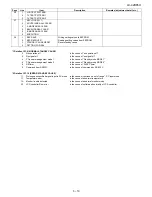
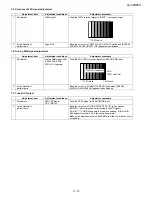
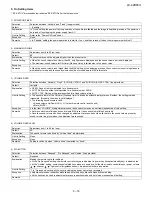
6. After the settings are done correctly, it is possible to make an adjustment by typing in the command shown in the table below and pressing the
“ENTER” key on the keyboard.
7. Command entry is successful if the terminal software indicates “OK” when the “ENTER” is pressed. If “ERR” is shown, retry to enter the command.
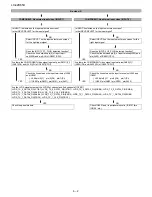
8. Send the process mode switching command to switch from the RS232C operation mode to the process mode.
KRSW0001: “ERR” is returned.
KKT10037: When “OK” is returned, the process mode becomes active. When “ERR”, start over from KRSW0001.
9. Send each adjustment command.
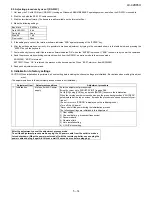
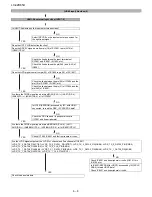
9. Initialization to factory settings
CAUTION: When initialization is performed, all user setting data including the channel settings are initialized. Be cautious when making this adjust-
ment.
(The adjustments done in the adjustment process mode are not initialized.)
Baud rate
9,600 bps
Data LENGTH
8 bit
Parity bit
None
Stop bit
1 bit
Flow control
None
Adjustment item
Adjustment conditions
Adjustment procedure
1
Initialization
It turns off with AC power
supply.
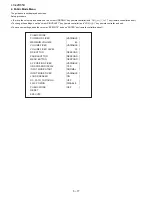
Enter the adjustment process mode.
Bring the cursor on to [INDUSTRY INIT] in page 2/38.
Set to [ON] using [VOL] key, and press [ENTER] to execute the initialization.
When the version number screen shows up on the green background and “SUCCESS”
gets displayed at the top on screen, it means the procedure has been successfully car-
ried out.
(If an error occurs, “ERROR” is displayed on the red background.)
•
Turn off the AC power.
*Never shut off the power during the initialization process.
The following settings are initialized in this adjustment.
1) User setting
2) Channel data (e.g. broadcast frequencies)
3) Password data
4) Operation time
5) Auto installation flag
6) V-CHIP block setting
After the adjustment, cancel the adjustment process mode.
To exit the adjustment process mode, unplug the AC power cable from the outlet to make a
forced shutdown. (When the power was turned off with the remote controller, once unplug the
power cable and plug it again. In this case, wait 10 seconds or so before plugging.)
Содержание LC42D65U - LC - 42" LCD TV
Страница 60: ...LC 42D65U 7 3 MEMO ...
Страница 66: ...LC 42D65U 9 4 A C B D E F G I H 1 2 3 4 5 6 7 8 9 10 11 12 13 14 15 16 17 18 19 20 21 22 MAIN Unit Side B ...
Страница 70: ...LC 42D65U 10 2 2 KEY Unit A C B D E F G I H 1 2 3 4 5 6 7 8 9 10 11 12 13 14 15 16 17 18 19 20 21 22 ...
Страница 72: ...LC 42D65U 10 4 MAIN Unit 2 17 A C B D E F G I H 1 2 3 4 5 6 7 8 9 10 11 12 13 14 15 16 17 18 19 20 21 22 ...
Страница 73: ...LC 42D65U 10 5 MAIN Unit 3 17 A C B D E F G I H 1 2 3 4 5 6 7 8 9 10 11 12 13 14 15 16 17 18 19 20 21 22 ...
Страница 74: ...LC 42D65U 10 6 MAIN Unit 4 17 A C B D E F G I H 1 2 3 4 5 6 7 8 9 10 11 12 13 14 15 16 17 18 19 20 21 22 ...
Страница 75: ...LC 42D65U 10 7 MAIN Unit 5 17 A C B D E F G I H 1 2 3 4 5 6 7 8 9 10 11 12 13 14 15 16 17 18 19 20 21 22 ...
Страница 76: ...LC 42D65U 10 8 MAIN Unit 6 17 A C B D E F G I H 1 2 3 4 5 6 7 8 9 10 11 12 13 14 15 16 17 18 19 20 21 22 ...
Страница 77: ...LC 42D65U 10 9 MAIN Unit 7 17 A C B D E F G I H 1 2 3 4 5 6 7 8 9 10 11 12 13 14 15 16 17 18 19 20 21 22 ...
Страница 78: ...LC 42D65U 10 10 MAIN Unit 8 17 A C B D E F G I H 1 2 3 4 5 6 7 8 9 10 11 12 13 14 15 16 17 18 19 20 21 22 ...
Страница 79: ...LC 42D65U 10 11 MAIN Unit 9 17 A C B D E F G I H 1 2 3 4 5 6 7 8 9 10 11 12 13 14 15 16 17 18 19 20 21 22 ...
Страница 80: ...LC 42D65U 10 12 MAIN Unit 10 17 A C B D E F G I H 1 2 3 4 5 6 7 8 9 10 11 12 13 14 15 16 17 18 19 20 21 22 ...
Страница 81: ...LC 42D65U 10 13 MAIN Unit 11 17 A C B D E F G I H 1 2 3 4 5 6 7 8 9 10 11 12 13 14 15 16 17 18 19 20 21 22 ...
Страница 82: ...LC 42D65U 10 14 MAIN Unit 12 17 A C B D E F G I H 1 2 3 4 5 6 7 8 9 10 11 12 13 14 15 16 17 18 19 20 21 22 ...
Страница 83: ...LC 42D65U 10 15 MAIN Unit 13 17 A C B D E F G I H 1 2 3 4 5 6 7 8 9 10 11 12 13 14 15 16 17 18 19 20 21 22 ...
Страница 84: ...LC 42D65U 10 16 MAIN Unit 14 17 A C B D E F G I H 1 2 3 4 5 6 7 8 9 10 11 12 13 14 15 16 17 18 19 20 21 22 ...
Страница 85: ...LC 42D65U 10 17 MAIN Unit 15 17 A C B D E F G I H 1 2 3 4 5 6 7 8 9 10 11 12 13 14 15 16 17 18 19 20 21 22 ...
Страница 86: ...LC 42D65U 10 18 MAIN Unit 16 17 A C B D E F G I H 1 2 3 4 5 6 7 8 9 10 11 12 13 14 15 16 17 18 19 20 21 22 ...
Страница 87: ...LC 42D65U 10 19 MAIN Unit 17 17 A C B D E F G I H 1 2 3 4 5 6 7 8 9 10 11 12 13 14 15 16 17 18 19 20 21 22 ...
Страница 88: ...LC 42D65U 10 20 4 R C LED Unit A C B D E F G I H 1 2 3 4 5 6 7 8 9 10 11 12 13 14 15 16 17 18 19 20 21 22 ...
Страница 111: ...LC 42D65U 23 8 PACKING PARTS NOT REPLACEMENT ITEM S1 S2 S7 S8 S3 S5 S6 S6 S6 S6 S10 S4 S9 ...


