48
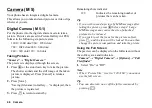
Camera
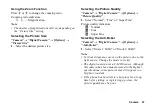
Selecting the Storage Memory
Select the appropriate option.
“Camera”
→
“Digital Camera”
→
[Options]
→
“Save New Pictures”
1.
Select the desired location from “To Handset”, “To
Memory Card” or “Choice”.
Note
•
If you select “Choice”, select the desired location
every time you save.
In the Case of No Available Memory
When the number of pictures that can be taken becomes
3 or less, the remaining shots indicator in the upper left
of the screen turns red. (The number of pictures that can
be taken is approximate.)
Even if the number of pictures that can be taken
becomes 0, you can continue to take and save pictures
until the message, “Memory full. Please delete some
data!” appears. After that, no pictures can be saved. Try
to delete or move the data to make some space.
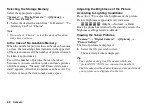
Adjusting the Brightness of the Picture
According to Lighting Conditions
Press
a
or
b
to adjust the brightness of the picture.
Picture brightness (exposure level) indicators
:
(Bright
→
Normal
→
Dark)
Once the phone has returned to the stand-by screen, the
brightness settings return to default.
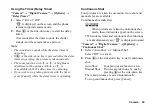
Viewing the Taken Pictures
“Camera”
→
“Digital Camera”
→
[Options]
→
“Picture Gallery”
The list of pictures is displayed.
1.
Select the file you wish to view.
The selected picture is displayed.
Tip
•
Your pictures are given file names which are
“pictureNNN” (NNN is a consecutive number).
The file name (without an extension), date and size of
your pictures are displayed in the list.
Содержание GX-T33
Страница 1: ......
Страница 11: ...10 Getting Started Getting Started 21 20 2 3 4 5 8 9 10 13 1 6 7 12 11 14 15 17 16 19 18 ...

