


15
16
Initial setup (Continued)
H
Parental rating
This function allows TV channels to be restricted.
It prevents children from watching violent or sexual
scenes that may be considered inappropriate.
1
Repeat steps 1 to 3 in
Set password
.
2
Press
a
/
b
to select “Parental rating”, and then
press
ENTER
.
3
Press
a
/
b
to select your desired rating, and
then press
ENTER
.
Selected item
Description
Off
Cancel the blocking.
Age xx years
Select desired age to block.
(Example) If age 14 is selected,
programmes rated for ages of 15 or
more are blocked.
Programme edit
Use this menu to set up a channel individually.
1
Repeat steps 1 and 2 in
Menu operation
.
2
Press
a
/
b
to select “Programme edit”, and
then press
ENTER
. If you have already set the
password at “Child lock”, enter it here.
• See page 14 to set password.
3
Press
a
/
b
to select the channel you want to
edit, press
a
/
b
to select item, and then press
ENTER
and press
RETURN
to exit.
Selected item
Description
Erase
Channels can be erased individually.
Press
a/b
to select “Yes” or “No”,
and then press
ENTER
to erase the
selected channel.
Label
You can change channel names
individually.
Maximum 5 alphanumerics can be
input.
Press
ENTER
to start labelling.
Press
a/b
to select a character,
press
c/d
to select next character,
and then press
ENTER
to save.
Sort
Channel position can be sorted freely.
Skip
Channels can be skip by select “Off”
or “On”.
Quick start mode
When this function is activated, you can reduce
the TV’s start-up time or even let the TV in standby
mode start displaying images and so on via the
connected equipment on the network. (Off, On).
NOTE
•
Setting “Quick start mode” to “On” consumes more
power.
Initial setup (Continued)
Input settings
H
HDMI auto view (HDMI input mode only)
Selected
item
Description
Enable/
Disable
Set whether or not to use the Auto Selection
of WIDE MODE based on signal recognition
received from the HDMI signal.
H
Digital audio
This function allows you to select the digital audio
signal type. (Off, Bitstream, PCM)
H
Audio output select
You can select which device is used for outputting
audio.
Option
Description
Headphone
Output audio through headphones.
Audio out
Output audio through an A/V receiver or
surround audio controller.
NOTE
•
If you select “Headphone” when a cable is inserted in the
AUDIO output terminal, the TV speakers are muted and all
Audio menu items cannot be adjusted.
•
If you select “Audio out”, sound via the AUDIO output
terminal is not adjustable and constantly outputs.
Regarding the headphone jack
•
Use headphones with a stereo mini plug (
3.5 mm).
•
Be sure to unplug headphones from the jack when they
are not in use.
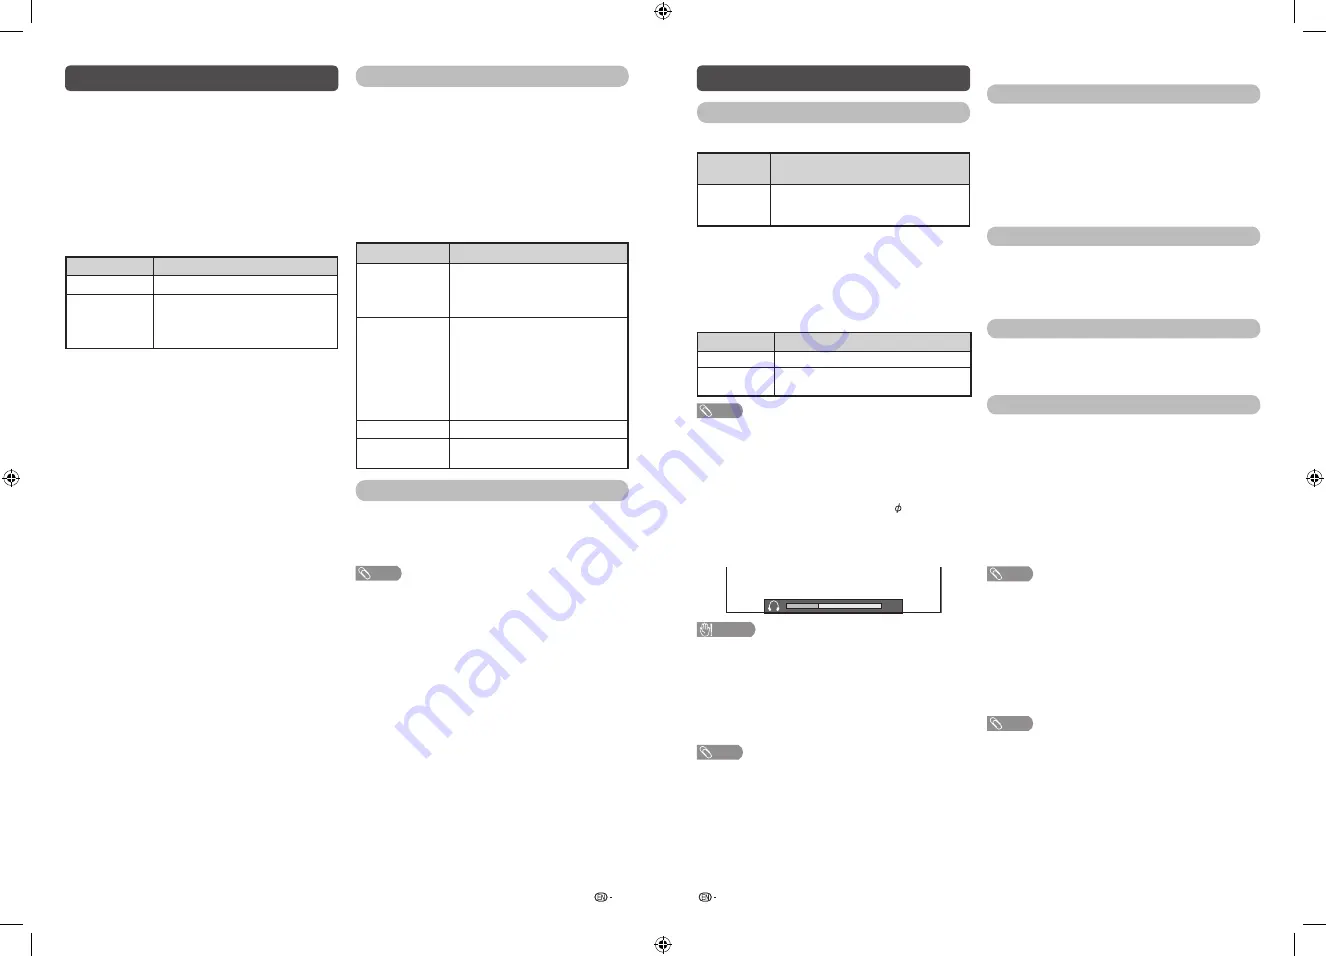
Volume display when headphones are plugged in
30
CAUTION
•
AUDIO output terminal is also used for headphones.
Reduce the volume before using headphones.
Overwhelming sound may damage your hearing.
H
Colour system
You can change the colour system to one that is
compatible with the image on the screen. (Auto,
PAL, SECAM, NTSC 3.58, NTSC 4.43, PAL-60)
NOTE
•
If “Auto” is selected, colour system for each channel is
automatically set. If an image does not display clearly,
select another colour system (e.g. PAL, NTSC 4.43).
•
“Colour system” is selectable only when inputting a
composite signal.
H
Link setup
Link operation
Using the HDMI CEC (Consumer Electronics Control)
protocol, with Link operation you can interactively
operate compatible system equipment (e.g. DVD),
by connecting the link operation-compatible devices
with HDMI-certified cables to the TV.
Link operation allows you to operate the HDMI-
connected equipment and the TV by using a single
remote control unit. (Off, On)
Auto power on
If this is activated, the one touch play function
is enabled. While the TV is in standby mode, it
automatically turns on and plays back the image
from the HDMI source. (Off, On)
Speaker select
You can select to listen to the TV sound only from
the LINK-compatible audio system.
(Internal speakers, External device)
Audio return channel
If this function is set to “Auto”, the TV can send
audio data for video content shown on the TV
to a connected audio device with just one ARC-
compatible cable. Using this function eliminates the
need to use a separate digital or analogue audio
cable. (Off, Auto)
Connection for using “Audio return channel”
You need to use ARC-compatible cables/devices
and connect to the INPUT 1 terminal to activate this
function.
NOTE
•
The ARC (Audio return channel) function works only when
using the INPUT 1 terminal.
•
When you use an audio system compatible with the ARC
function of the TV, you do not need to connect an optical
audio cable to the TV.
H
Reset
If complex adjustments are made and the settings
cannot be restored to normal, you can reset the
settings to the factory preset values.
NOTE
•
If you execute “Reset”, all the settings such as “Picture
settings”, “Audio settings” and “Initial setup” will be reset
to the factory preset values.
LC-45LE280X_G753_EN.indd 8
11/15/2016 4:09:00 PM


