LC-42BT10U
4 – 5
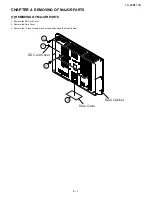
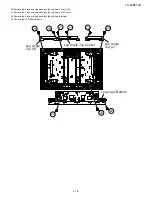
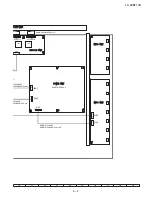
20.Remove the 6 lock screws and detach the Lug Angle Top (L) (R).
21.Remove the 3 lock screws and detach the Lug Angle Top Center.
22.Remove the 9 lock screws and detach the Lug Angle Bottom.
23.Remove the LCD Panel Module.
20
20
20
20
21
21
Lug Angle
Top (R)
Lug Angle Top Center
Lug Angle Bottom
Lug Angle
Top (L)
22
22
22
Содержание Aquos LC-42BT10U
Страница 26: ...LC 42BT10U 5 5 MEMO ...
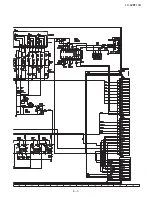
Страница 28: ...LC 42BT10U 6 2 2 TERMINAL Unit TERMINAL Unit 1 2 A C B D E F G H 1 2 3 4 5 6 7 8 9 10 DUNTKD935FM12 ...
Страница 29: ...LC 42BT10U 6 3 10 11 12 13 14 15 16 17 18 19 ...
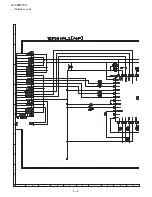
Страница 30: ...LC 42BT10U 6 4 TERMINAL Unit 2 2 A C B D E F G H 1 2 3 4 5 6 7 8 9 10 ...
Страница 31: ...LC 42BT10U 6 5 10 11 12 13 14 15 16 17 18 19 DUNTKD935FM12 ...
Страница 32: ...LC 42BT10U 6 6 MEMO ...
Страница 43: ...LC 42BT10U 11 8 PACKING PARTS NOT REPLACEMENT ITEM S3 S4 S4 S4 S4 S6 S5 S1 S2 S7 ...

