38
Useful adjustment settings
1
2
Image position (for TV/AV input mode)
For adjusting a picture’s horizontal and vertical
position.
Press
MENU
and the MENU screen displays.
Press
c
/
d
to select “Setup”.
Description
Centres the image by moving it to the left or
right.
Centres the image by moving it up or down.
Selected item
H-Pos.
V-Pos.
4
5
3
Press
a
/
b
to select “Position”, and then
press
OK
.
Press
a
/
b
to select “H-Pos.” or “V-Pos.”.
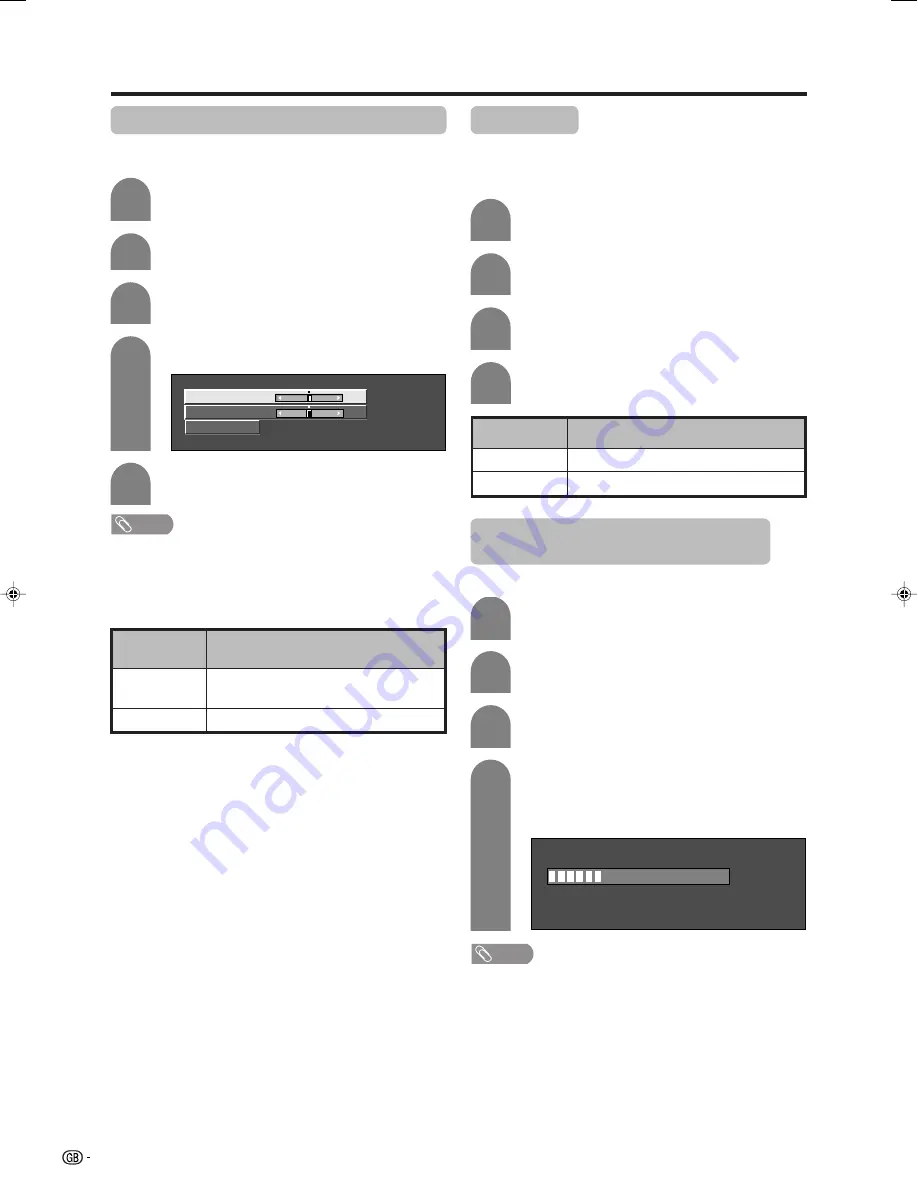
Reset
H-Pos.
[0]
–10
+10
V-Pos.
[0]
–20
+20
Press
c
/
d
to adjust the item to your desired
position.
NOTE
• For resetting all adjustment items to the factory preset
values, press
a
/
b
to select “Reset”, and then press
OK
.
•
Adjustments are stored separately according to input
source.
• This function is available for AV input mode and TV tuner
mode.
4
Press
c
/
d
to select “On”, and then press
OK
.
Press
MENU
and the MENU screen displays.
Press
c
/
d
to select “Option”.
Press
a
/
b
to select “Audio Only”, and then
press
OK
.
1
2
3
Audio Only
When listening to music from a music programme, you
can set the Display off and enjoy audio only.
Description
Audio is output without screen image.
Both screen images and audio are output.
Selected item
On
Off
1
2
Auto Sync. adjustment (PC input
mode only)
For automatically adjusting the PC image.
Press
MENU
and the MENU screen displays.
3
Press
a
/
b
to select “Auto Sync.”, and then
press
OK
.
Press
c
/
d
to select “Yes”, and then press
OK
.
• Auto Sync. starts and “Adjusting the image”
displays.
NOTE
• When Auto Sync. is successful, “Auto Sync completed
successfully” displays. If not, Auto Sync. failed.
• Auto Sync. may fail even if “Auto Sync completed
successfully” displays.
• Auto Sync. is likely to succeed when an input PC image
has wide vertical stripes (ex. pattern with high contrast
stripes, or cross-hatched).
It may fail when an input PC image is solid (low contrast).
• Be sure to connect the PC to the TV and switch it on before
starting Auto Sync.
30%
4
Press
c
/
d
to select “Setup”.
LC-32GA4E(E)-h
04.5.30, 9:16 AM
38


