background image

12

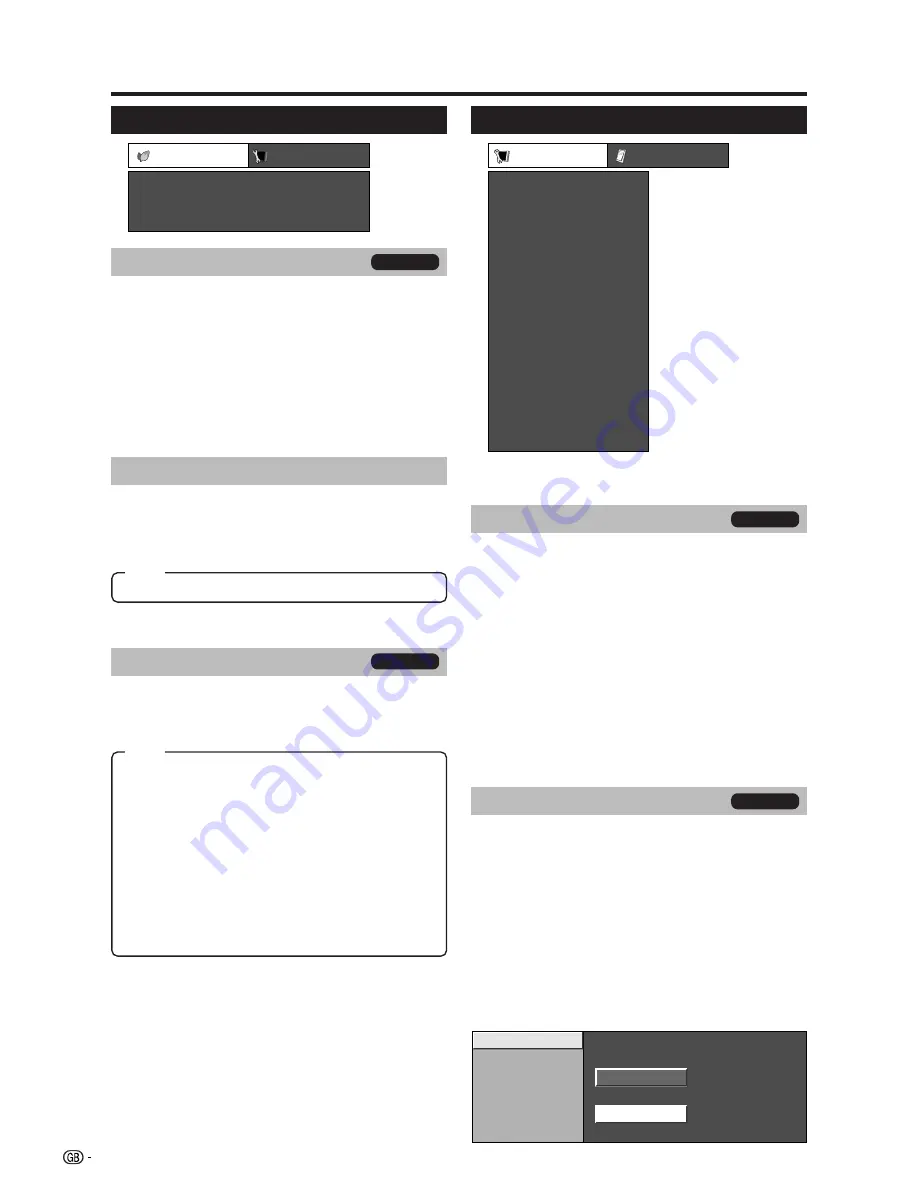
Setup menu

Auto Installation

You can run Auto Installation again, even after setting
up the preset channels.

1

Press 

MENU

 and the MENU screen displays.

2

Press 

c

/

d

 to select “Setup”.

3

Press 

a

/

b

 to select “Auto Installation”, and then

press 

OK

.

If you have already set the PIN under “Child Lock”,
enter it here.

• See page 14 for setting PIN.

4

Press 

a

/

b

 to select “Yes”, and then press 

OK

.

5

You can set language and country the same as in
the 

Initial auto installation (Analogue)

. (See

page 7.)

Programme Setup

This section describes how to set up analogue TV
channels manually.

1

Press 

MENU

 and the MENU screen displays.

2

Press 

c

/

d

 to select “Setup”.

3

Press 

a

/

b

 to select “Programme Setup”, and

then press 

OK

.

If you have already set the PIN under “Child Lock”,
enter it here.

• See page 14 for setting PIN.

4

Press 

a

/

b

 to select “Auto Search”, “Manual Adjust”,

“Sort” or “Erase Programme”, and then press 

OK

.

Menu operations

Setup

Input Label

Auto Installation

Programme Setup

Child Lock

Position

PC Setup

HDMI Audio Select

HDMI Auto View

WSS

4:3 Mode

Rotate

Lanugage

Supply Voltage

Reset

Auto Search

Manual Adjust

Sort

Erase Programme

No

Yes

Power Control menu

No Signal Off

Menu Operation: A (page 9)

When set to “Enable” the TV will automatically enter
the standby mode if there is no signal input for 15
minutes.

• Five minutes before the TV enters standby mode, the

remaining time displays every minute.

NOTE

• When a TV programme finishes, this function may not

operate.

• This function is not available in DTV mode.

Power Control

No Signal Off

No Operation Off

Power Management

No Operation Off

Menu Operation: A (page 9)

When you select the desired time, the TV will
automatically enter the standby mode if no operation
is performed.

Power Management

Menu Operation: A (page 9)

When set, the TV will automatically enter the standby
mode.

Off:

• No power management

Mode1:

• If there is no signal input for 8 minutes, the TV

enters the standby mode.

• Even if you start using the PC and the signal

inputs again, the TV stays in standby mode.

• The TV turns on again by pressing 

a

 on the TV

or 

B

 on the remote control unit. (See page 7.)

Mode2:

• If there is no signal input for 8 seconds, the

TV enters the standby mode.

• When you start using the PC and the signal

inputs again, the TV turns on automatically.

• The TV turns on again by pressing 

a

 on the TV

or 

B

 on the remote control unit. (See page 7.)

TV/AV only

TV only

TV only

PC only

• Five minutes before the TV enters standby mode, the

remaining time displays every minute.

30 min. / 3hr. / Disable

CAUTION

• When selecting “Reset” in the Setup menu, all menus will be reset

to the factory preset values and “Auto Installation” will activate.

Item

Item

Содержание Aquos LC-19D1E

Страница 1: ...ELEVISIÓN EN COLOR LCD OPERATION MANUAL BEDIENUNGSANLEITUNG MODE D EMPLOI MANUALE DI ISTRUZIONI GEBRUIKSAANWIJZING MANUAL DE MANEJO LC 19D1E LC 19D1S OPERATION MANUAL BEDIENUNGSANLEITUNG MODE D EMPLOI MANUALE DI ISTRUZIONI GEBRUIKSAANWIJZING MANUAL DE MANEJO LC 19D1E LC 19D1S D222WJZZ 1 ENGLISH FRANÇAIS DEUTSCH ITALIANO NEDERLANDS ESPAÑOL ...

Страница 2: ...a serious electric shock may occur To fit an appropriate plug to the mains lead follow the instructions below IMPORTANT The wires in the mains lead are coloured in accordance with the following code Blue Neutral Brown Live As the colours of the wires in the mains lead of this product may not correspond with the coloured markings identifying the terminals in your plug proceed as follows The wire wh...

Страница 3: ...18 DTV common operations 18 About using the character set screen 19 Language 19 Programme Setup 19 Installation 20 Auto Installation 20 Carrier Scan 20 Carrier Setup 21 System Setup 21 OSD Setup 21 Child Lock 21 Accessories 22 Version Software version 22 Software Upgrade 22 Common Interface 22 Inserting a CA card 22 Useful features DTV 23 About EPG 23 Using the EPG 23 Using the EPG Timer 23 Using ...

Страница 4: ...cturer s instructions are followed The LCD panel used in this product is made of glass Therefore it can break when the product is dropped or impact applied If the LCD panel is broken be careful not to be injured by broken glass Heat sources Keep the product away from heat sources such as radiators heaters stoves and other heat generating products including amplifiers To prevent fire never place an...

Страница 5: ...na Connect the antenna cable from your antenna cable socket or the room roof antenna for antenna input terminal on the back of your TV set to receive digitally terrestrially broadcast stations An indoor antenna can also be used under good reception conditions Passive and active room antennas are offered commercially In an active antenna its power is supplied via the antenna input terminal The supp...

Страница 6: ... in the battery compartment 3 Insert the smaller tab of the battery cover into the opening 1 and press down on the cover until it clicks in place 2 Inserting the batteries Before using the TV for the first time insert two AA size batteries supplied When the batteries become depleted and the remote control unit fails to operate replace the batteries with new AA size batteries Using the remote contr...

Страница 7: ... Select DTV data broadcasting and TELETEXT 13 ESG DTV To display ESG Electronic Service Guide screen See page 23 16 AV MODE Select an audio and video setting See page 10 17 e Mute Switch the sound on and off 18 K Sound mode Select the sound multiplex mode See below 19 i k l Volume i k Increase the volume i l Decrease the volume 20 P r s TV DTV Select the channel External Switch to TV or DTV input ...

Страница 8: ...e jack RS 232C terminal EXT 3 Component terminals EXT 4 HDMI AUDIO terminals EXT 1 RGB terminal EXT 5 terminals AC INPUT terminal Regarding the headphone jack Use headphones with a stereo mini plug Ø 3 5 mm Be sure to unplug headphones from the jack when they are not in use The speakers do not output volume when headphones are plugged in You can set the volume to different levels for each input so...

Страница 9: ...en display language 1 Press a b c d to select the desired language listed on the screen 2 Press OK to enter the setting 2 Setting the country or area 1 Press a b c d to select your country or area listed on the screen 2 Press OK to enter the setting The programme auto search starts at the same time Initial auto installation DTV Digital Video Broadcasting is a transmission scheme It is much more th...

Страница 10: ...osite cable or S video cable EXT 2 NOTE EXT 2 The S VIDEO terminal has priority over the VIDEO terminals Connecting a game console or camcorder Game console Camcorder or S video cable Composite video cable AUDIO cable Y P B P R L AUDIO R COMPONENT DVD player Component cable EXT 3 AUDIO cable EXT 2 DVD player HDMI certified cable When using an HDMI DVI conversion adapter cable input the Audio signa...

Страница 11: ... adjustment items to the factory preset values Press MENU or END to exit Menu Press RETURN to return to the previous display Menu Operation A 1 Press MENU and the MENU screen displays 2 Press c d to select the desired menu 3 Press a b to select the desired menu item and then press OK Example OPC etc Common operations The following are three examples of basic menu operations Please operate the menu...

Страница 12: ... the screen brightness accordingly enabling deeper black levels STANDARD For a highly defined image in a normally bright room MOVIE For a movie GAME Lowers image brightness for easier viewing PC For a PC Available only when inputting RGB signal The HDMI input EXT 4 is compatible with VGA USER Allows the user to customise settings as desired You can set the mode for each input source DYNAMIC For a ...

Страница 13: ...Sound Wide Menu Operation A page 9 This feature can increase the spread of the sound Colour Temp Adjust the colour temperature to give the best white image High White with bluish tone Mid High Intermediate tone between High and Middle Middle Natural tone Mid Low Intermediate tone between Middle and Low Low White with reddish tone C M S Hue This is a standard to adjust the colour either more reddis...

Страница 14: ...ly enter the standby mode if there is no signal input for 15 minutes Five minutes before the TV enters standby mode the remaining time displays every minute NOTE When a TV programme finishes this function may not operate This function is not available in DTV mode Power Control No Signal Off No Operation Off Power Management No Operation Off Menu Operation A page 9 When you select the desired time ...

Страница 15: ...tting PIN When Lock is set to On for a channel Child lock has been activated displays and the image and sound of the channel are blocked When pressing OK while Child lock has been activated displays PIN input menu will display Inputting the correct PIN lifts the child lock temporarily until the power is turned off Colour sys Select the optimum colour systems to receive AUTO PAL SECAM NOTE If Auto ...

Страница 16: ... Setup 2 Press a b to select Yes and then press OK 3 Press a b c d to select the channel you want to move and then press OK 4 Press a b c d to move it to the desired position and then press OK 5 Repeat steps 3 and 4 until all desired channels are sorted Resetting the PIN Allows you to reset your PIN to the factory preset 1234 1 Repeat steps 1 to 3 in Changing the PIN 2 Press a b to select Reset an...

Страница 17: ...only PC only PC only WSS Wide Screen Signalling Menu Operation A page 9 WSS allows a television to switch automatically among the different screen formats NOTE Use WIDE MODE if an image does not switch to the correct screen format When the broadcast signal contains no WSS information the function will not work even if enabled See page 17 WSS signal 4 3 screen 4 3 mode Panorama 4 3 mode Normal 4 3 ...

Страница 18: ...pective terminal This happens due to the setting of your external equipment The signal type for EXT 2 is automatically selected between an S VIDEO signal and a CVBS signal with S VIDEO given priority Option menu Option Audio Only DNR Input Select Colour System Audio Only Menu Operation A page 9 When listening to music from a music programme you can set the display off and enjoy audio only On Audio...

Страница 19: ...mal NOTE If the signal contains no WSS information Auto Selection will not function even when the WSS option is enabled 4 3 Mode set to Panorama Manual Selection 1 Press f The WIDE MODE menu displays The menu lists the wide mode options selectable for the type of video signal currently received 2 Press f or a b while the WIDE MODE menu displays on the screen As you toggle down the options each is ...

Страница 20: ...ll not be displayed when the service does not contain the subtitle information Reveal or hide subpages Red button Move to the previous subpage Green button Move to the following subpage These two buttons are shown on the screen by the signs l and k Buttons P r s Colour Red Green Yellow Blue 0 9 v Top Bottom Full k Reveal hidden Teletext 3 Hold Subtitle for Teletext 1 Subpage Button functions DTV m...

Страница 21: ...n one language and MHEG5 service 1 Press OK while the cursor is on Language 2 Press a b to select 1st Pref Audio 2nd Pref Audio 3rd Pref Audio or MHEG 3 Select a desired language for each item NOTE See page 16 to change the language displayed on screen See page 24 to change the subtitle language See page 24 for details on the MHEG5 service NOTE The picture window shows a blank image if Radio servi...

Страница 22: ...SAT 1 004 RTL 001 ZDF 002 ARD 003 SAT 1 004 RTL 001 RTL 002 ARD 003 SAT 1 004 ZDF Label Change individual service names 4 Press 8 on the remote control A character set screen displays 5 Enter new name for the service See page 19 for operations using the character set screen Erase Erase the selected service s from the memory 4 Press 7 on the remote control An icon displays indicating the service to...

Страница 23: ...re scan the selected carrier Select the carrier and then press BLUE Rescan Re scanning starts NOTE After re scanning the selected carrier the order stored by using the Move function will revert to the default order System Setup Configure On Screen Display and Child Lock settings OSD Setup The On Screen Display appearance and the position duration of the service banner information can be customised...

Страница 24: ... the screen prompts 3 Check the new software version number to confirm the successful upgrade CAUTION Do not disconnect the AC cord when the software upgrade is in progress as this may cause the upgrade to fail If problem arises ask a qualified service personnel before the software upgrade period expires Common Interface Check the detailed information on the CI module Common Interface module and C...

Страница 25: ...or when Child Lock applies See pages 19 and 21 Up to 8 events can be preset using the Timer function If you are watching another event an alarm message displays on the screen a few seconds before the preset time The TV power may not come on for several seconds if you preset an event using the EPG Timer and if the AC cord has been disconnected When you set the EPG Timer the power consumption during...

Страница 26: ...nu See page 19 Using the multi audio function Change the audio mode and language for the currently viewed service 1 Press K when no other menu screen is displayed 7 BBC 1 07 45 04 11 2005 MHEG 07 00 Business news 08 00 BBC 1 Q Logical channel number W Service name E Carrier name R Favourite type T Teletext available Y Subtitle available U Lock status I Scrambled service O Multi audio status P Curr...

Страница 27: ... adjustment correct See pages 10 and 11 Is the antenna connected properly See page 3 Is On selected in Audio Only See page 16 Is the volume too low See pages 5 and 6 Make sure that headphones are not connected See page 6 Check if you pressed e on the remote control unit See page 5 Check if Monochrome is set to On If so set it to Off See page 11 Troubleshooting Appendix IMPORTANT NOTE ON RESETTING ...

Страница 28: ... 9 600 bps Data length 8 bits Parity bit None Response code format Normal response O K Stop bit 1 bit Flow control None Problem response communication error or incorrect command E R R Commands Return code 0DH Return code 0DH P I I I I D C C D D D D I I I A A A A A A A A V H H V V C P W W W W W W W W M M M A O O O O O O T T D POWER OFF STANDBY INPUT SWITCHING Toggle TV CHANNEL FIXED DTV CHANNEL FIX...

Страница 29: ...edish Turkish Power Requirement AC 220 240 V 50 Hz Power Consumption Weight Appendix 18 5o LCD COLOUR TV Model LC 19D1E LC 19D1S 18 5o Advanced Super View Black TFT LCD 4 9 kg Display only 5 4 kg Display with stand 42 W 0 9 W Standby Method IEC60107 Headphones Ø 3 5 mm jack Audio output EXT 1 SCART AV input Y C input RGB input TV output EXT 4 HDMI VGA 480P 576P 720P 50Hz 720P 60Hz 1080I 50Hz 1080I...

Страница 30: ...product please contact your local authorities and ask for the correct method of disposal For Switzerland Used electrical or electronic equipment can be returned free of charge to the dealer even if you don t purchase a new product Further collection facilities are listed on the homepage of www swico ch or www sens ch B Information on Disposal for Business Users 1 In the European Union If the produ...

Страница 31: ...0 75 0 49 0 49 0 68 2 68 2 196 0 196 0 2 5 2 5 10 0 10 0 462 0 462 0 411 8 411 8 360 0 360 0 320 0 320 0 218 0 218 0 40 0 40 0 240 0 240 0 100 0 100 0 100 0 100 0 17 5 17 5 232 4 232 4 LC 19D1E LC 19D1S mm ...

Страница 32: ...D222WJZZ OPERATION MANUAL BEDIENUNGSANLEITUNG MODE D EMPLOI MANUALE DI ISTRUZIONI GEBRUIKSAANWIJZING MANUAL DE MANEJO D222WJZZ 1 08P06 SP NG PIN Printed on environmentally friendly paper Auf ökologischem Papier gedruckt Imprimé sur papier écologique Stampato su carta ecologica Afgedrukt op ecologisch papier Impreso en papel ecológico ...

Отзывы: