background image

PAGE 13

PAGE 12

DRILL OPERATING INSTRUCTIONS

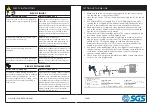
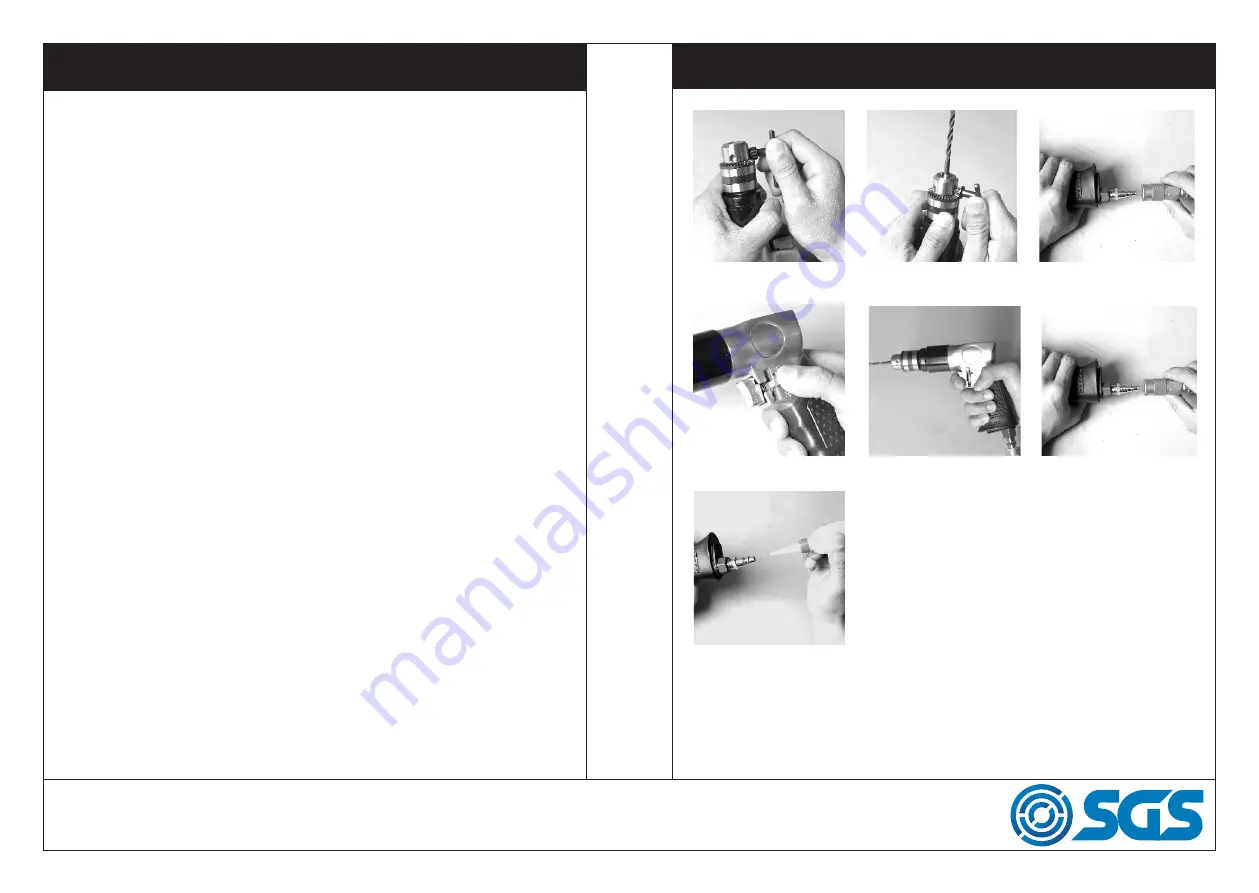
1.  Lubricate the tool before operating. See “CARE AND MAINTE-

NANCE” section for oiling instructions.

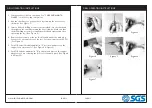
2.  Use the chuck key to open the chuck by screwing the key counter-

clockwise. (See Figure 1)

3.  Insert a drill or a drilling accessory (not provided) into the chuck and 

then tighten the chuck by turning the key clockwise. Make sure that 

the drill/drilling accessory is installed securely and tightened before 

operating the tool. (See Figure 2) 

4.  Remove the air cap from the tool air inlet and mount the male plug. 

Connect the air supply hose to the tool. Set the air pressure at 90 PSI. 

(See Figure 3)

5.  Push F/R valve (Part #8) upwards (to “F” position) and press on the 

trigger to operate the tool. (See Figure 4 & Figure 5)

6.  Push F/R valve downwards (to “R” position) and press on the trigger 

whenever you are releasing the drill out of the work piece. (See Figure 

4 & Figure 5)

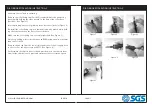
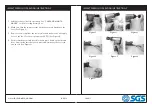
Figure 1

Figure 2

Figure 3

Figure 4

Figure 5

Figure 6

Figure 7

DRILL OPERATING INSTRUCTIONS

WWW.SGS-ENGINEERING.COM

Содержание SAT942K

Страница 1: ...FOR YOUR SAFETY PLEASE READ THESE INSTRUCTIONS CAREFULLY AND RETAIN THEM FOR FUTURE USE OWNER S MANUAL SAT942K AIR TOOL KIT...

Страница 2: ...the operator and others in the work area Make sure that any attachments are se curely assembled RISK OF FIRE OR EXPLOSION WHAT COULD HAPPEN HOW TO PREVENT IT Abrasive tools such as sanders and grind...

Страница 3: ...tool away from hands and body SAFETY INSTRUCTIONS RISK OF INJURY WHAT COULD HAPPEN HOW TO PREVENT IT A tool left unattended or with the air hose attached can be activated by unauthorized persons lead...

Страница 4: ...se straps or ties which could become entangled in moving parts of the tools Remove any jewellery watch es identifications bracelets or necklaces which might become caught by the tool Keep hands away f...

Страница 5: ...seful for sealing threaded connections Your air tool is now ready for use CARE MAINTENANCE The tool should be lubricated before each use with air tool oil not in cluded Air tool oil is available from...

Страница 6: ...le Figure 2 Re install the collet fixing cap in clockwise direction by wrench while hold ing the other wrench on the flats of the collet base Make sure the collet fixing cap is securely tightened See...

Страница 7: ...installed securely and tightened before operating the tool See Figure 2 4 Remove the air cap from the tool air inlet and mount the male plug Connect the air supply hose to the tool Set the air pressu...

Страница 8: ...igure 3 3 Remove the air cap from the tool air inlet and connect the air supply hose to the tool Set the air pressure at 90 PSI See Figure 4 4 Push forward the throttle lever block and press down on t...

Страница 9: ...nder and control the speed Evaluate the speed and adjust as follows 2 Adjust the operating speed by twisting the speed control shown The speed of rotation is shown by the arrow embossed on the tool bo...

Страница 10: ...equipment specified above conforms to the above European Communities Directive s and Standard s PLACE DATE Signature Robert Wyatt Company Secretary Derby UK 24th MAY 2018 SGS Engineering UK Ltd SGS En...

Отзывы: