PDP User's Guide
Getting Started
3
2.
Getting Started
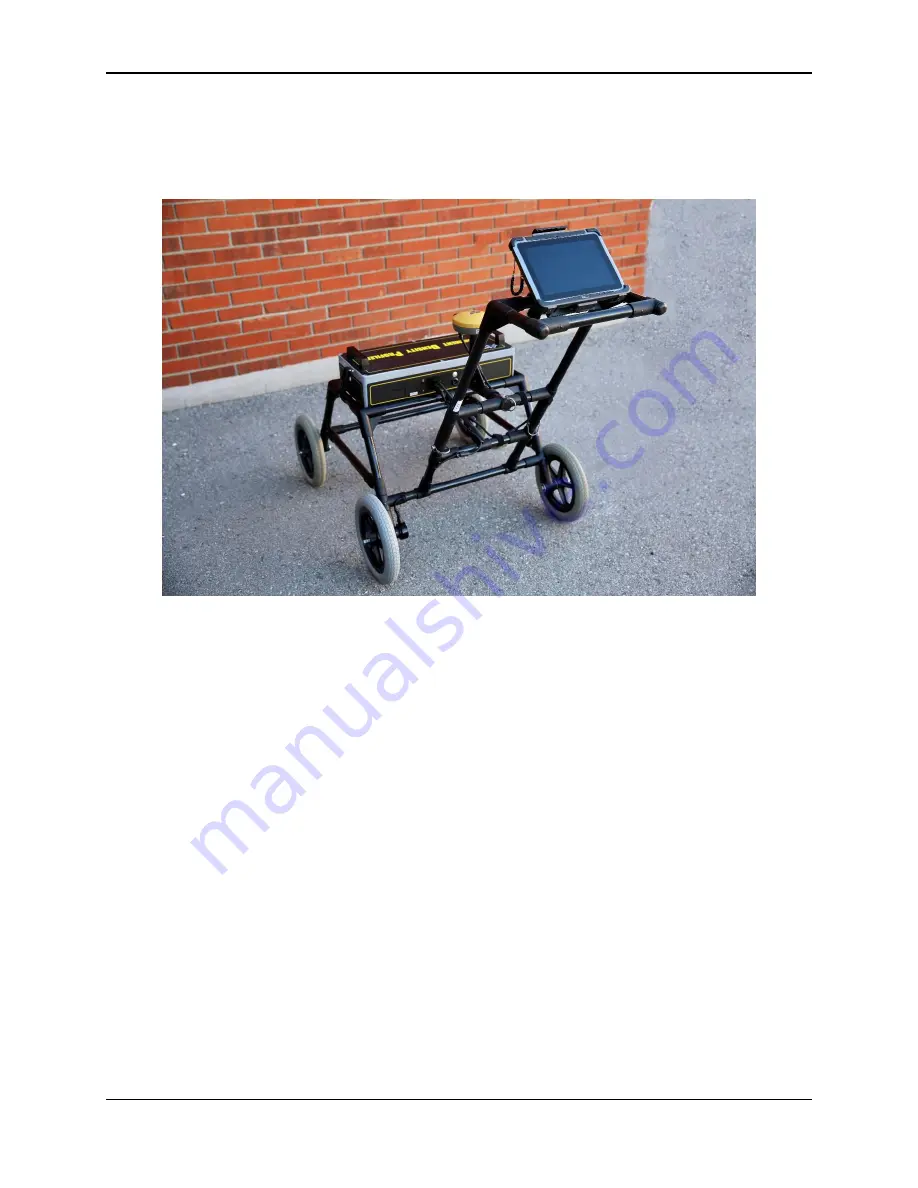
A fully assembled PDP system is shown in Figure 2-1. Follow the steps below to
assembly the PDP after you receive it.
Figure 2-1: Fully assembled PDP
2.1
Assembly
PDP is shipped nearly assembled, and only requires a few connections to be made.
Place the main cart handle onto the frame of the fiberglass cart (Figure 2-2), then
insert the handle pin through the holes on both sides and close them (Figure 2-3).
Содержание PDP1000
Страница 1: ...2020 00005 00 ...
Страница 2: ...ii ...
Страница 4: ...Warranty Confirmation iv ...
Страница 10: ...x ...
Страница 14: ...PDP User s Guide Overview 2 ...
Страница 24: ...PDP User s Guide Getting Started 12 ...
Страница 29: ...PDP User s Guide Navigating the Tablet 17 Figure 3 5 Highlighting the battery icon ...
Страница 30: ...PDP User s Guide Navigating the Tablet 18 ...
Страница 56: ...PDP User s Guide PDP Collection Software 44 Figure 4 24 Software update ready to proceed ...
Страница 66: ...PDP User s Guide Methodology 54 ...
Страница 70: ...PDP User s Guide Exporting Data 58 Figure 6 3 Summary report for a Stationary line ...
Страница 72: ...PDP User s Guide Exporting Data 60 Figure 6 4 Summary report for a Profile Line page 1 ...
Страница 73: ...PDP User s Guide Exporting Data 61 Figure 6 5 Summary report for a Profile line page 2 ...
Страница 78: ...PDP User s Guide Parts Components 66 ...
Страница 90: ...PDP User s Guide Appendix B GPR Emissions Interference and Regulations B 8 ...
Страница 92: ...PDP User s Guide Appendix C Instrument Interference C 2 ...
Страница 94: ...PDP User s Guide Appendix D Safety around Explosive Devices D 2 ...
Страница 96: ...PDP User s Guide Appendix E Wi Fi Module E 2 ...
Страница 98: ...PDP User s Guide Appendix F Calibration F 2 ...


