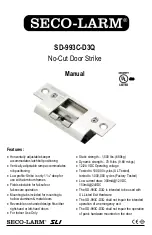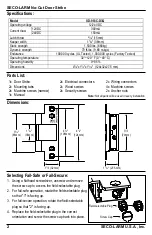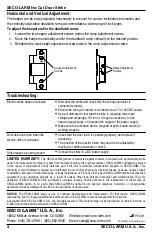
SECO-LARM No-Cut Door Strike
SECO-LARM U.S.A., Inc 3
1.
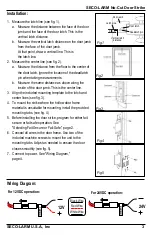
Measure the latch line (see fig. 1).
a.
Measure the distance between the face of the door
jamb and the face of the door latch. This is the
vertical latch distance.
b.
Measure the vertical latch distance on the door jamb
from the face of the door jamb.
At that point, draw a vertical line. This is
the latch line.
2.
Measure the center line (see fig. 2).
a.
Measure the distance from the floor to the center of
the door latch. Ignore the location of the deadlatch
pin when taking measurements.
b.
Measure the same distance as above along the
inside of the door jamb. This is the center line.
3.
Align the included mounting template to the latch and
center lines (see fig. 3).
4.
To mount the strike where the hollow door frame
material is unsuitable for mounting, install the provided
mounting tabs. (see fig. 4)
5.
Before installing the door strike, program for either fail-
secure or fail-safe operation. See
"Selecting Fail-Secure or Fail-Safe," page 2.
6.
Conceal all wires in the door frame. Use two of the
included machine screws to mount the unit to the
mounting tabs. Adjust as needed to ensure the door
closes smoothly (see fig. 5).
7.
Connect to power. See "Wiring Diagram,"
page 4.
Installation:
Fig.4
Fig.3
Fig.2
Fig.1
Fig.5
For 24VDC operation:
Door latch
Deadlatch pin
Door jamb
X
Vertical latch
distance
Latch Line
For 12VDC operation:
12V
24V
Black Wire
Red Wire
White Wire
12V
D
C
24
VDC
Wiring Diagram:


