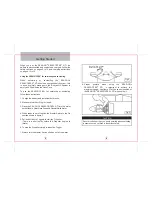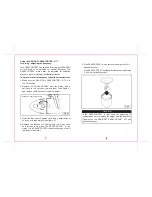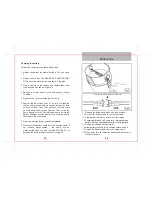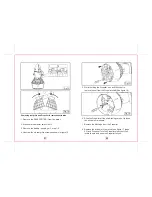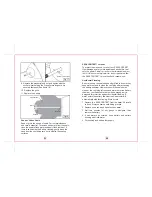
9. Replace the washer(s) and nut and tighten with the
socket whilst holding the Propeller making sure it is
securely fastened (See figure 18).
10. Replace the grille.
11. Replace the battery.
SEASCOOTER™ cuts out
To protect the electronic circuit of your SEASCOOTER
™
from damage a safety mechanism has been built in that
cuts the power if a wall or rock or other immovable object
is hit. If this occurs simply wait for a short period to allow
the SEASCOOTER
™
to reset itself and resume use.
Accidental Flooding
Be sure to keep the seals sand and grit free to ensure they
keep water out and to close the vent plug after accessing
the battery chamber. However, should the seals not be
clean or the vent plug left open and water enter the battery
chamber, your Seascooter will not be damaged as it is
designed for protection against accidental flooding. If
water enters the battery chamber the Seascooter will
automatically stop functioning. If this occurs
1. Remove the SEASCOOTER
™
from the water if it is safe
to do so. Always observe safe diving practice.
2. Remove nose cone and tip out excess water.
3. Wait two minutes for any gases to dissipate, then
remove the battery.
4. If salt water has entered, rinse battery and battery
housing with fresh water.
5. Dry housing and battery thoroughly.
Sand or Grit on Seals
Sand or grit is the enemy of seals. Correct maintenance
and care is essential. To remove sand or grit from the seals,
rinse the seals in fresh water and apply fresh lubricant. If
there is sand inside the Battery Housing, gently brush the
sand from the unit taking care not to scratch the sealing
surfaces.
23
24
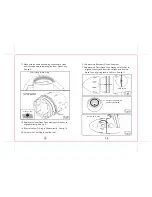
Drive Pin In Position
Fig.17
Nut
Washers
Drive pin
Propeller hub
Fig.18

