Website: www.seada.co.uk
18/18
E-mail: [email protected]
•
Upgrade
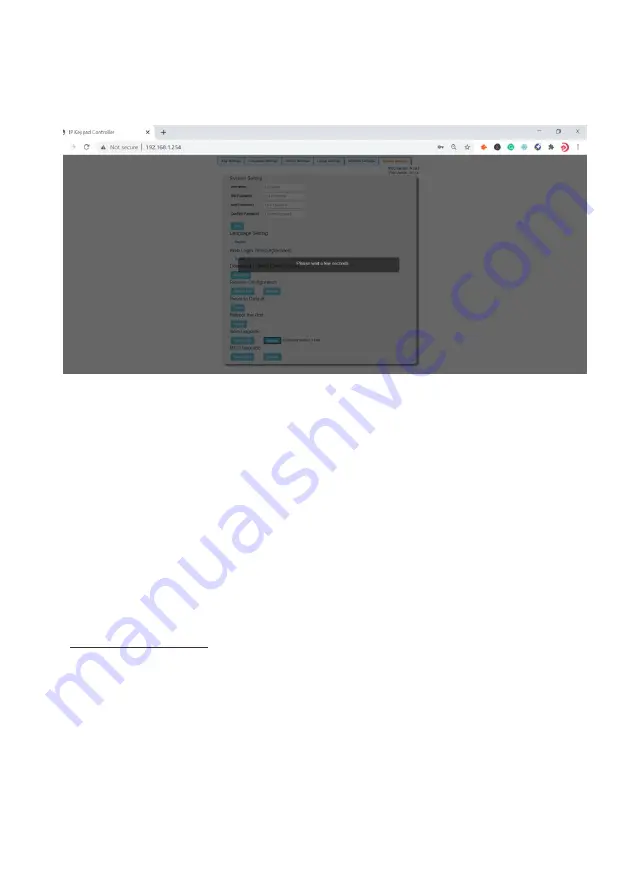
: Click “Upgrade” to start Web UI upgrade. A notice window will pop up as
follows:
When web UI upgrading is completed, the keypad will reboot automatically, and the web page
will be refreshed automatically.
(8)
MCU Upgrade
•
Select a file
: Select an MCU upgrade bin file from the local PC.
•
Upgrade
: Click “Upgrade” to start MCU upgrade.
The keypad will reboot, and the web page will be refreshed automatically when MCU
upgrading is completed.
10.
Application
The keypad can control the third-party devices through LAN(PoE) or RS232 port. Before
installation, ensure the keypad has been configured functions for buttons through web UI (See
“
Configure Functions for Buttons
” on “
Configurations on Web UI
”
section).
1.
Connect the controlled third-party device to LAN(PoE) port or RS232 port of the keypad.
2.
Connect the DC 12V power adapter to the keypad
Note:
If the controlled device connected to LAN (PoE) port supports PoE function, the
keypad can receive power from it and no additional power adapter is needed.
3.
Power on all devices.
4.
Press the buttons on front panel of the keypad to control the third-party devices.


